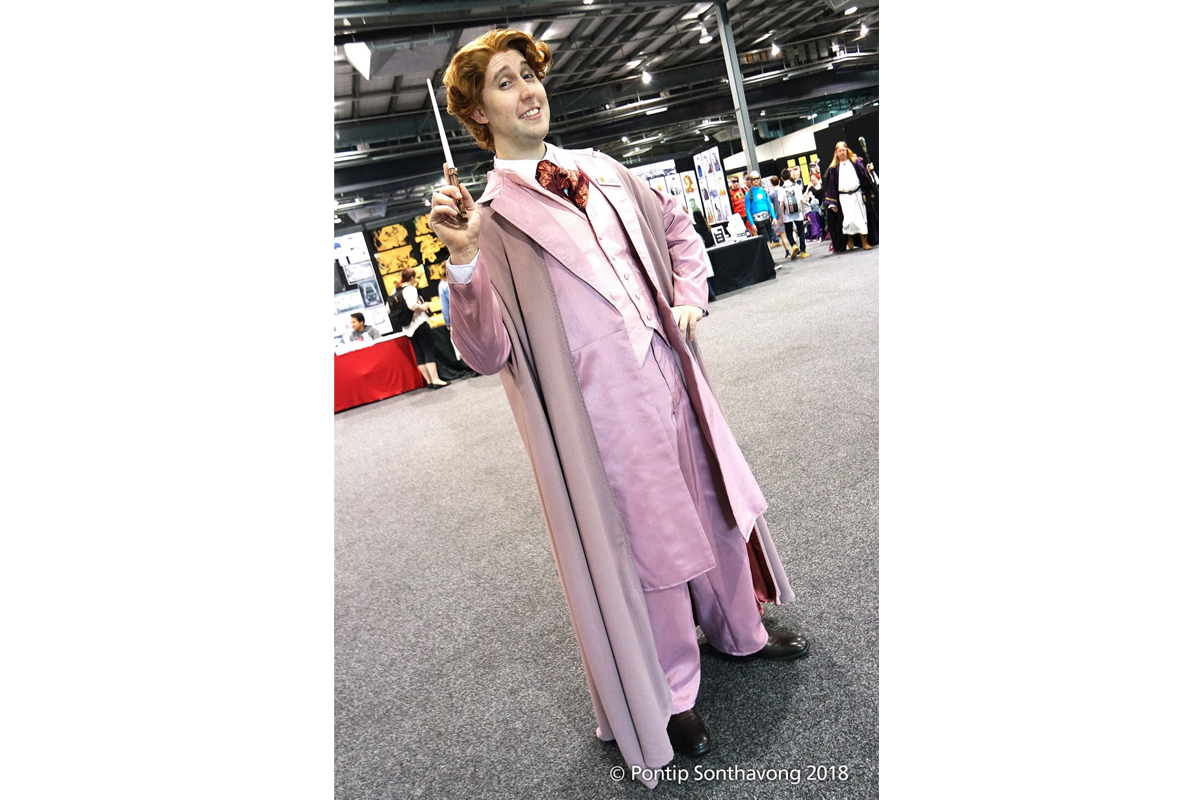
After attending conventions for the past 10 years there is still one thing I have trouble with, planning travel alongside cosplay. I always seem to be making big extravagant pieces that I somehow have to squeeze into the back of my car to get them everywhere. This time, however, I had the challenge to pick a costume to make that I could both fit into luggage to fly interstate and have completed in a very short amount of time!
Queue the fabulous Gilderoy Lockhart from Harry Potter and the Chamber of Secrets!

I had actually been wanting to make this costume for quite a while and when I stumbled upon a whole heap of dusty pink fabrics (thanks seasonal trends) it had to happen! All the reference images vary in colour a bit but the general consensus is that it’s various shades of light dusty pink.

I hunted around through my library of patterns and decided on Simplicity 5794 for the outer cloak as it’s a fantastic pattern I’ve worked with before and it’s easily modifiable. McCalls 7003 for the necktie, Simplicity 2895 for the long coat and the simple pants of Simplicity 4760. I always like to mix and match pieces as best I can and then modify where needed to suit the character I’m cosplaying.
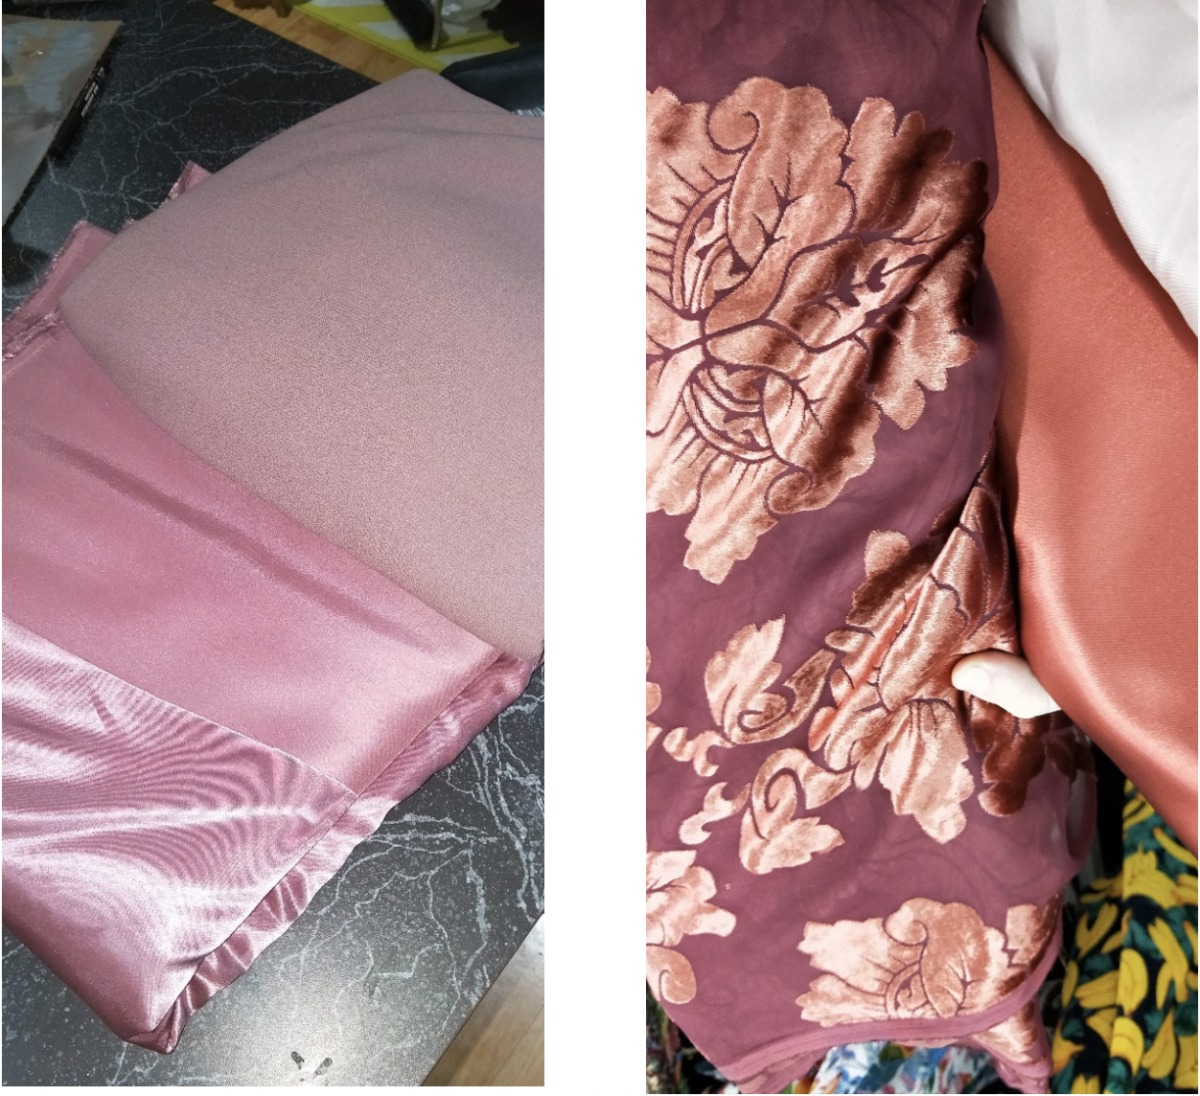
I found an assorted crepe textured polyester for the main cloak and a satin back shantung for the matching suit jacket and pants. These were the fabric finds that kicked off the whole project. I couldn’t find many brown options for the satin lining so after finding a really nice copper tinted burnout velvet for the necktie I decided to try and coordinate colours a bit more and use the same shade for the cape lining.
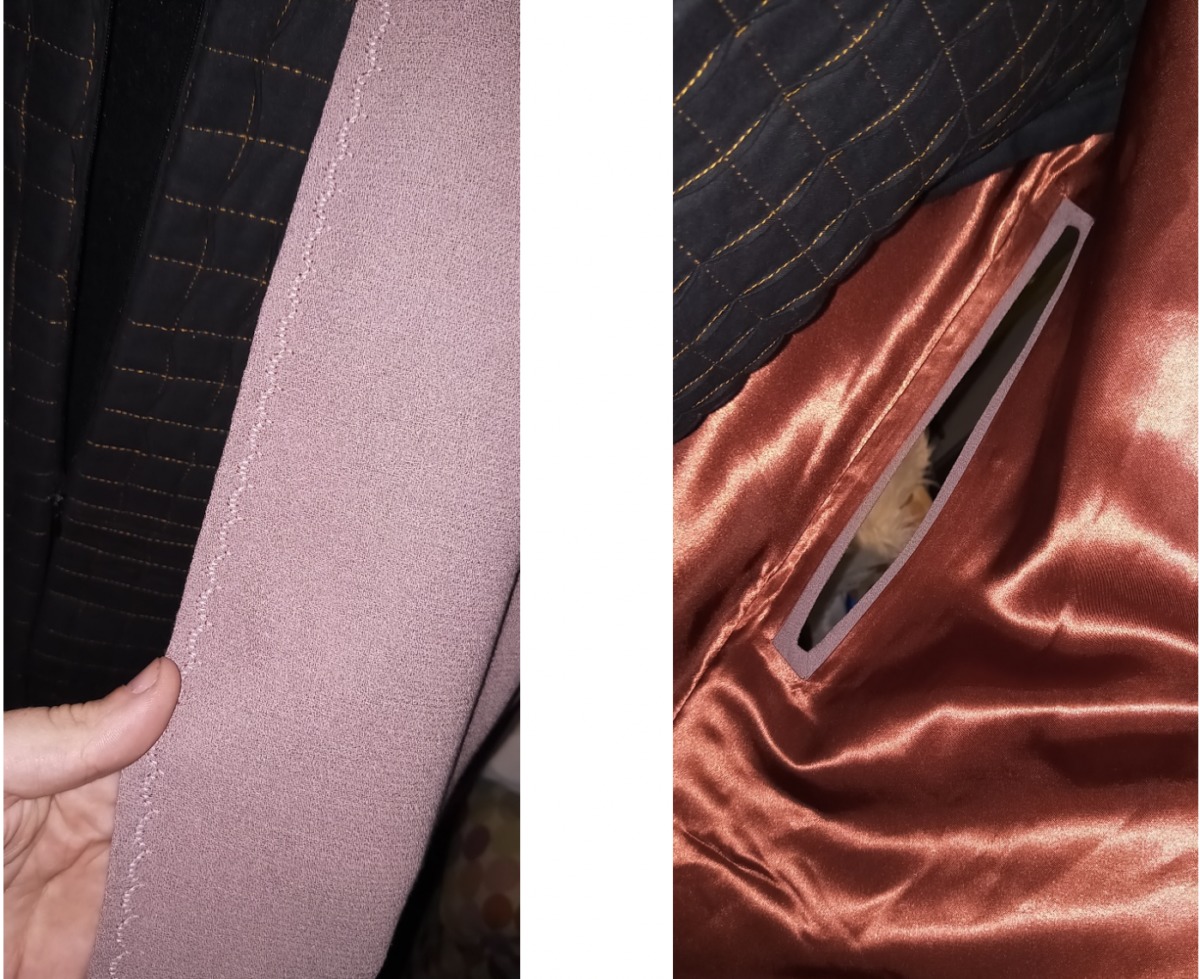
The cape itself was a super quick piece to do, the pattern is simply 4 panels if you don’t include the hood, these were cut from both the outer fabric and the lining and then overlocked together. For practicality, I decided to take a design feature from one of Lockhart’s other costumes and added the sleeve slits to the front panels. It’s easy to sew with a small interfaced rectangle onto the front of the fabric, cutting the centre slit and then turning inside out to press the facing into the backside of the fabric. This was repeated on the lining and then a few hand-tacked parts and some iron-on hemming tape to secure them together. Because the outer fabric bowed out a little at the front hem, I decided to top stitch it down but instead of a simple straight stitch, it was a great opportunity to add a bit more flair to the costume with decorative stitches!
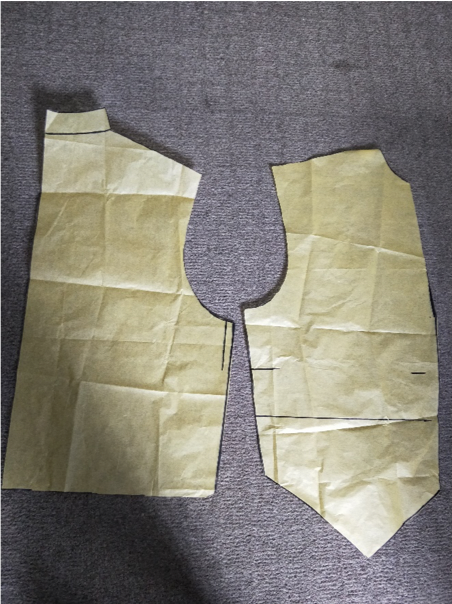
For the vest I quickly drew up a pattern based off a bodysuit pattern I made and have been using for a very long time. It needed to have a raised collar without an additional piece sewn in so a cheeky angled seam helped that.
jacket and pants were pretty much followed to pattern instructions, I just raised the waist of the pants a bit and decided to try out a bit more decorative stitching around the collar of the jacket!
The necktie was also just a straight build from the pattern, with a simple Velcro attachment at the back.
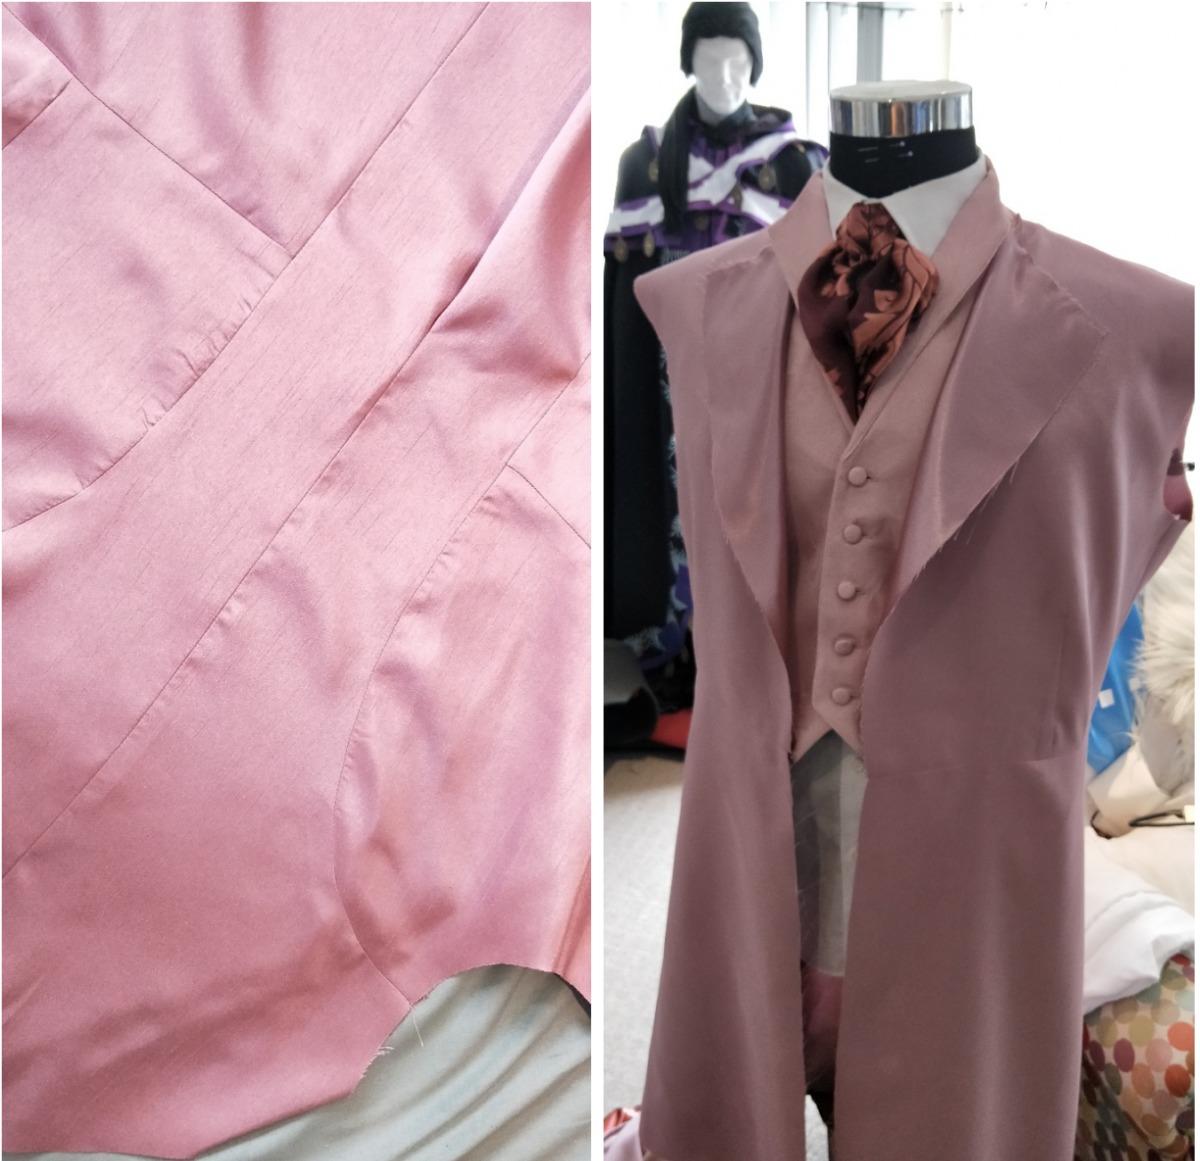
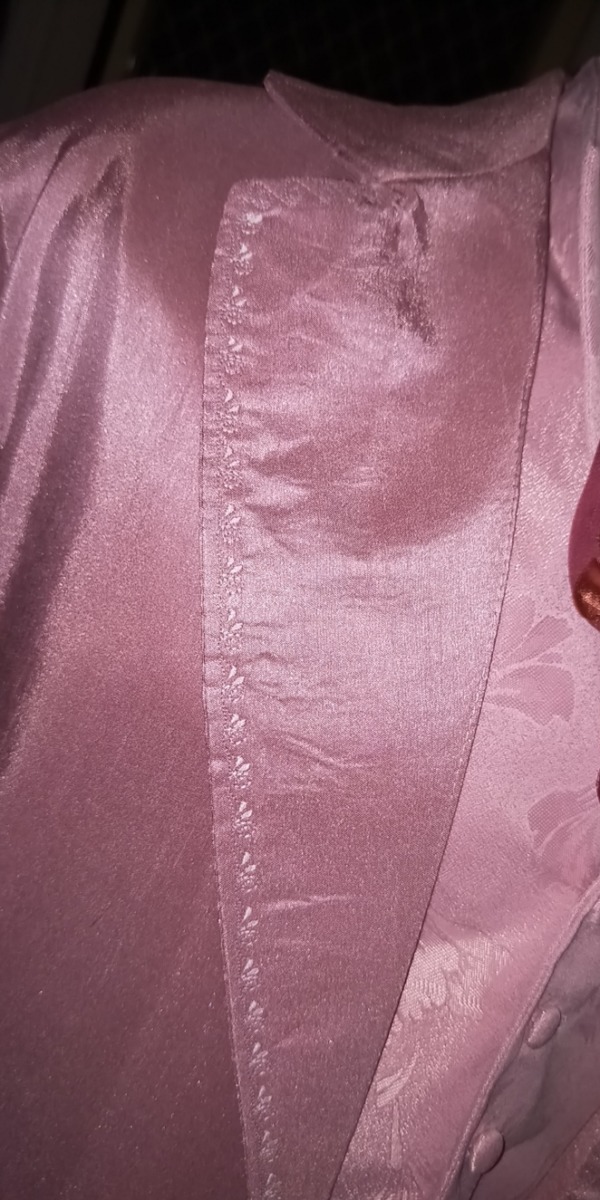
Overall this was actually a super quick build. I started sewing and patterning on a Friday morning and spent the day on it. I then did a bit more on a Sunday afternoon and finished it off on the Monday night after a day at work. I then packed my bags on Wednesday night after a few last checks and then flew interstate on a Thursday morning for another convention! It was such a fun costume to wear and the reactions were even more exciting, turns out there are quite a lot of Harry Potter fans around.
Looking forward to actually bringing this costume out again sometime!!!


