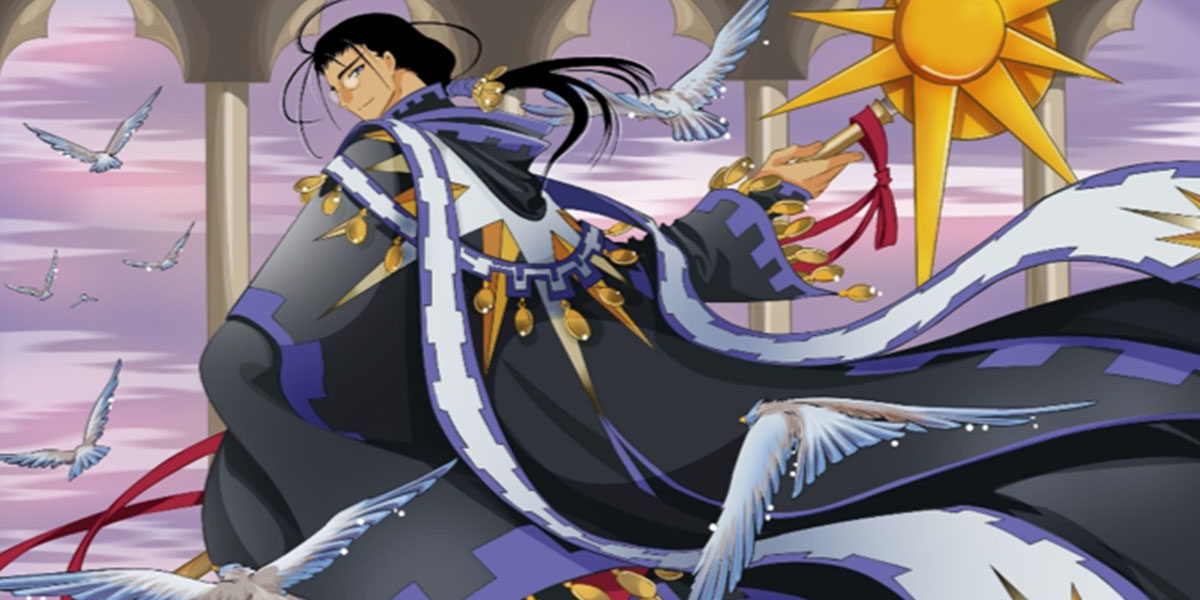
As a kid I would watch an anime series called Cardcaptor Sakura religiously, so obviously once I became a cosplayer I had to do a bit of a throwback to this series!
Clow had been on my to-do list for a long time and when going through potential costume ideas for a contest he jumped out as something I could really bling up for stage presence.
The reference images were fairly simple design-wise so this was a great opportunity to play with fabrics and textures. I knew I wanted a heavy princess satin for the main black so then I started hunting for the rest.
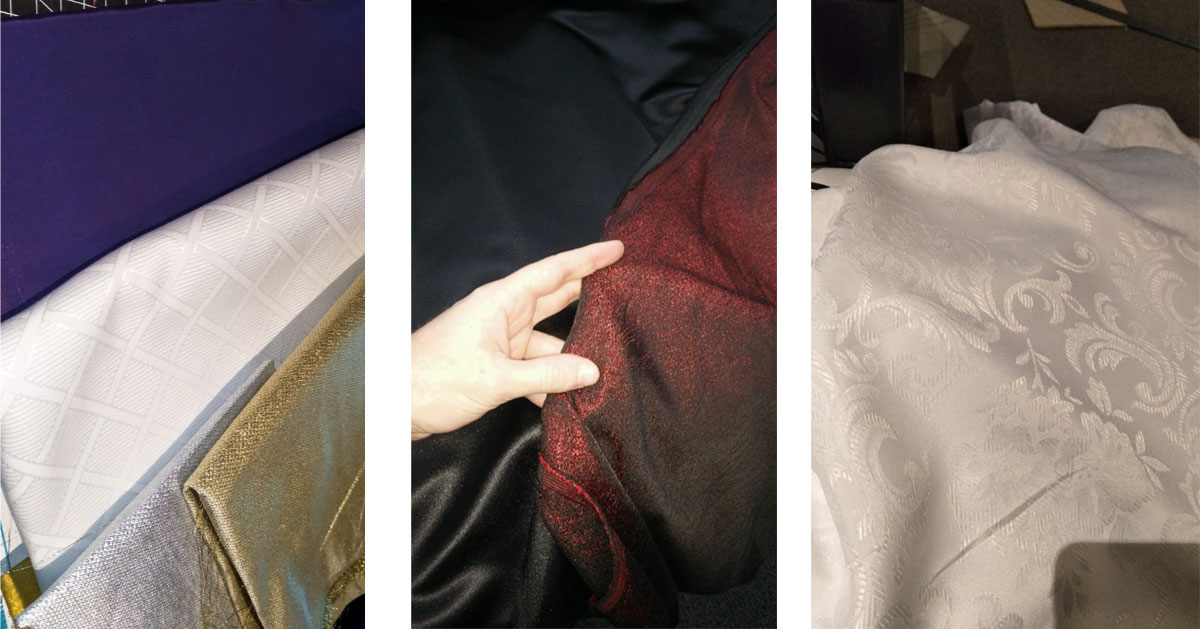
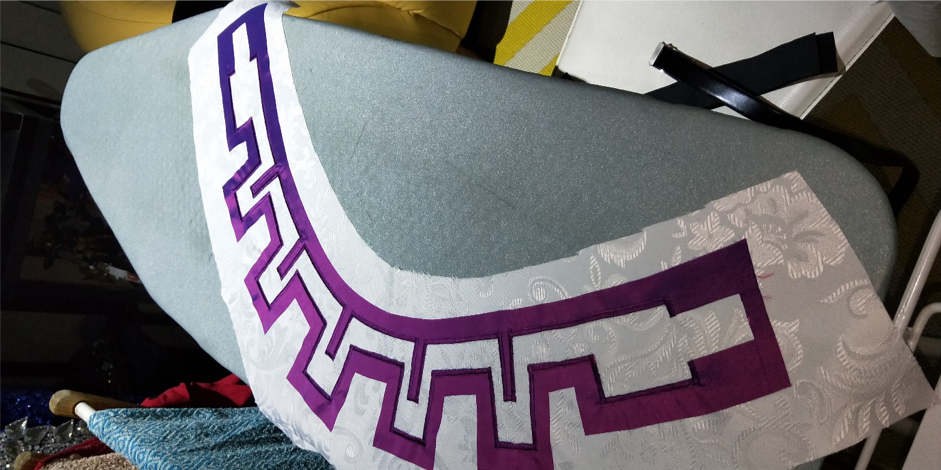
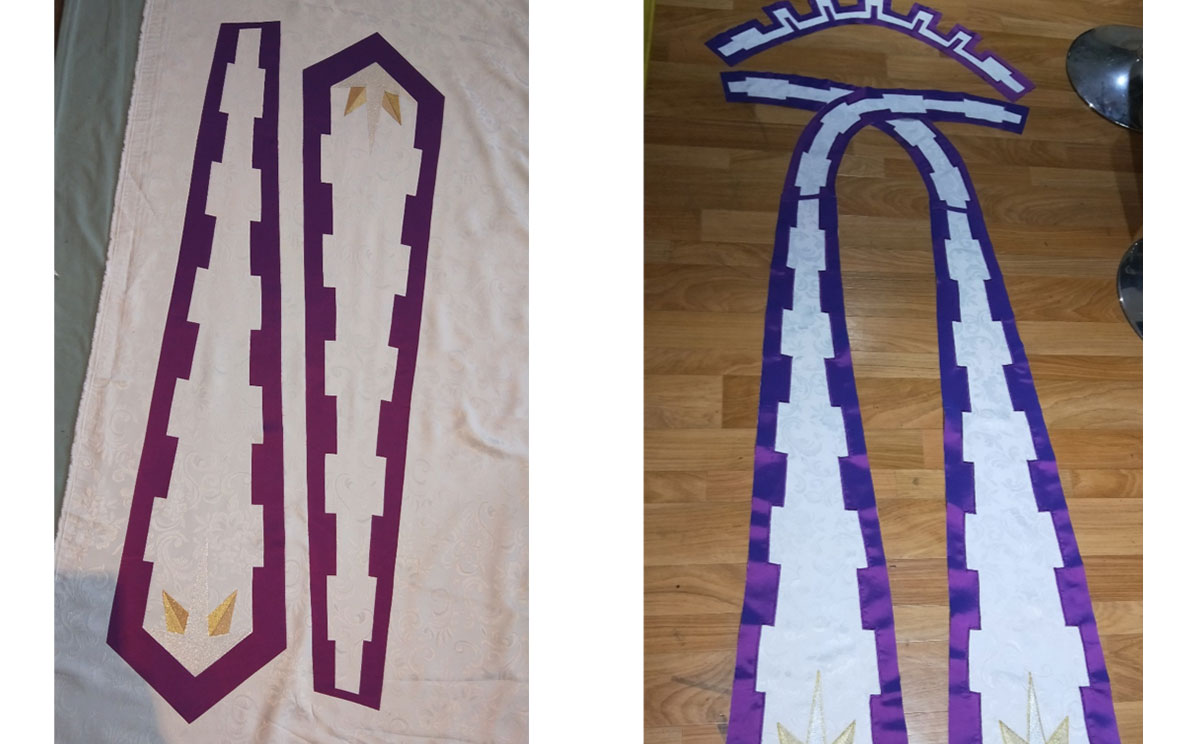
Shot Taffeta would be perfect for the edge details because in the references it was always multiple shades of purple and it had that magical feel to it all. Originally, I bought a very geometric white textured suiting for the sashes but after initial patterning, it wouldn’t work with the shapes I planned to do so I moved into some floral Christmas tablecloth which was perfect. The gold and silver were both also Christmas fabrics. Clow had a fair bit off class to him so I made the choice to not go for a bright red lining, I ended up deciding on a metallic red/black galaxy suiting which under lights would shimmer and sparkle nicely.
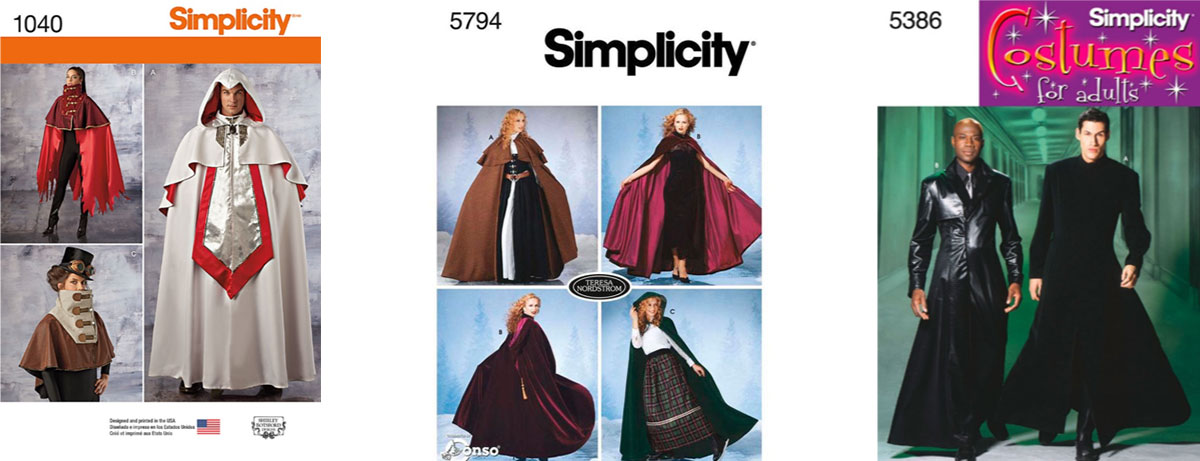
The main costume was broken down into a few parts, the hooded caplet, the main cape, long under robes and then a fitted shirt. I went through and chose parts from some of my existing patterns.
Caplet was modified from Simplicity 1040. The main cape was Simplicity 5754 because I’ve used it multiple times before, so I knew the fit and size was amazing. And the main robe was Simplicity 5386 (my go-to pattern that fits like a glove and I constantly modify for multiple costumes).
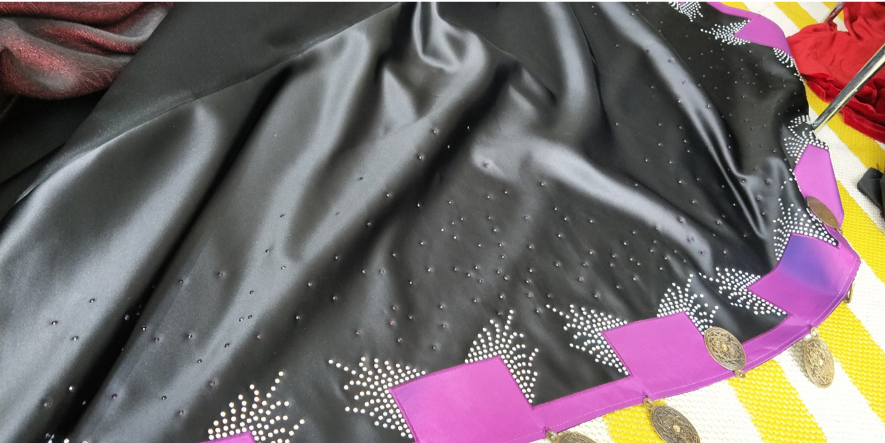
I then began to make the pattern for the edge trim for each piece, these were then appliqued down and satin stitched. Same technique repeated for the starburst design on the back.
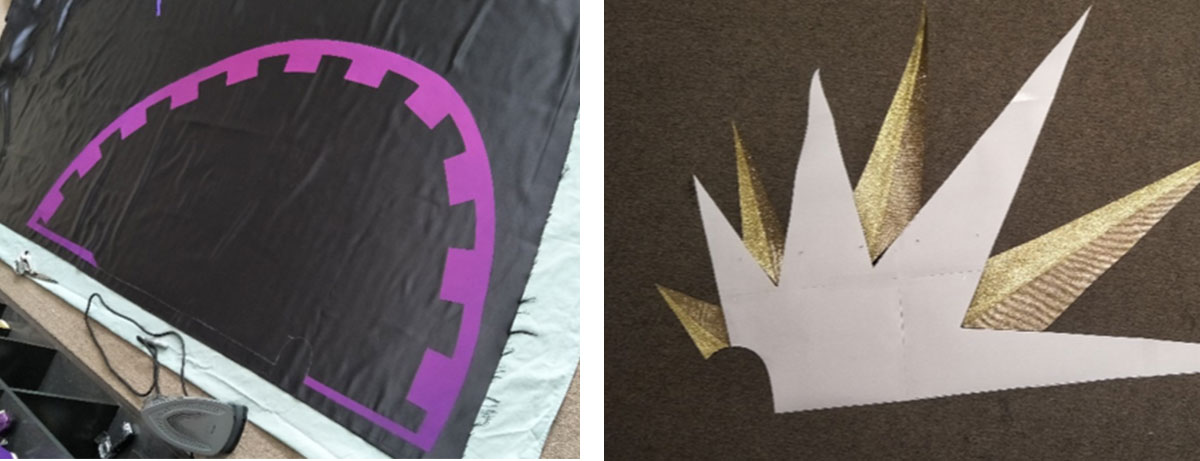
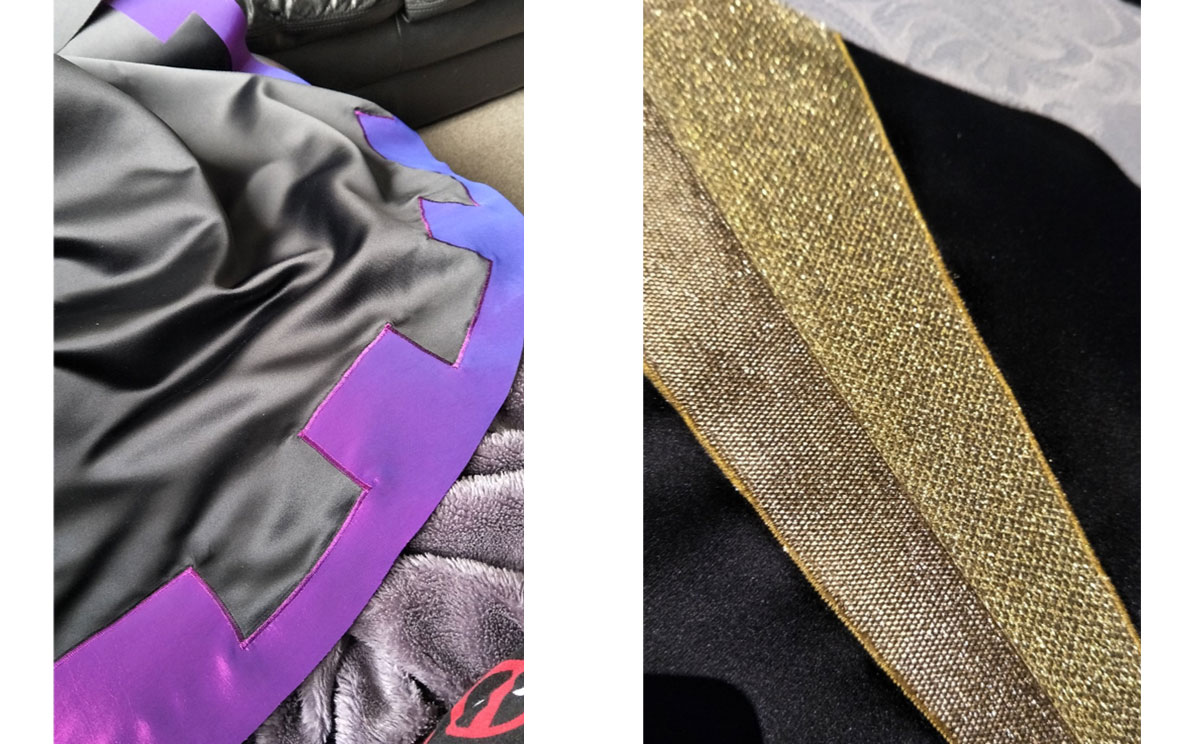
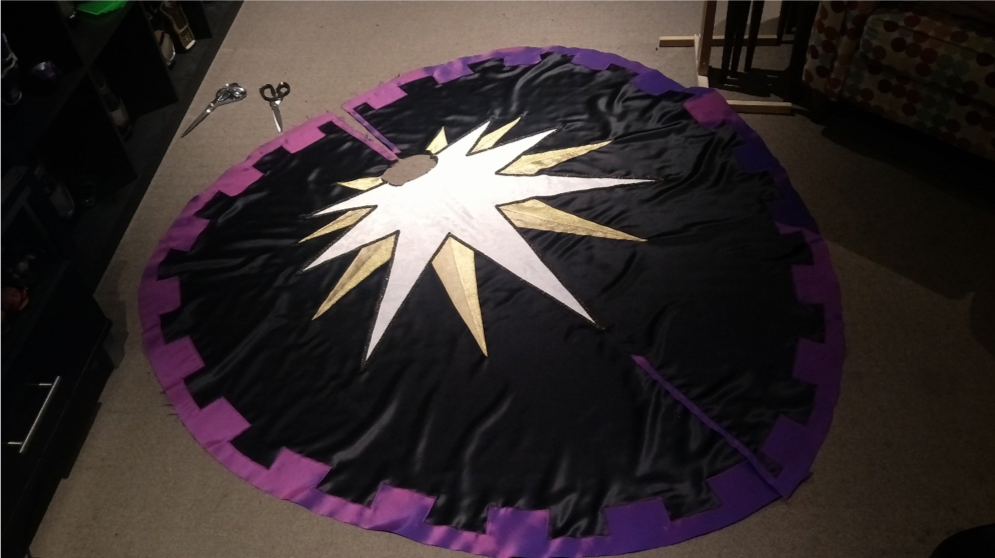
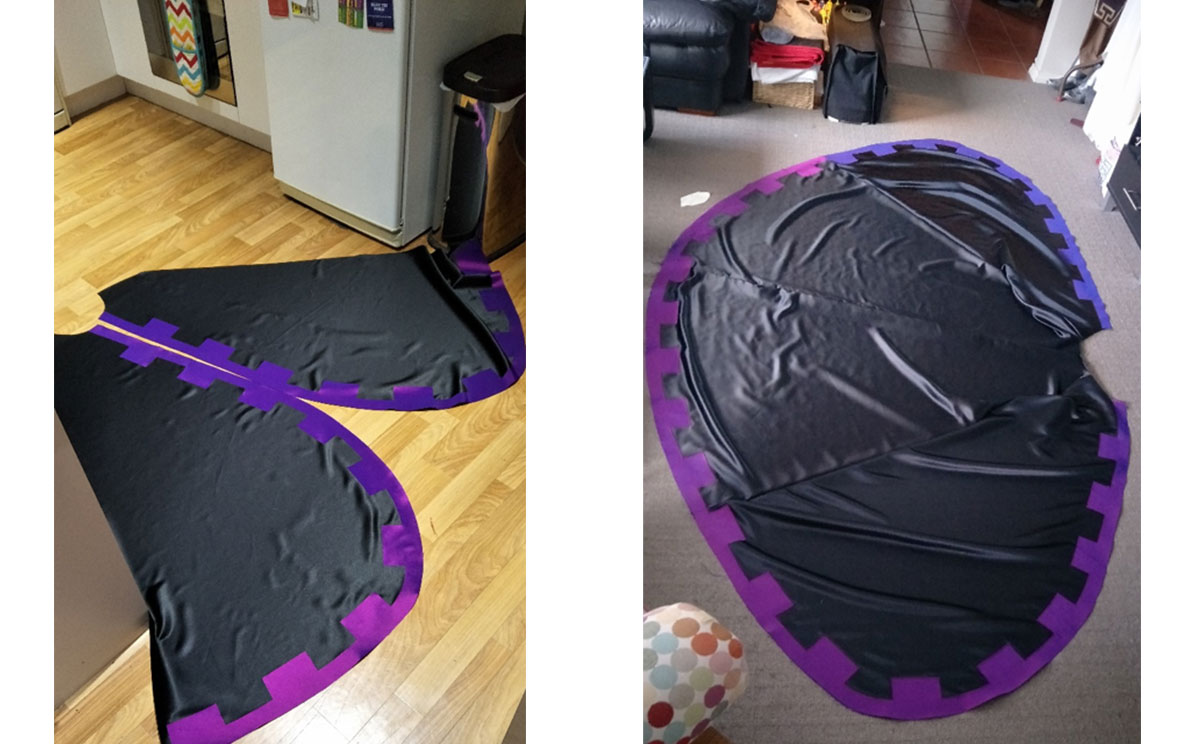
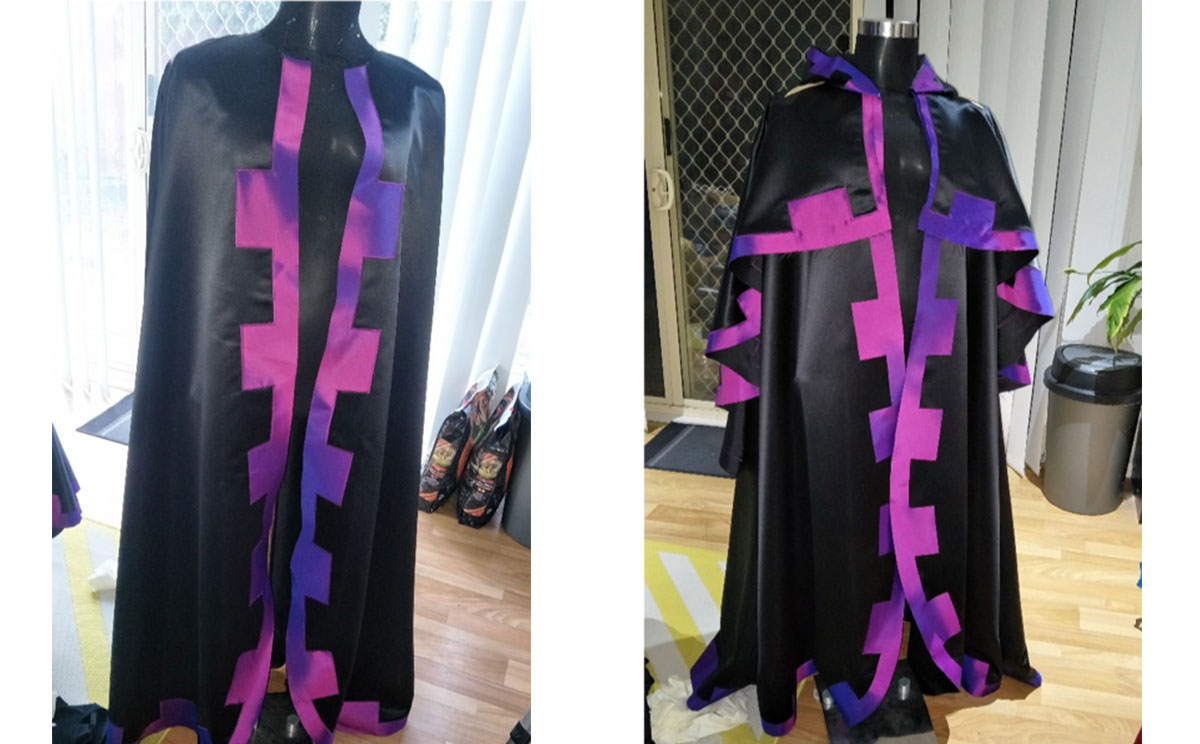
Now that the base pieces were done it was time for bedazzling. At this point, I had already gone through over 1.2km of purple thread for satin stitching but opted to use an iridescent with a longer stitch length to topstitch the edges down.
I wanted a repetitive rhinestone pattern and had about 10k hotfix stones to apply so had to come up with a quick and easy way to apply them. I drew up a pattern in Illustrator then printed it off, using some glue attached it to cardboard and then a hole punch to cut out the design where the stones would sit.
I could then pin that down into position and simply brush a heap of stones in at a time. Once all the holes were filled and had a stone correctly flipped I removed the cardboard template and then using an iron would press the whole bit down in one go. Rinse and repeat several times over!
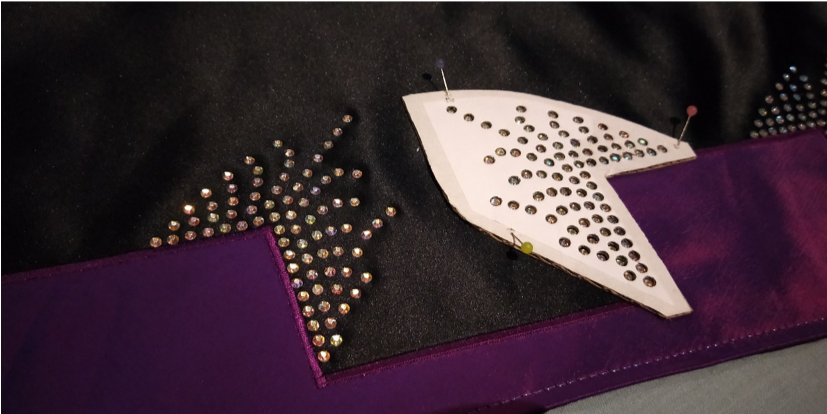
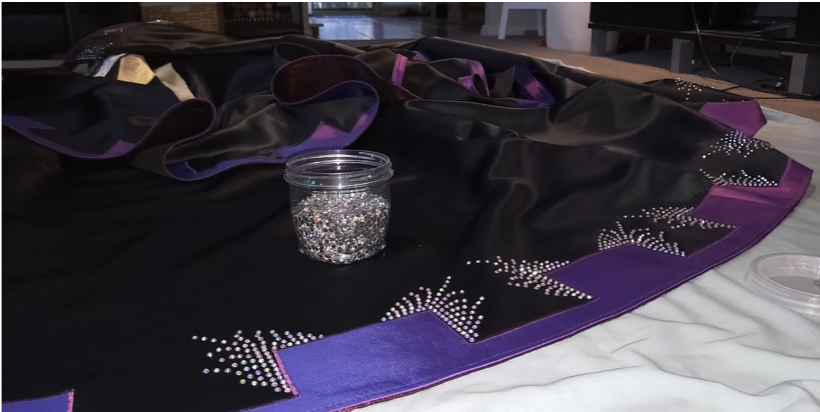

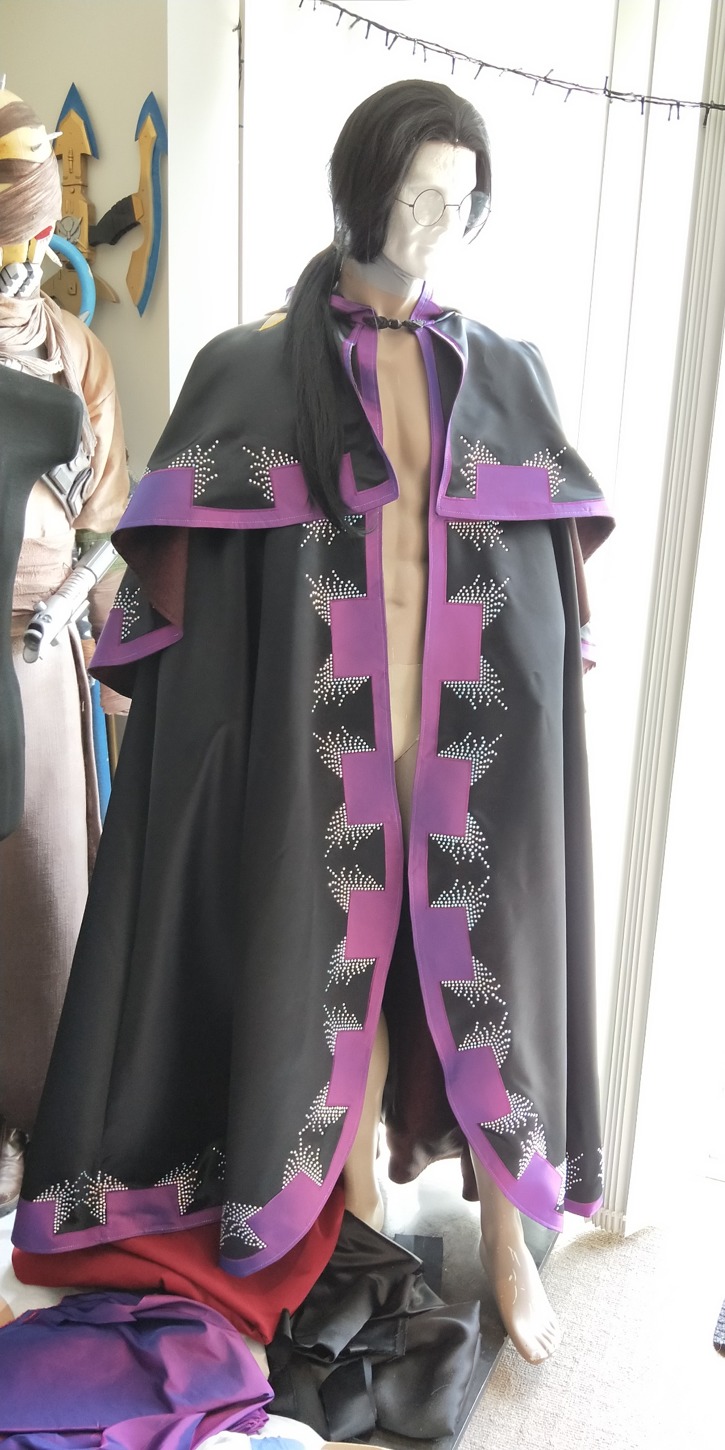
The sash was a fairly interesting shape so to get it to sit perfectly and not bunch up it couldn’t simply be a long straight piece. The same techniques of applique and satin stitching were done for the details and more iridescent thread used for top stitching. This attaches onto the capelet with the use of some large press snaps sewn on at the shoulder seams.
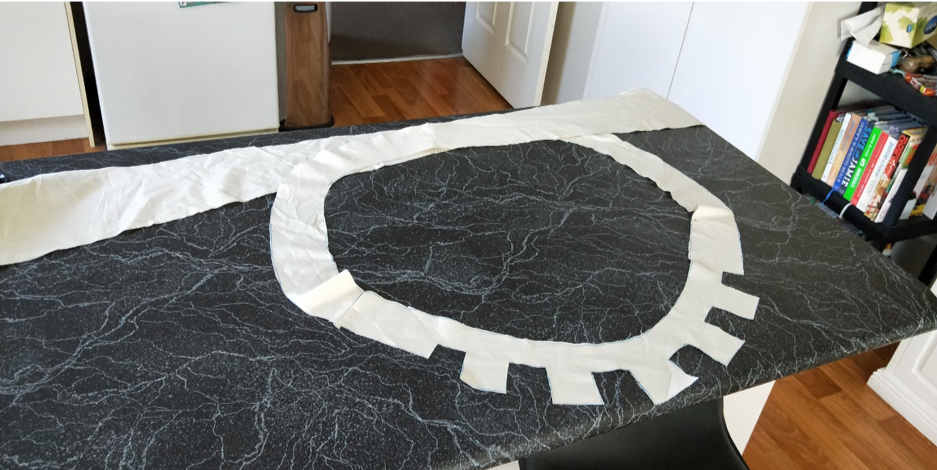
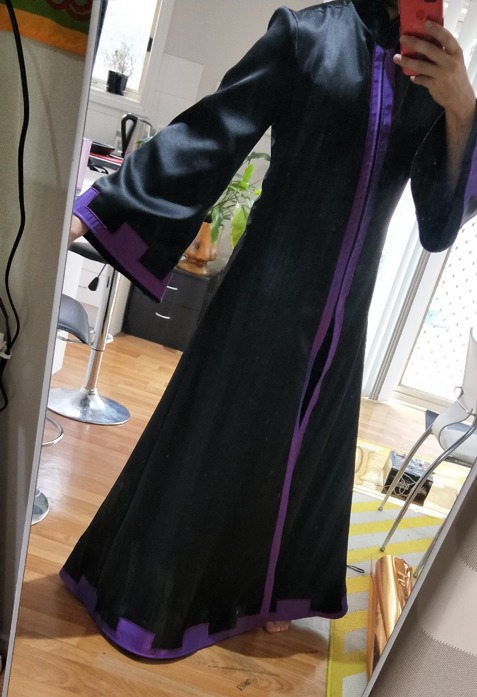
The quickest and easiest part was the base robe; once you’ve used a pattern so many times you get used to how it fits together, you can almost do it blindfolded. Only change needed was a bell sleeve and minor collar adjustment both done on the fly when cutting fabric.
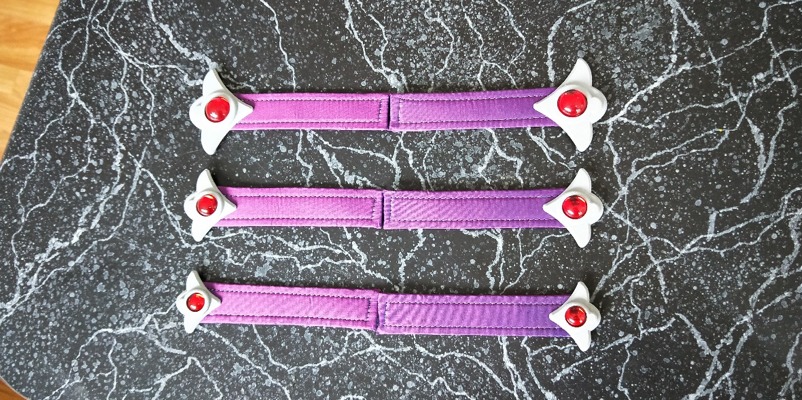
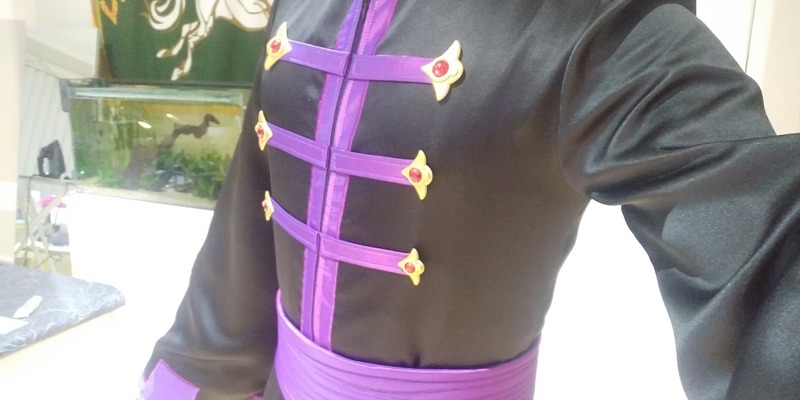
The front attachments were made from thin craft foam, wrapped in more taffeta and then top stitched with the iridescent thread again. The gem holders were 3D modelled and printed. Similar method used for the belt sash.
To give a bit of dimension while using minimal fabric, foam was used as a base layer, then taffeta was tacked down using spray adhesive. Waved lines were then top stitched in to simulate bunched up fabric while the thread also added some sparkle.
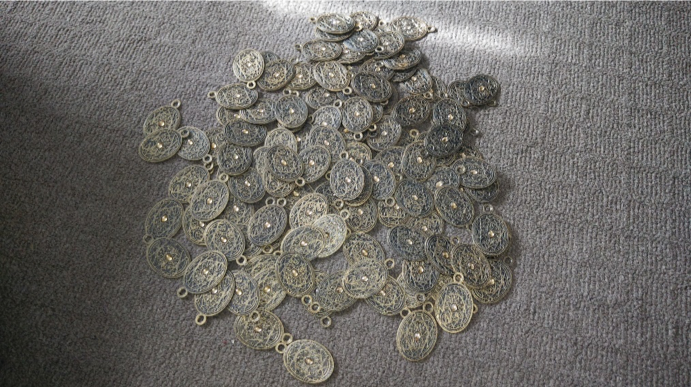
Because the over-sized coin trim wouldn’t be an easily sourced item and taking into account the size of them I needed to keep the weight down too. I decided to 3D model and print each of the coins but also added Clow’s iconic spell circle design into them too.
To attach each one around the edges of the costume I used the eyelet stitch first, punched the hole in the middle then used jewellery jump rings so the coins would hang and move nicely.
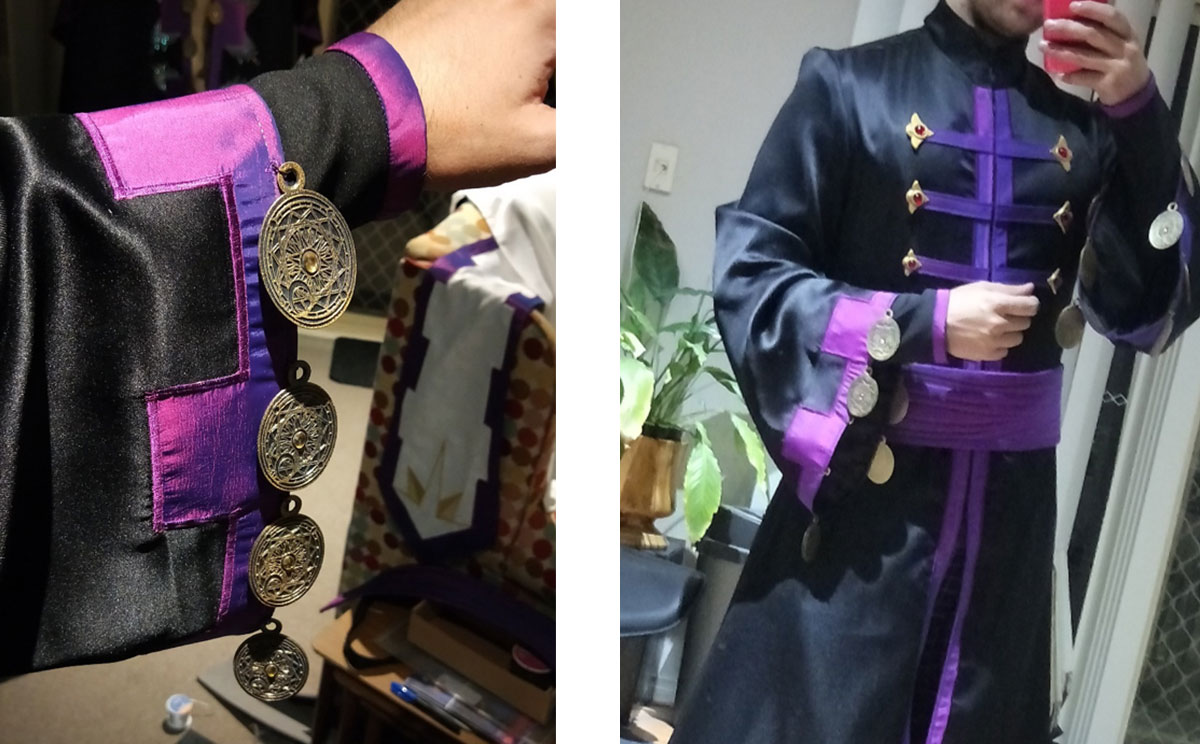
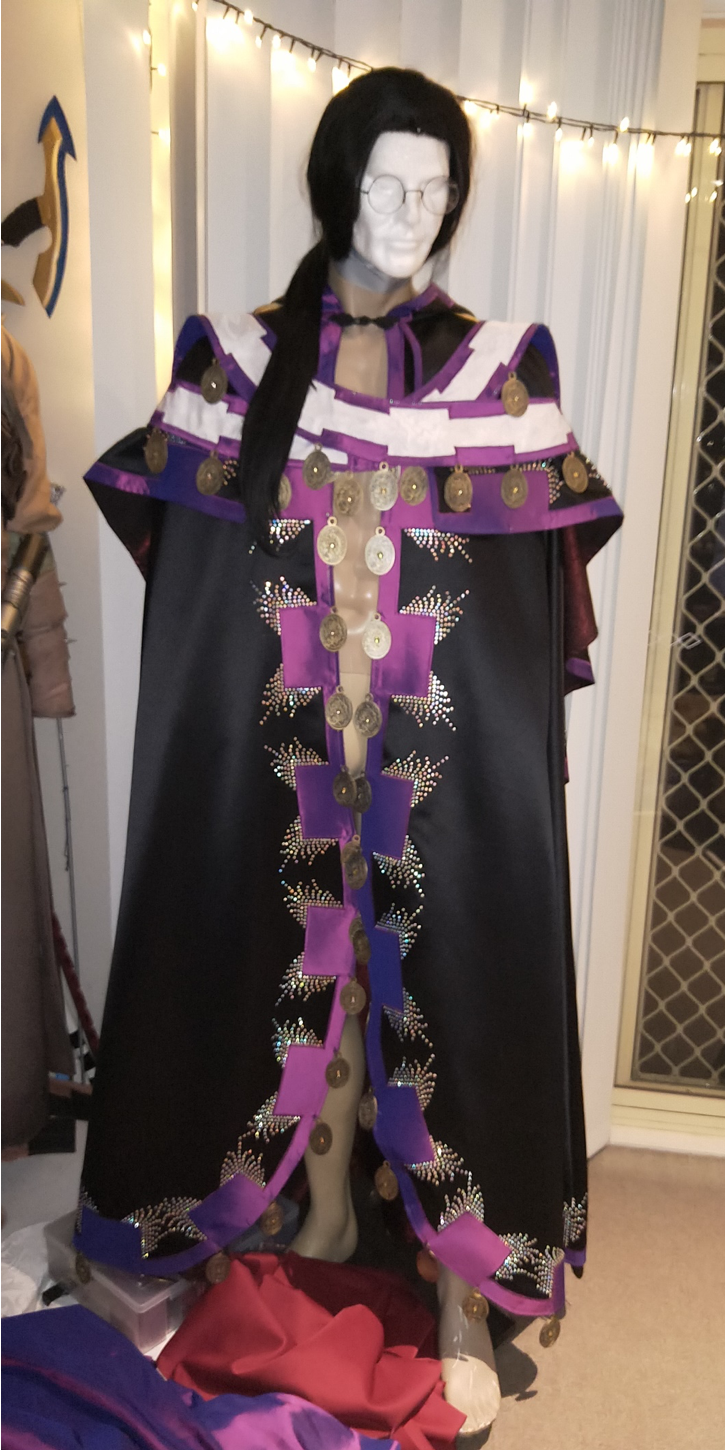
With all the coins finally in place the last push for blinging was a scatter of dark burgundy rhinestones throughout the empty black areas of fabric and a few more purple rhinestone accents around the insides of some taffeta edges.
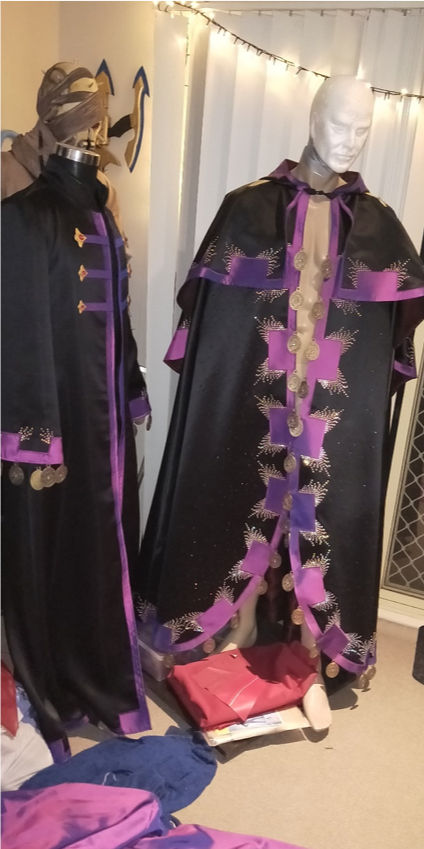
Overall it was a really nice change to a few other builds I had done where I was trying to replicate screen used costumes. This had a bit more creative freedom and was my first time venturing into the realm of rhinestoning, definitely hooked on it now!
Looking forward to bringing this out again soon for a proper photoshoot since I didn’t really get any chance for good photos when I competed in the contest!!

