Do you want to add shirring to a project you are doing? Does the pattern you are using requires shirring and you don’t know how to do this? This is the right tutorial for you!
Disclaimer: Shirring with elastic thread is not really recommended for high-end machines as it can affect the bobbin area tensions. This is because the elastic is thicker than regular thread. The below tutorial was sewn using a Talent 3223. If you have any concerns give your sewing machine technician a call before trying this.
Shirring is an older technique that you will often find in vintage patterns or in a retro-inspired pattern however this technique is coming back into style.
You will need:
- Elastic thread
- Cotton or polyester general-purpose thread (top thread).
- The fabric you wish to add shirring too. A light to medium fabric will gather best using this method.
Steps:
- Hand wind your elastic thread onto your bobbin ensuring that you do not stretch the elastic thread while doing this. You need to hand wind the bobbin as machine winding will cause the thread to stretch too much.
- Thread the top of your machine with your matching general-purpose thread and insert the bobbin with the elastic thread into your machine.
- Set your stitch length to at least 2 or longer. Before shirring your project test on a scrap piece of fabric, to see that the weight of the fabric and the stitch length will affect the amount of gathering the elastic will create. As you start each new row gently pull the fabric so it is flat when going under the needle.
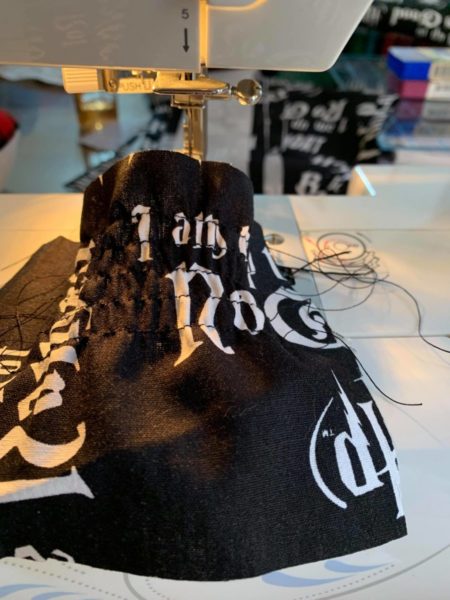
You will notice in your test after sewing a few rows that the fabric will begin to curl in a little.
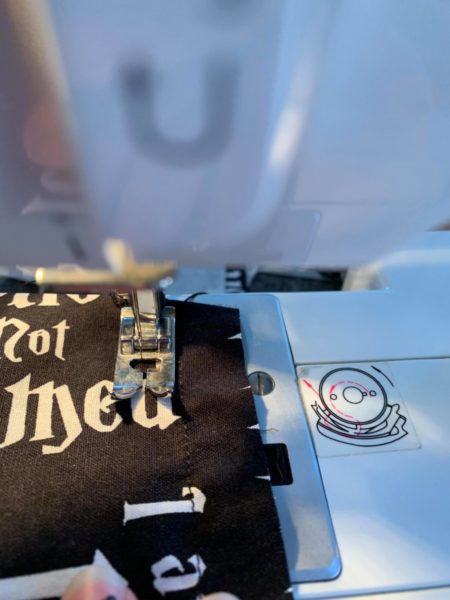
Tip: If self-drafting a pattern, you can use a sample of fabric shirred as you wish to work out how much fabric will need to get the right length of shirred fabric. Simply measure the fabric before and after shirring. - Sew your first line of shirring with the right side of fabric face up. Repeat the rows of stitching at about ¼” apart, using your presser foot as a guide.
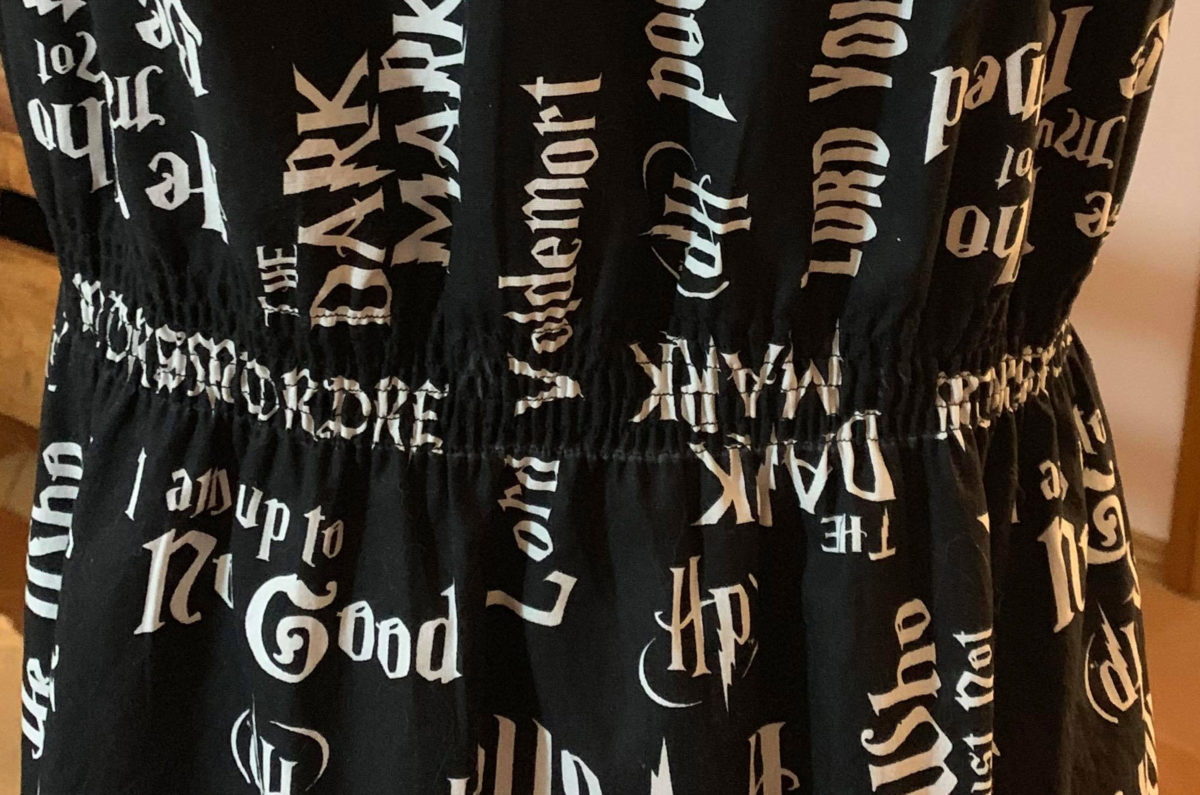
- How many rows will depend on how much-gathered area you desire. The more rows, the more it will gather.
- Press over the stitches with steam. Don’t iron back and forth as you normally would, just lightly place the iron over the stitches and watch them shrink up.


Let your imagination run wild with your new and easy shirring technique.

