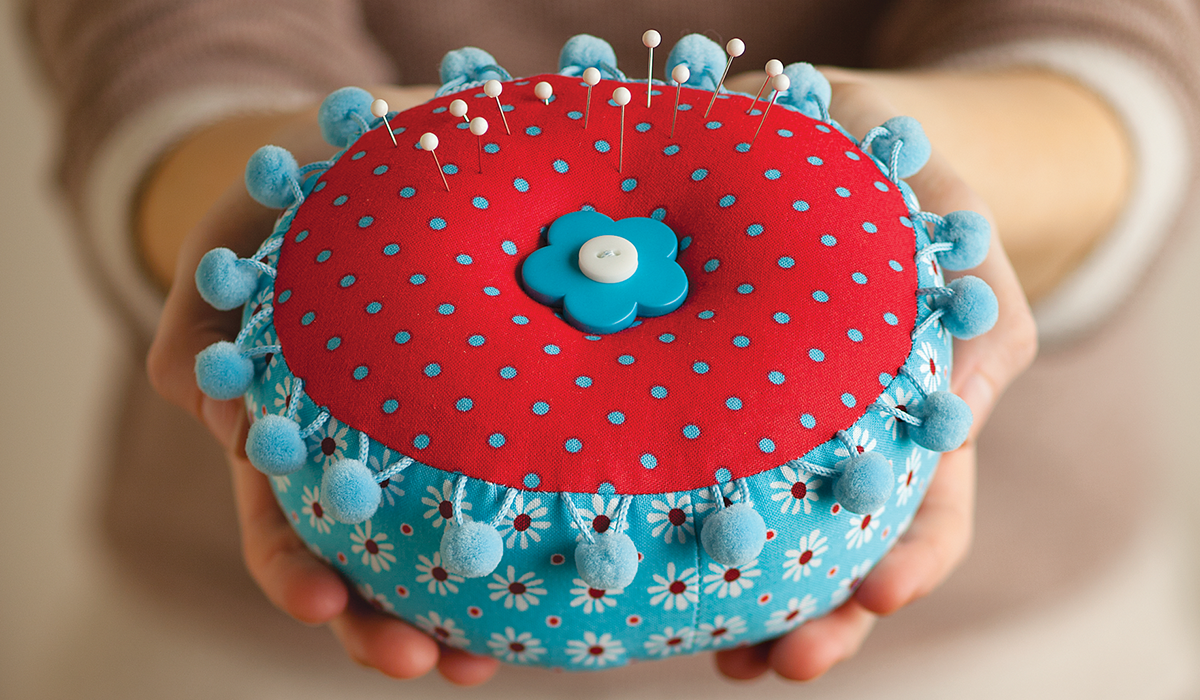
Even a woman of the Victorian Era had many different pincushions in her sewing room. Some just for display and those which where more practical. (Judi Ketteler 2010, Voyageur Press)
Shopping List
- 1/4 yard (.2m) fabric for the top and bottom
- 1/8 yard (.1m) fabric for sides
- 5.8 (.6m) of trim
- Cotton or polyester stuffing
- 1 decorative/fancy button
What to cut
- Cut two of pattern piece “A” from first fabric for top and bottom. (Refer below)
- Cut a rectangle 19 1/2 inches x 2 1/2 inchwa (49.5cm x 4cm) from the second fabric for sides.
How to Assemble
- Fold rectangle in half, so the short ends meet, to form a circle. Stitch ends together; press the seems open. (Refer to Figure A)
- Open out the circle. Sew a gathering stitch along each long side with a basting stitch. Leave the threads long. Pull top thread gently (Refer to Figure B). This isn’t a full-blown gathering but just enough to ease the fullness and make it easier to attach.
- Baste your trim to the right side of one of the A pieces – this will be the top of the pin cushion. This piece will eventually be turned, so if you trim your tassels, make sure the tassel part of the trim is to the inside. (Refer to Figure C)
- Pin the top to the side piece, right sides together, and stitch through all layers. Be careful not to let the trim catch in the seam. (Refer to Figure D) Pin the bottom to the side piece in the same way, leaving about a 4-inch (10.2cm) opening for turning and stuffing.
- Stuff, pressing firmly into seams. Stuffing tends to settle, so really pack it full.
- Hand-stitch the opening closed. Sew the button in the center of your cushion. Take the thread through the stuffing to catch the bottom to create the puckered effect.

Project courtesy of Sew Retro: A stylish history of the Sewing Revolution by Judi Ketteler (Voyageur Press, 2010). For more information visit: www.sewretrothebook.com


