

You might notice as we continue this post that it isn’t the coat I mentioned in my review post.
No, it is not.
A new dress was required to wear to a wedding (weddings are great excuses for new ANYTHINGS aren’t they?!)…and I got offered some free fabric.
One must never say no to free fabric.
So I made a new dress!
 This is the Papercut La Sylphide in a gorgeous ruby Silk Georgette from Hawes and Freer.
This pattern comes as a dress or blouse with front and back darts, lightly gathered sleeve head, quarter circle skirt or peplum, and a neck bow. There is also a skirt option with button down front quarter circle and shaped waistband.
The bodice is underlined and the skirt lined in a red chiffon for extra floatyness which I know will sound incredibly and luxuriously over the top and it is but it’s a whole other story as to how that happened!
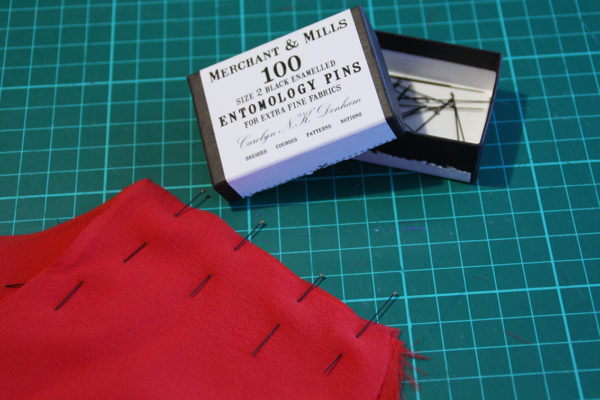
So back to the dress…don’t be afraid of naughty slippery fabrics. To counter the sheerness of georgette I underlined the bodice with the chiffon. Keep both pieces together by basting within the seam allowance…or be lazy like me and use lots of ultra fine pins to keep everything in check.
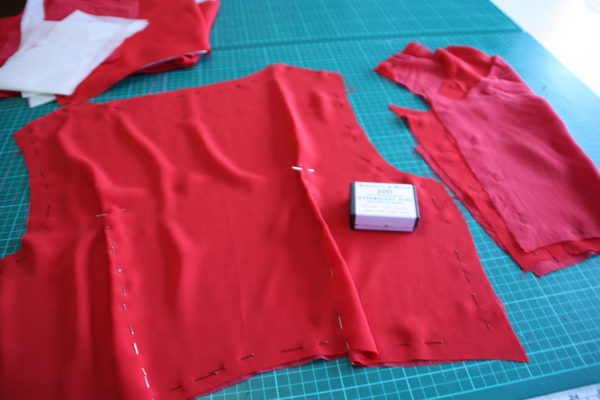 I stitched the darts first (both layers together) and then all other seams are french seamed.
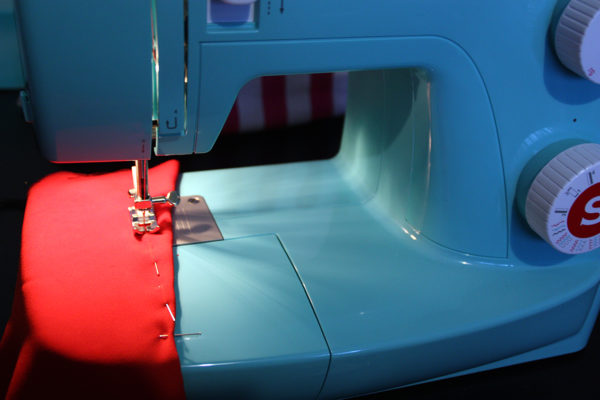 Most of the dresses I sew are from wovens. Overlocking the raw edges is the fastest and easiest way to finish them off but with silks and other fine or expensive fabrics it’s worth that extra bit of effort to finish your raw edges off in a special way.
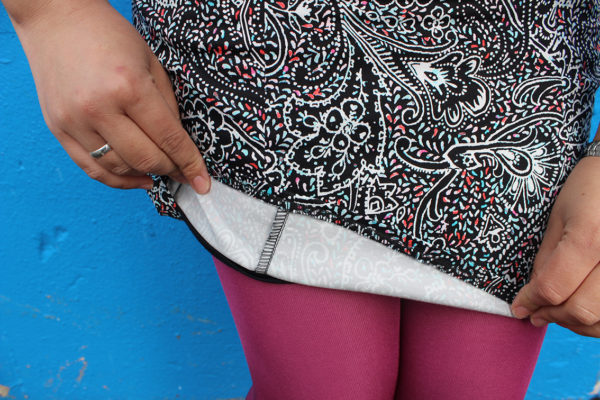 French seams are perfect for sheer and delicate fabrics but you can use them on other lightweight fabrics too.
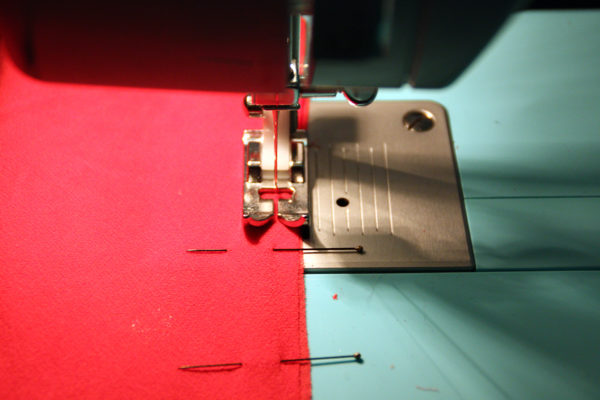
Papercut patterns have a seam allowance of 1cm so I began by pinning my pieces wrong sides together. Now it will feel weird to sew looking at the right side of the fabric but trust me!
I sewed my first line of stitching at 0.5cm. It’s was a little tricky because the width of the machine foot is larger than that so I checked with my sewing guide and saw that 0.5cm lined up perfectly with the point of the foot.
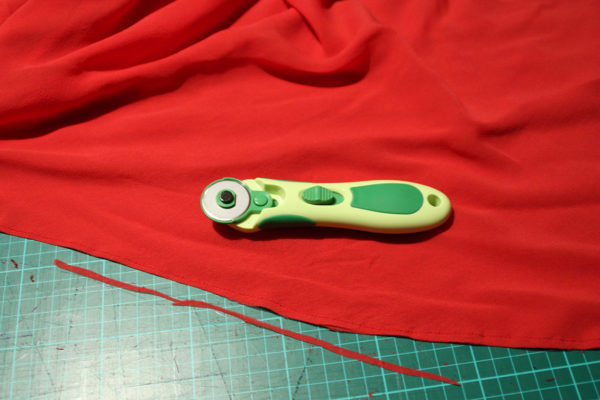
Next I trimmed 0.2 cm off the seam allowance.
 Now the fun part: Open the seam up and press the seam allowance to one side. Press on the wrong side as well to get the seam nice and flat.
 Next fold the fabric right sides together along the seam. Press the seam flat with the stitching on the folded edge.
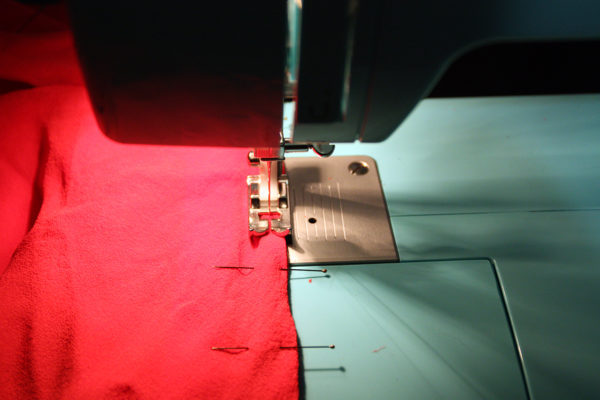
Pin layers together along the pressed edge.
Sew your second line of stitching at 0.5cm, encasing the original seam allowance edge inside the line of stitching.
 Easy! Open your finished french seam and press to one side.
If your pattern has a different seam allowance then you’ll need to adjust the numbers above. For example, many commercial patterns use 1.5cm – Sew your first seam at 1cm, then trim down to 0.3cm. Sew your second seam at 0.5cm. As long as your first and second seam allowance amounts add up to your total seam allowance (1cm + 0.5cm = 1.5cm) then you are good!
Phew! French seams can be time consuming. Time for a supervisor break…
 I decided to go sleeveless for this version and because my dress bodice is underlined (as opposed to lined) I had to finish the raw edges of the armholes a different way. I could have made some facings but they are a pain in the butt because they always flip out and they are annoying to iron plus you’ll probably see the outline on such fine fabric. Another great way to finish armholes is by facing them with bias tape.
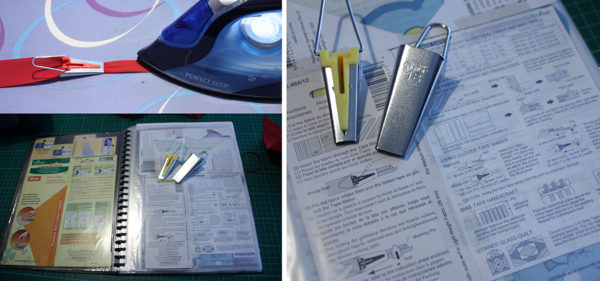
 I make all my bias tape from scratch using a Clover bias tape maker. It looks a bit fiddly but it’s easy peasy and you can have bias in any colour or pattern you want!
Another trick I’ll share while we’re at it: I keep all the little slips of paper I get with any sewing tool in a folder so that I can refer to them later. Everything from the bias tape maker instructions (with handy table of cut fabric widths) to complicated sewing machine feet set up (I’m looking at you pleating foot!), and even interface fusing instructions. Super nerdy but super useful.
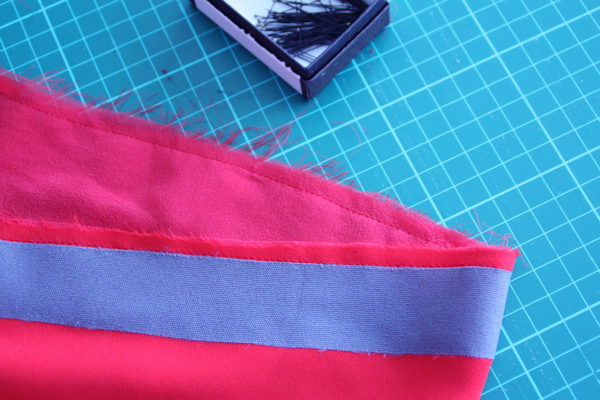
 Ok, back to the bias tape maker. I had the perfect red cotton in my stash so all I had to do was cut my strips, one for each armhole was plenty.
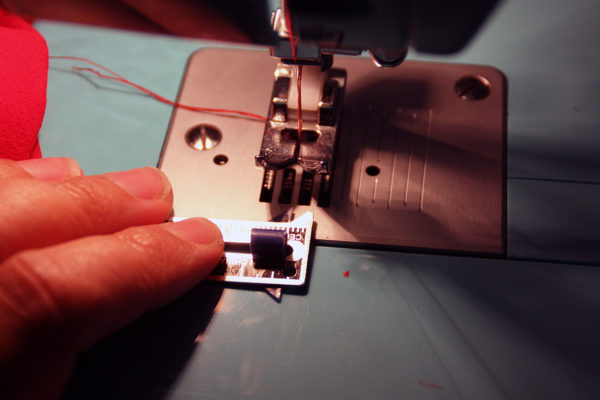
 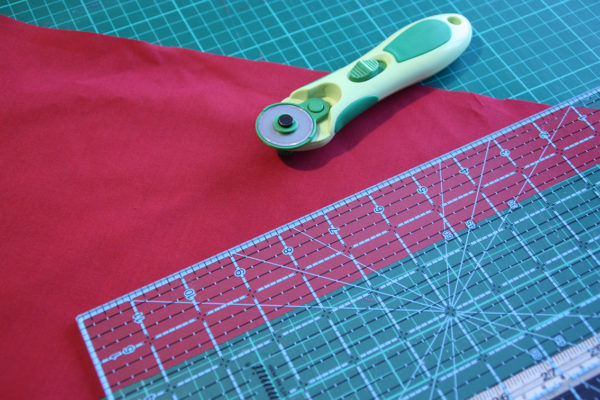 I’m using the 18mm bias tape maker. 18mm refers to the finished width after the fabric strip has been through the tape maker. Then you can choose to fold it half again just like the bought stuff.
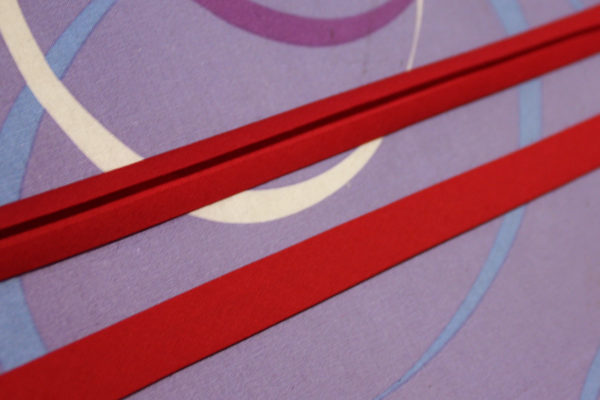
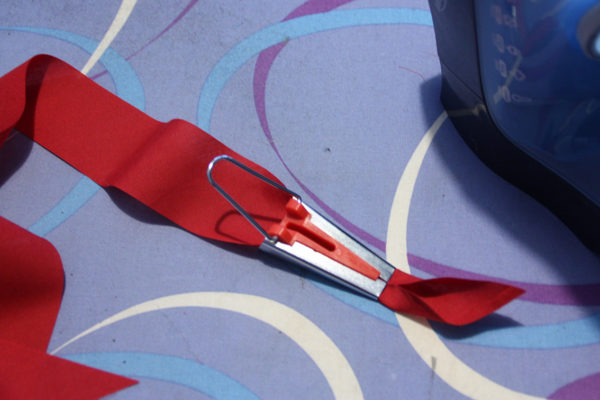 After poking the fabric end through you simply drag the bias tape maker along the fabric strip and slowly chase it with the iron…perfect bias tape ready to use!
Click on the photo below for a little demo video.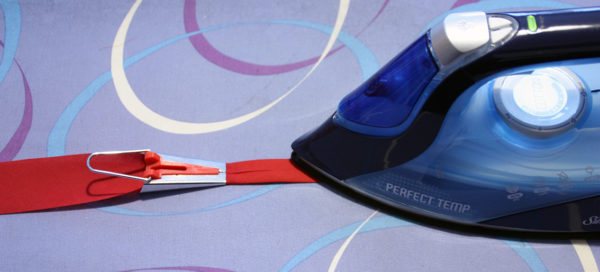
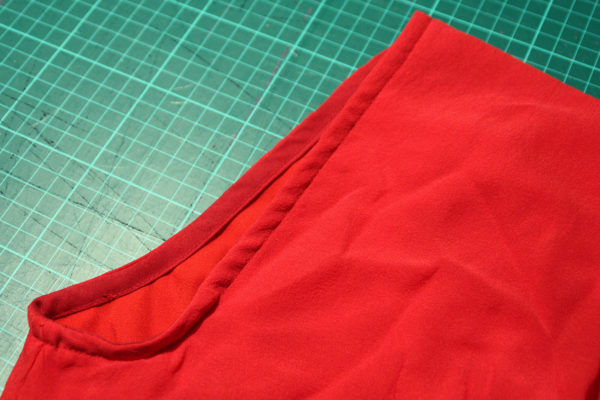
 To attach the bias tape unfold one edge and line it up with the raw edge of the armhole, right sides together.
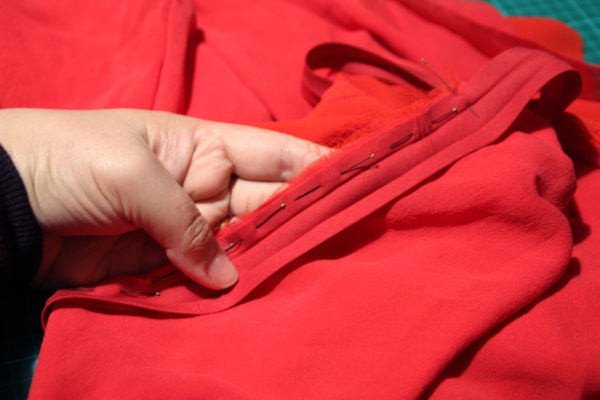
Stitch the bias tape to the bodice in the fold all the way around the armhole.
 Next flip the bias tape to the inside along the stitch line, encasing the raw armhole seam. Then fold it under to the inside and pin.
If you are patient (unlike me) you could hand-stitch the inside edge of the bias tape to the underlining for an invisible finish. I decided to top stitch close to the inside edge of the folded bias tape.
 For the skirt I sewed up the shell and lining skirt side seams separately and then joined them together to the bodice at the waist seam.
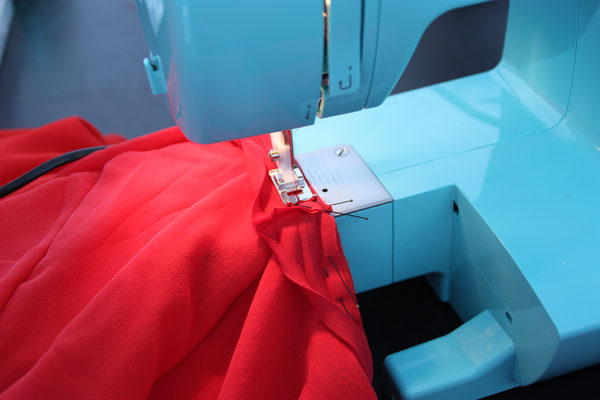
 My button placket is interfaced with a lightweight shirt fusing. I wanted to make sure the placket had enough body to take the weight of the buttons without sagging and also make sewing the buttonholes stress free.
 You can see my sneaky stitching on the inside fold of the placket. This serves two purposes, it kept the naughty fabrics together and it helped me fold the raw edge under for the perfect width placket. No one sees it once the dress is finished.
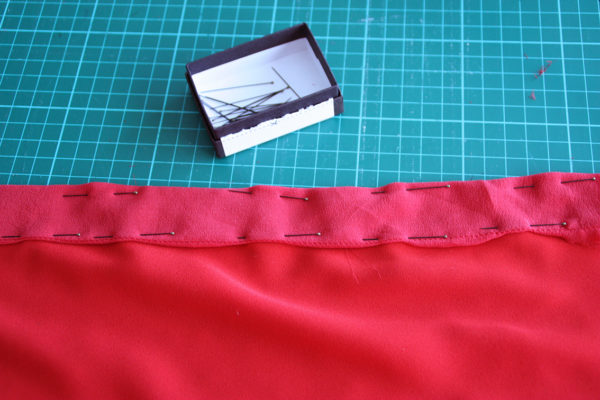 My button hole cutter is a small chisel, much safer that using your unpicker!
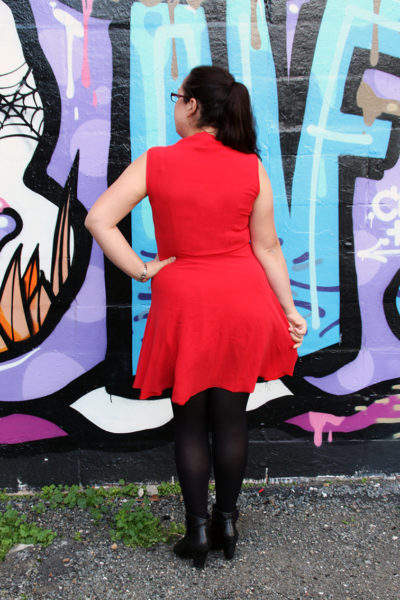
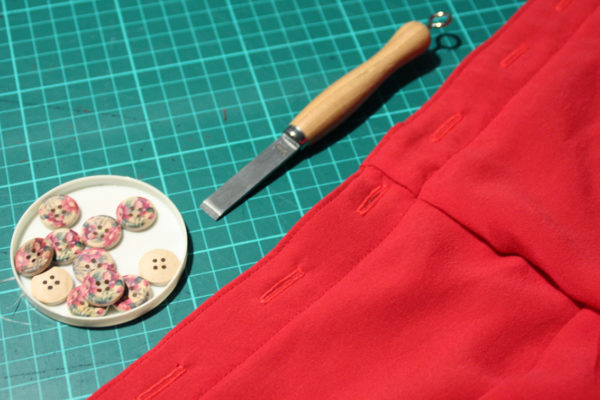 After sewing on the neck tie I just needed to let it hang for a couple of days (to allow the skirt to settle) and then hem it.
 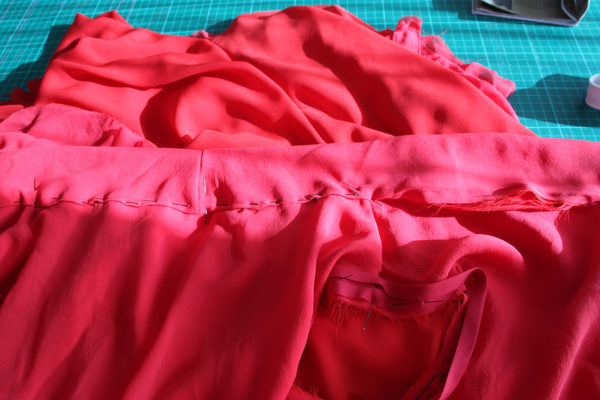 All done!
 I had to take these photos on a very cold Wellington day during my lunch break but I was excited when I saw this cool wall for the backdrop. It makes the red pop perfectly and it wasn’t too windy.
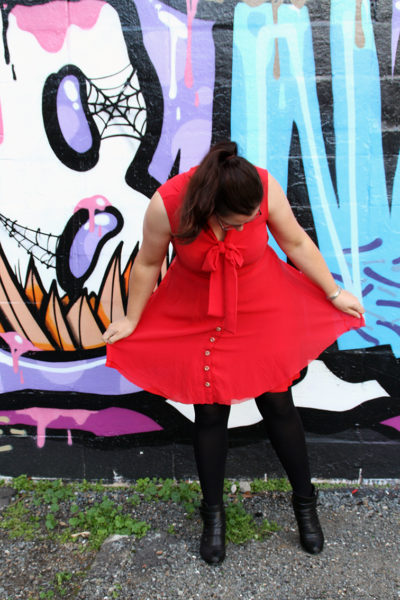
 Don’t worry about me, a hot chocolate afterwards made it all worth it.
Happy sewing xx