

A simple skirt with a cute, ruffled hem, is sure to be a wardrobe staple. It is perfect for all seasons! In winter pair it with a cosy cardigan, and in summer, a cute cool top and hat – perfect for going on picnics.
Requirements:
- SINGER® Sewing Machine (we used the SINGER® Fashion Mate 3333)
- Optional: SINGER® Overlocker (alternatively use a zig-zag stitch to finish raw edges)
- SINGER® Ruffler Attachment
- SINGER® 8” Bent Shear Scissors
- Cotton fabric (amount will depend on your measurements worked out below)
- 2 ½cm non-roll elastic for the waist band. (Amount will depend on our waist measurement.
- Pins
- Fabric Marker
- Safety pin or Bodkin for threading elastic
- Coordinating thread
Cutting:
- Skirt cut 2:
- Width = hips divided by 2 + 22cm
- Height = Waist to knee (this includes your waistband casing and seam allowance)
- Ruffle cut 2:
- Width = Skirt rectangle width X 1.5 + 10cm (this is to allow for a bit of extra excess) If you want a denser ruffle, x this width by 2, and adjust your ruffler attachment accordingly.
- Height = Knee to above your ankle (includes seam and hem allowance)
- Elastic = Length is waist – 10-15cm depending on your own preference of fit.
Construction:Seam allowances are 1.5cm unless otherwise specified.
Note: For seam finishing overlock or zig-zag your raw edges as you go.
- Place the front and back skirt rectangles together with right sides facing and sew the side seams to create a skirt loop. Mark the centre front and back along the bottom edge and turn the skirt loop right side out.
- Place front and back skirt ruffles together with right sides facing and sew one side the side seams to create one long strip. Mark the centre front and back using your fabric marker.
- Attach your Ruffler Attachment (for info on how to use this attachment refer to our blog: How to use the Ruffler Attachment) to your sewing machine and set it to your preferred settings. (note: keep in mind how long you made your strips. E.g. if you now chose a more dense ruffle, the strip may not go the whole way around the skirt.) Now ruffle up the strip.

- Check the length of the strip against the bottom of your skirt loop. Cut off any excess if required.

- With right sides facing of your ruffle, sew the remaining side seam.
- Change your presser foot back to the All-purpose presser foot.
- With right sides facing, align the centre marks on the ruffled edge of the pleated ruffle loop with the marks on the skirt loop and pin. Align the side seams and pin. Sew a straight stitch to attach the ruffle to the bottom of the skirt loop.

- Sewing the waist band casing:
- Fold top edge over 28mm (width of elastic with some ease). Press.
- Fold top edge a second time to form a casing. Press.
- Pin and sew.
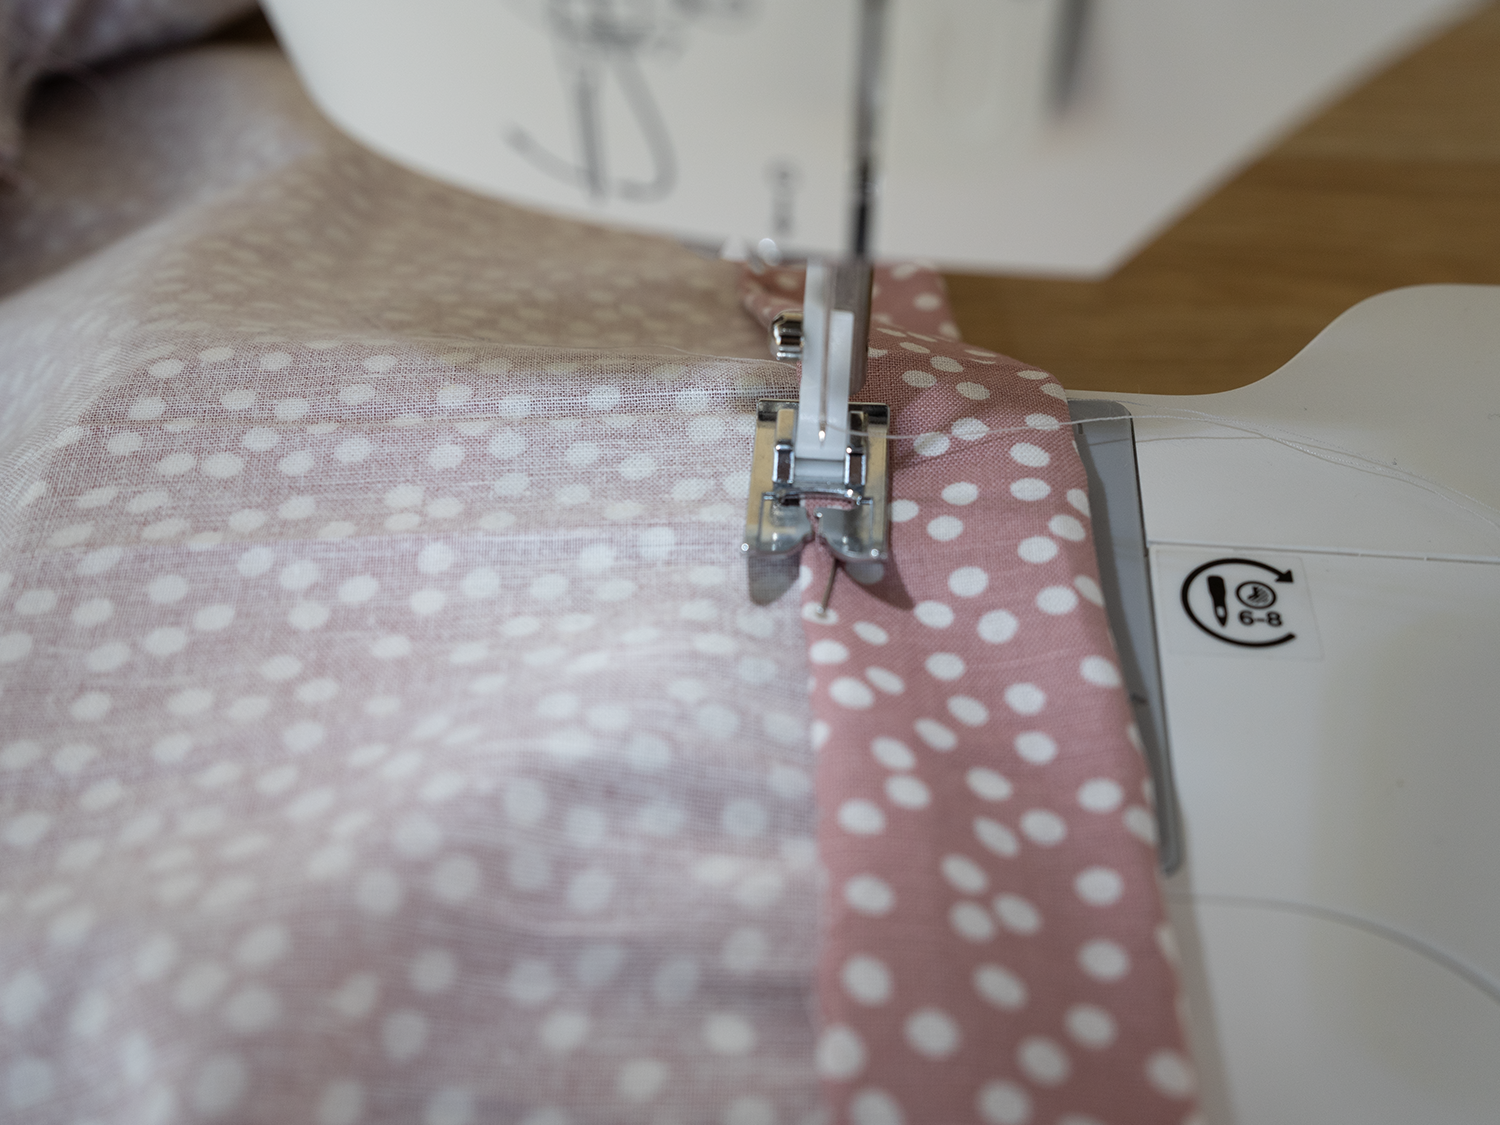
- Hem the bottom of the ruffle. There are a few ways to do this, but we chose to do a double fold hem. To get a professional finish, increase the stitch length to 3.0mm to topstitch the hem.
Now you have created yourself an amazing, ruffled hem skirt. Why not try making a version with an asymmetric ruffled hem or try experimenting with the different pleat-depth options on the SINGER® Ruffler Attachment Foot.
Want to customise the skirt even further, add in-seam pockets to keep all your belongings nice and close.
If you make this skirt or any other project with the SINGER® Ruffler Attachment Foot don’t forget to tag us! We love seeing your creations. Be sure to tag @singersewingaus and #sewitwithsinger in your posts so we can see!