

Father’s Day is just around the corner, and it’s time to start thinking about the perfect gift for the special dad in your life. While there are plenty of gifts to choose from, sometimes the most meaningful ones are the ones that are handmade. This year, why not try your hand at sewing a tie for your dad?
Sewing a tie may seem like a daunting task, but with the right materials and a little bit of patience, it’s a project that even a beginner can tackle.
Not only will your dad appreciate the thought and effort that went into making the tie, but he’ll also have a unique and personalized accessory to wear for years to come.
Grab your SINGER® sewing machine and let’s get started on sewing your very own tie for dad!
Requirements:
Here is what you need to sew a tie:
- SINGER® Sewing machine (we used the HD6705C Digital Sewing Machine)
- SINGER® Iron (if you need an iron, check out our range SINGER® Irons)
- Old necktie to make a pattern from
- 70cm of your main fabric
- 25cm of your lining fabric
- Craft paper or tracing paper
- Seam ripper
- Fabric marker
- Scissors or rotary cutter and mat
- Co-ordinating thread
- Hand sewing needle
- General sewing supplies, e.g., Pins
Preparation:
- Using the tie, you have chosen as your pattern, take your seam ripper, and undo the stitching in this tie. Press all pieces flat. This will then form your pattern for your new tie.
- Trace all the pieces onto your paper and create an arrow on a 45-degree angle to indicate that these pieces need to be cut on the bias. (Bias is a directional grain on the fabric. It is the grain that runs 45-degrees to the selvedge edge)
- Cut out your main pieces from your main fabric, and the lining pieces from your lining.

Construction:
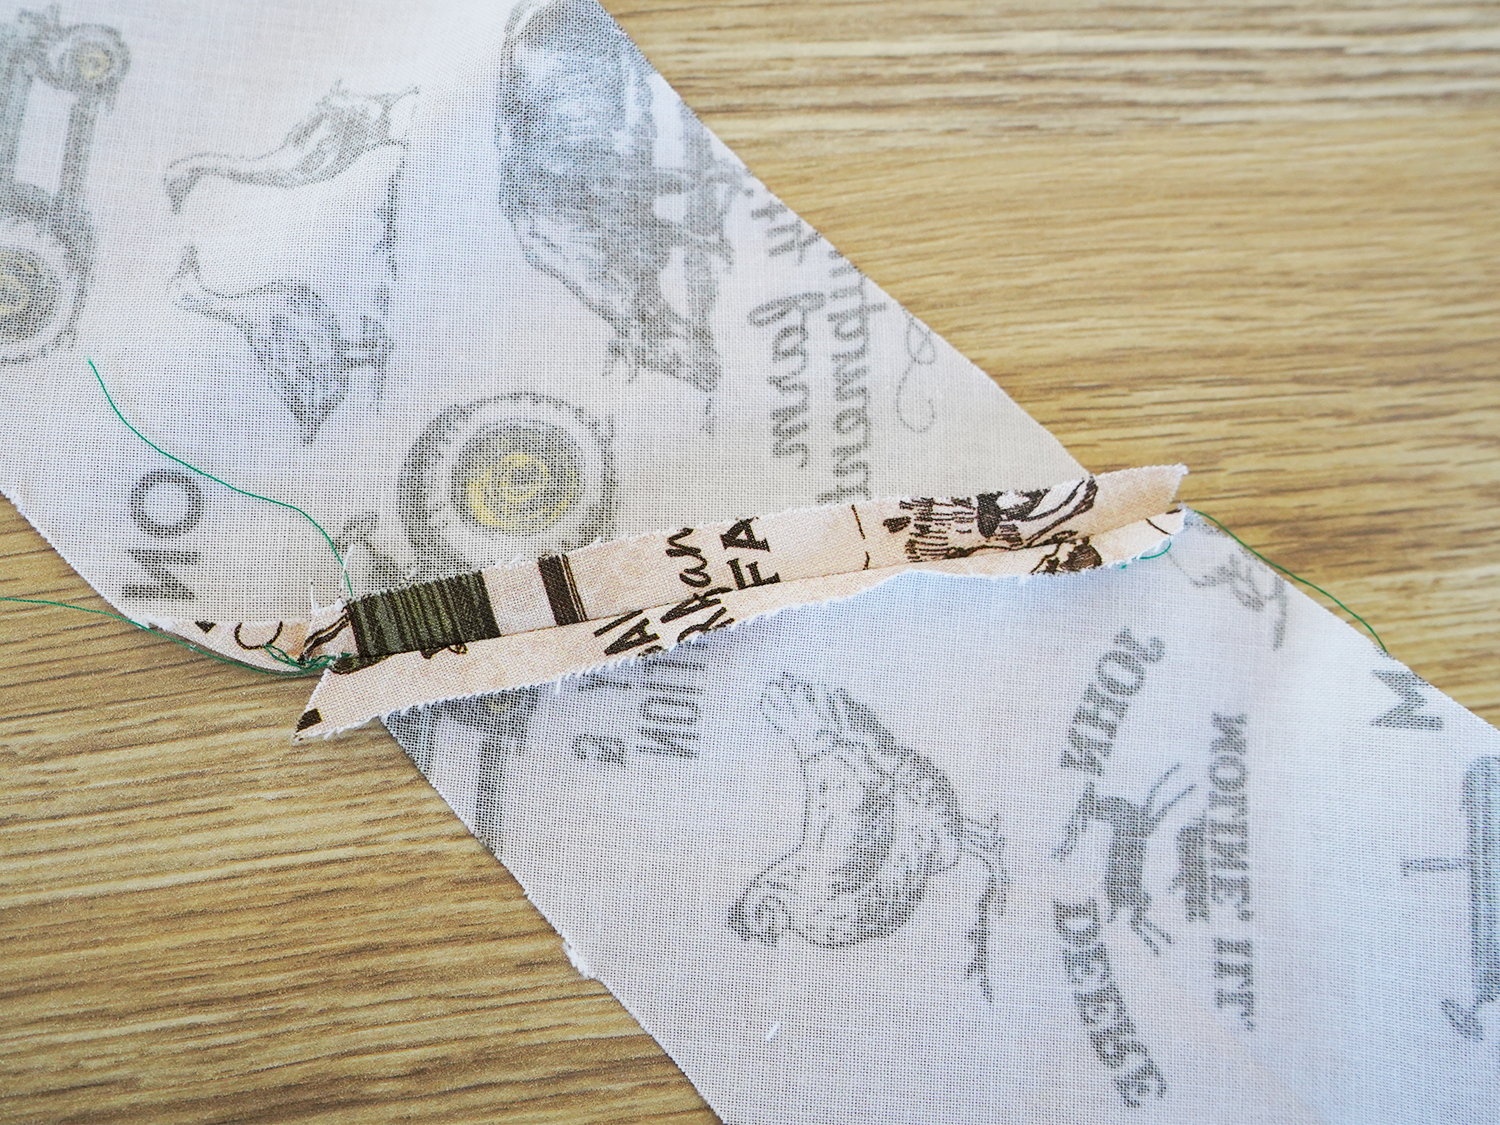
Take note of the seam allowance on your original tie and use this for all seams unless otherwise specified.- Take the wider main piece and the centre base piece with their right sides together, at an angle. Pin and stitch. Press seam flat.
- Take the tip lining and place the right sides together on the end.

- Fold in half right sides together, making sure everything is aligned. Stitch the end of the tip, 6mm from the edge.

- Sew sides ending at the tip stitching.
- Repeat steps 2 –4 for the other end.
- Flip right sides out and press.

- Fold one side of your main fabric inward by 6mm. Press Repeat for other side. Fold both sides in, meeting in the centre. Press.

- It is time to hand sew this seam up. Begin with a bar tack, ensuring you get the interfacing but not going through to the front side, once this is secure, perform a slip stitch for the remaining seam, and finish with another bar tack.

In conclusion, sewing a tie for your dad this Father’s Day is a thoughtful and unique way to show him how much you care. With the right materials and a little bit of patience, you can create a beautiful and personalized accessory that he’ll be proud to wear.
Remember to choose a fabric that suits your dad’s style and personality!
If you make a tie, we would love to see it, so don’t forget to tag us! We love seeing your creations. Be sure to tag @singersewingaus and #sewitwithsinger in your posts so we can see!