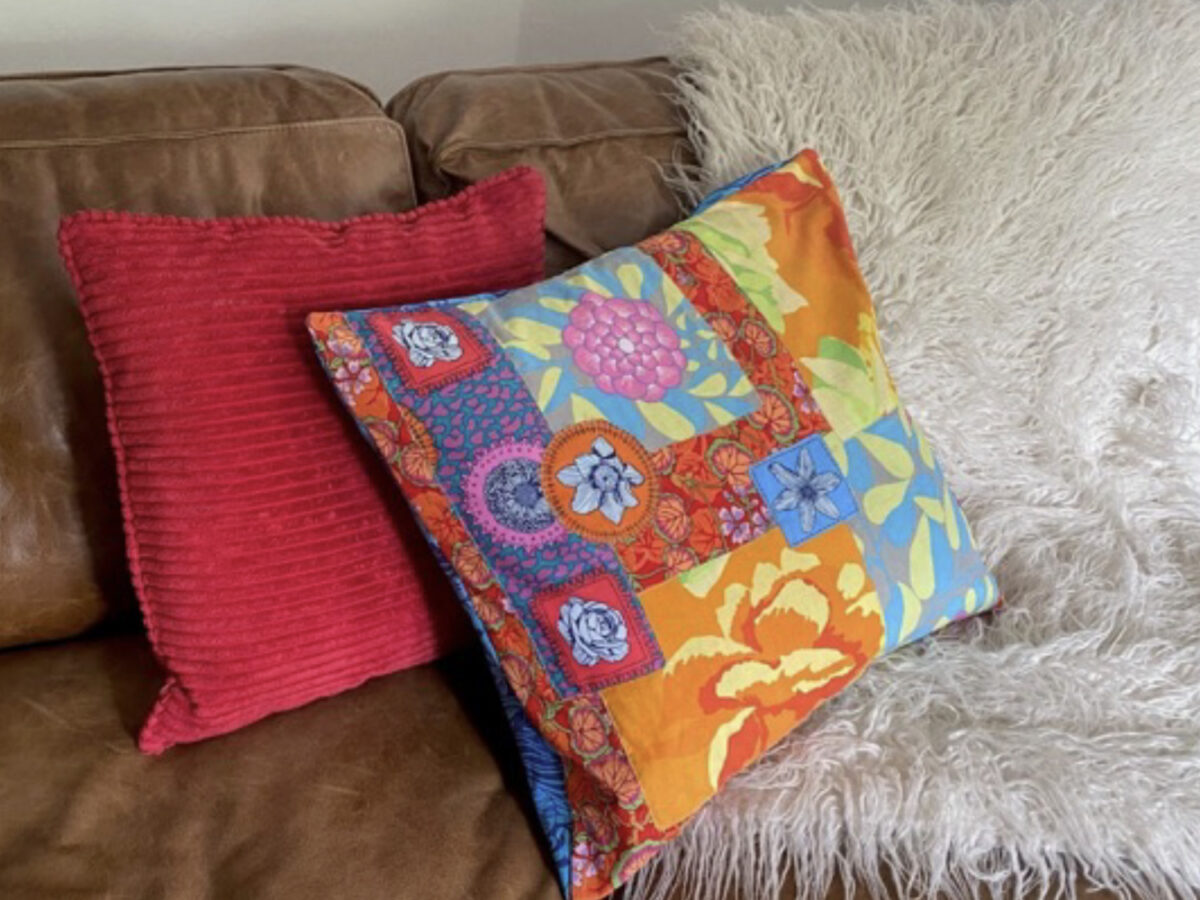
Creating your own cushion covers means you can style them to fit your home décor, personalise them and have loads of fun making them! Plus, most likely you can make them yourself for a lot less cost than some high-street brands.
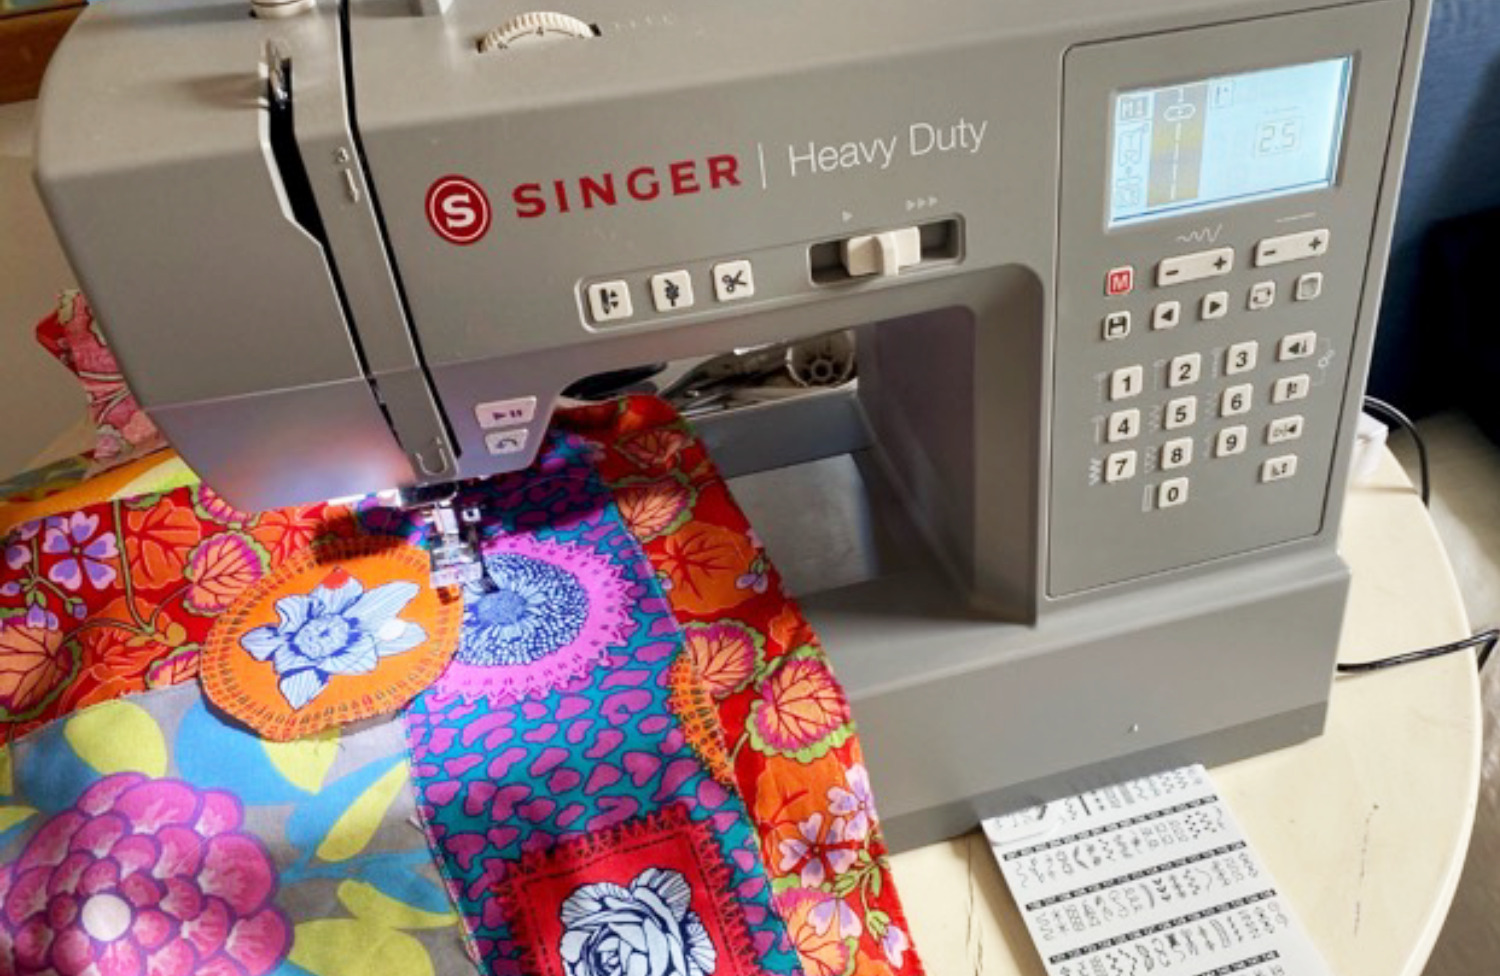
The SINGER® Heavy Duty HD6805C Digital Sewing Machine has a needle-down function for turning those corners and ensuring your stitching is continuous. It also has the tie-off function to ensure your stitches start off securely.
Requirements:
Here is what you need to make your very own Raw Edge Appliqué Cushion Cover:
- SINGER® Heavy Duty HD6805C Digital Sewing Machine
- Fabric for the base front 55cm x 55cm
- Contrasting fabric for back 55cm x 70cm (to allow for envelope fold)
- Light-weight Fusible web
- Co-ordinating fabric scraps for accent pieces with a light-weight fusible web attached
- Cushion inner 50cm x 50cm
- Sewing thread and general sewing tools.
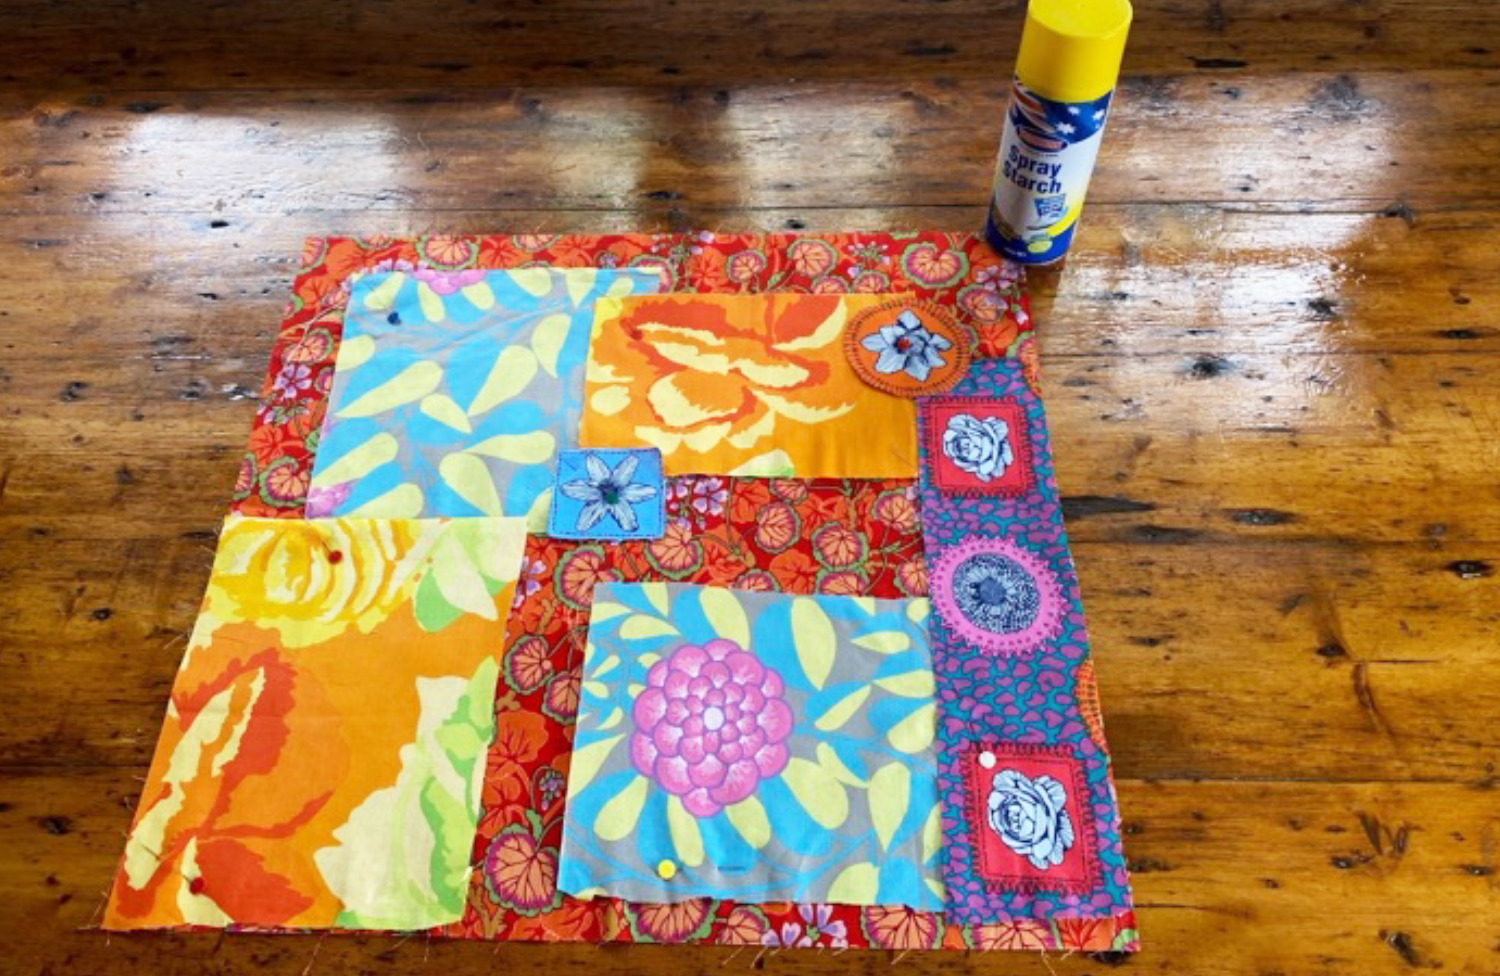
- Spray starch (optional)
- Rotary cutter, mat and ruler
Cutting:
- Cut (1) 55cm x 55cm square for the front of the cushion. (This will be the base piece to add on your accent pieces too).
- Cut (1) 55cm x 70cm rectangle for the cushion back. Cut in half to make (2) 35cm x 50cm pieces.
- Cut an assortment of squares, circles and strips to layer onto the cushion front. Make sure they are similar designs or colours to the base so that they work well together
Sewing Tip: We recommend ironing on lightweight fusible webbing on those smaller pieces.
Construction:
- Spray starch onto your main fabric (cushion top) and lay it right side up on a table. Place the accent fabrics on the cushion top, right sides up. Have fun overlapping the pieces to create texture and interest in your cushion.
Sewing Tip: When placing accent fabrics onto the main fabric, keep the accent pieces at least 10mm away from the edge so they are not sewn into the side seam.

- Iron the accent fabrics to the main fabric with a warm iron.
- Using your General Purpose Foot from your machine and a straight sewing stitch, sew around the edges of the accent fabric, 3mm- 5mm inside the edge of the fabric. Sew around the edges a total of 3 times. You don’t need to sew where the pieces will be overlapped by the next piece.

- Trim the front to 53cm. Set aside.
Sewing tip: The SINGER® Heavy Duty HD6805C Digital Sewing Machine has a needle-down function for turning those corners and ensuring your stitching is continuous. It also has the tie-off function to ensure your stitches start off securely.
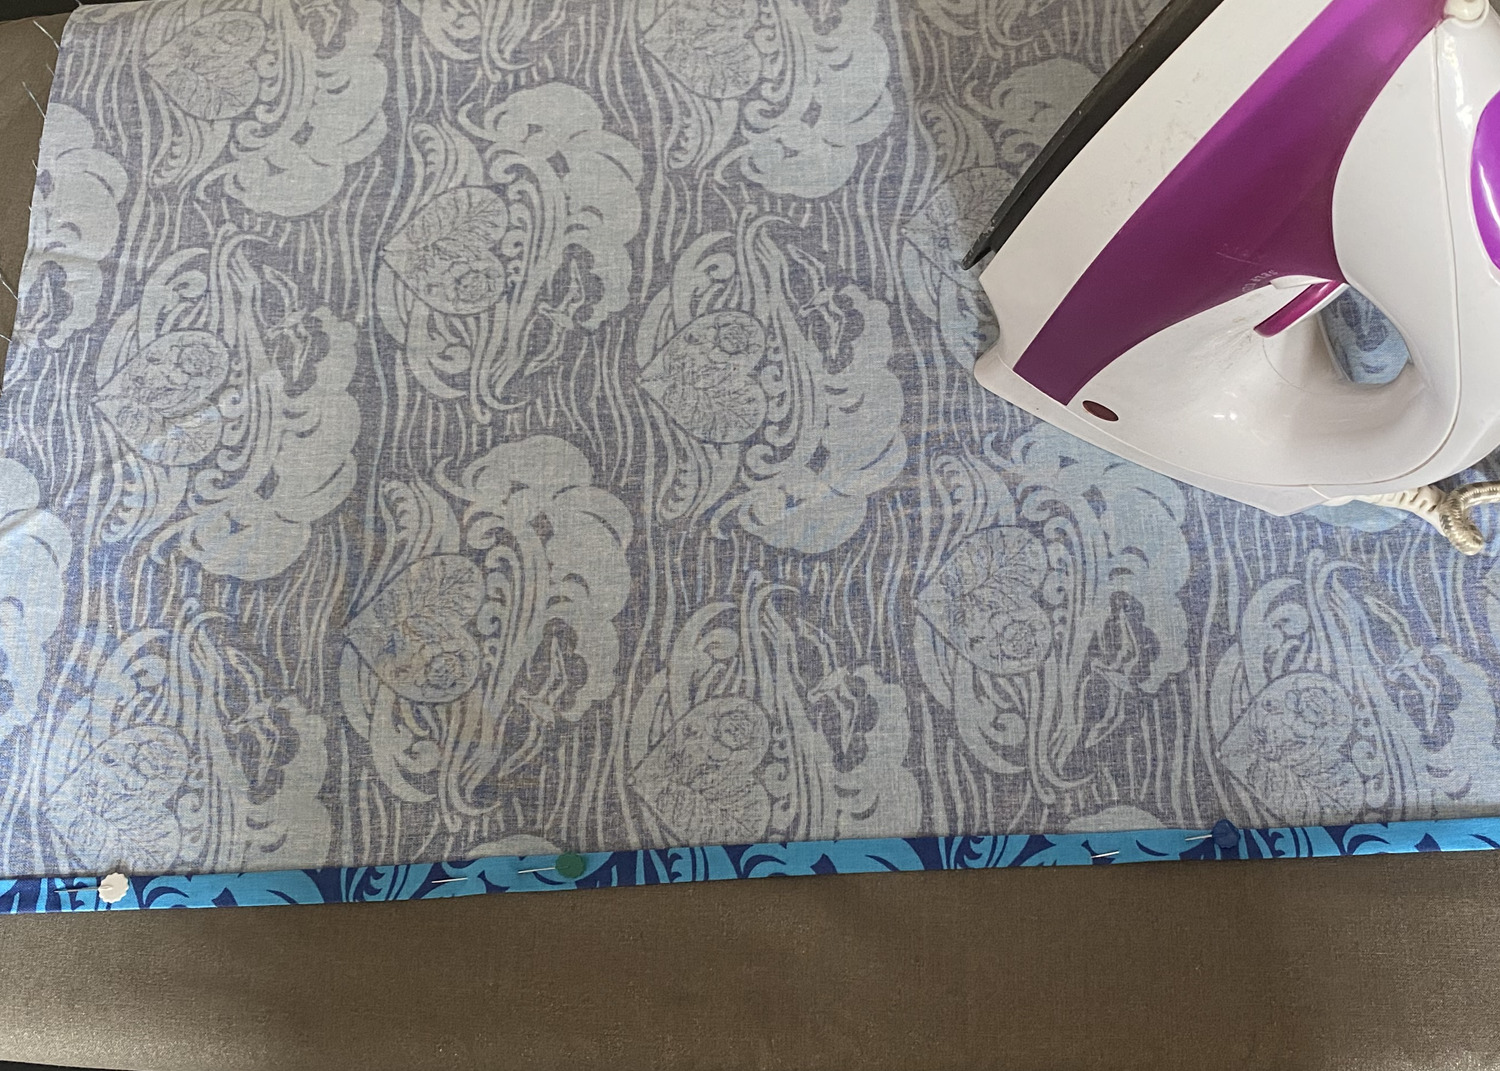
- Using (1) back piece, fold 55cm length edge over 1 cm, wrong sides together. Press. Fold the edge a second time to encase the raw edge.

- Repeat for second back fabric.
- Sew your edges down in matching thread. Trim to a width of 53cm.
- With rights sides together, pin the back pieces to the front piece matching sides and bottom to the front. The finished seam edges will overlap creating the envelope opening.
- Sew 1.5cm seam allowance around the complete cushion, reinforcing the stitching over your envelope for strength.
- Trim corners to eliminate bulk from your cushion.
- Turn inside out and insert your cushion inner.
Conclusion:
Congratulations on finishing your raw edge appliqué cushion cover!
Now you know how to make a Raw Edge Appliqué cushion, why not make a stylish set. Mix and matching your scraps or add some embroidery with an embroidery machine such as the SINGER EM9305 Embroidery only Machine.
If you end up completing this project, don’t forget to tag us! We love seeing your creations. Be sure to tag @singersewingaus and #sewitwithsinger in your posts so we can see!

