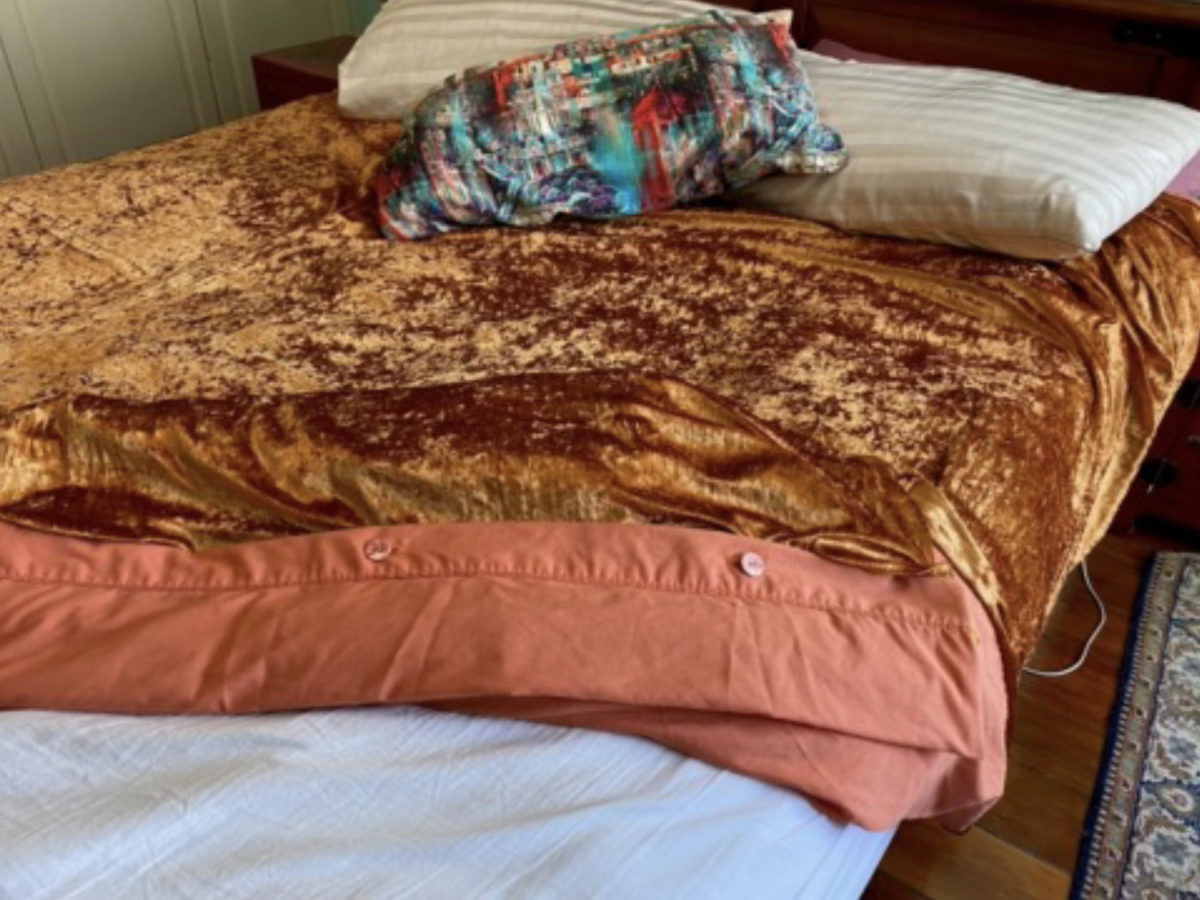
A bed duvet needs to be protected by a cover that is removable, washes easily, and can be closed to secure the duvet inside. Making your own duvet cover makes it easy to change the style of a bedroom.
NOTE: Wash your fabric first as there could be some shrinkage and excess dye colouring.Also, Duvet inserts can vary so measure your own.
Requirements List:
- Plain Fabric 400 cm x 230 cm (You will need extra if having to match up a pattern or half of this if using an existing sheet as the backing.)
- 7 x 20 mm buttons
- Strip of interfacing 200 cm (can be made from multiple smaller strips)
- 3/4 x spools of overlocking thread
- Coordinating sewing machine thread
- Overlocker
- Sewing machine
- Rotary cutter, mat and ruler
Cutting:
- Cut 2 -200cm x 230cm (we opted to use 1 Queen size sheet for the backing, so only needed to cut out 1)
- Make a strip of interfacing for the edge with the buttonholes which will be a total of 200cm in length and 3cm wide.
Construction:
- Fold over 3 cm on one bottom edge of your duvet cover, place the interfacing inside, pin and stitch, securing in place. (This will be the edge you sew your buttonholes onto)
- With a dissolvable marker, mark where your buttonholes will go. With my 7 buttons, I placed a buttonhole at each end and then evenly spaced out the remaining 5 buttonholes each 33cm.
- Place your buttonhole foot on to your Singer sewing machine. The Singer SC220-RD comes with 9 x Fully automatic 1-step buttonholes, a buttonhole foot and a button foot.

- We advise to do a test buttonhole on a fabric scrap first to ensure your length is correct and your buttonholes match the size of your buttons.
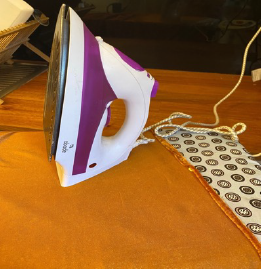
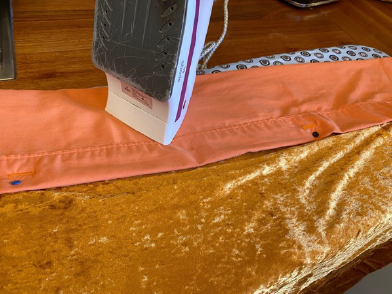
- On the other bottom edge make a hem which is where you will sew your buttons onto. Fold over the edge 1.5cm, press, fold over another 1.5cm to conceal the raw edge. Pin in place. Stitch.

- Thread your overlocker, setting up for either a three or four thread overlock. Overlock the remaining three edges. (Both sides and the top of the cover)
Note: If you are using a slightly larger Queens sheet as your backing, you can add an envelope finish to your cover by folding over the bottom of the sheet to the inside when overlocking with the right sides together.

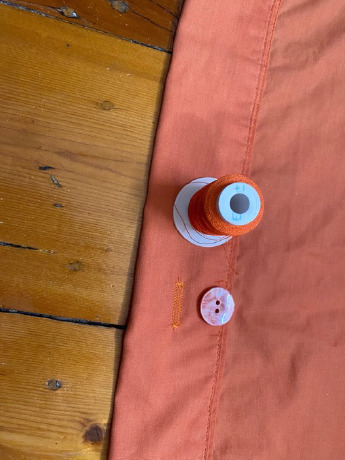
- Turn the duvet the right way round. Line up the buttonholes over the other bottom edge and mark where to place your buttons. You can either sew these by hand or use your machine and the button foot.
- With a seam ripper, carefully open your buttonholes. As you sew on each button, fasten it up. This helps to keep the sewing of your buttons straight.
- Reopen when all your buttons are sewn on, place in your quilt cover and secure with your buttons

