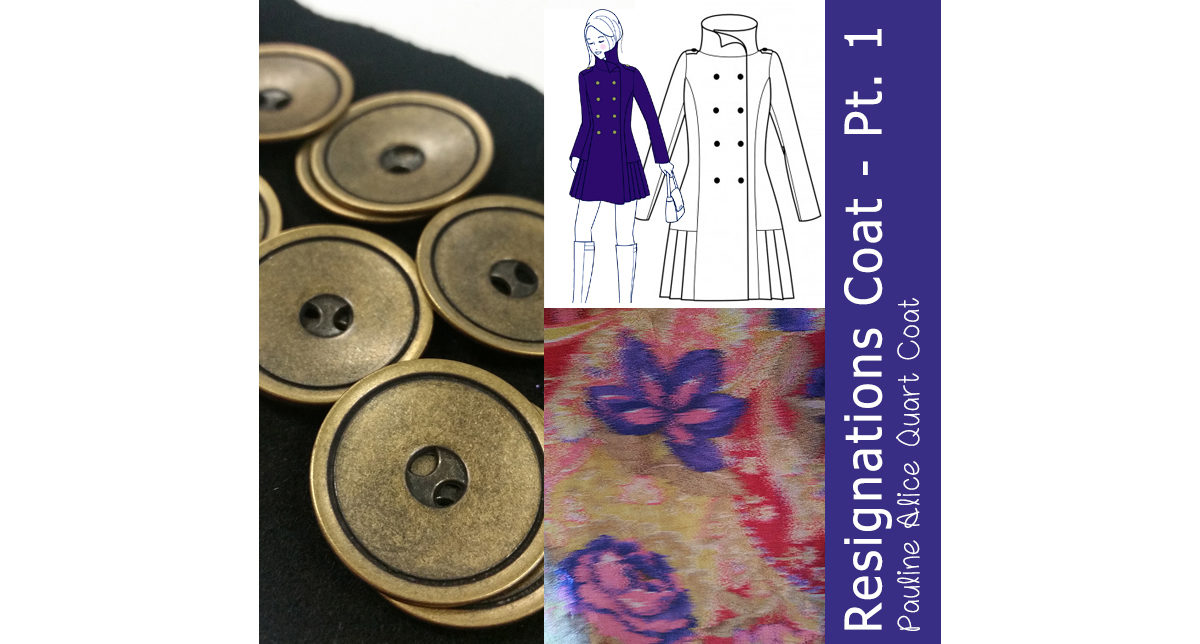
Do you suffer from the Winter sewing blues too? While I love a good sewing day when it’s raining outside it can be hard to find motivation for sewing once it starts to get dark in the early afternoon. My sewing room has poor lighting and it’s not much fun taking outdoor photos of finished garments with the winter weather ruining your plans.
Here in Wellington right now the daffodils are up, the Kowhai trees are in full bloom and the Tuis are going nuts. The spring winds and rains will soon give way to summer and we just put our clocks forward for Daylight Savings…and that means I better hurry up and finish my new coat!
I’ve been working on my Pauline Alice Quart coat for a couple of months now – I’m calling it my Resignations Coat because the fabric was purchased with vouchers from two different job resignations.
When I resigned from the first job I was delighted to receive a voucher from Fabrics Direct. At that time our team had been reduced to just myself and two guys. One of them remembered me popping into Fabrics Direct after we’d been to visit a client and I had seen a “vintage fabrics” sign outside. Fabrics Direct specialise in curtain and upholstery but occasionally get in fashion fabric including estate sale lots. This voucher purchased the black 100% Wool for the outer.
My following job lasted just over a year (and it was a very long year!) when I resigned I received a very generous voucher from The Fabric Store which I used to buy the outrageous silk lining.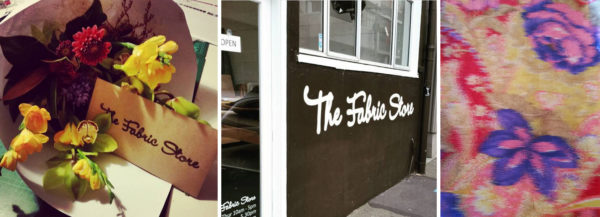
I know the silk print looks blurry but that’s actually how it’s woven, it’s amazing!
As a side note I’m pleased to tell you I’ve been in my current job for just over 2 years and I have no intention of leaving for quite some time! In fact, they would have to drag me out the door…so no more resignation fabric vouchers for me for a while, all future fabric will be purchased with hard earned cash 😉
The Pauline Alice Quart Coat is described as a short, double breasted, fitted coat with a high stand-up collar, inseam pockets, long sleeves with zipped cuffs. Inspired by the military outerwear, you will also find epaulettes and a pleated skirt detail at the side. The Quart coat is fully lined.
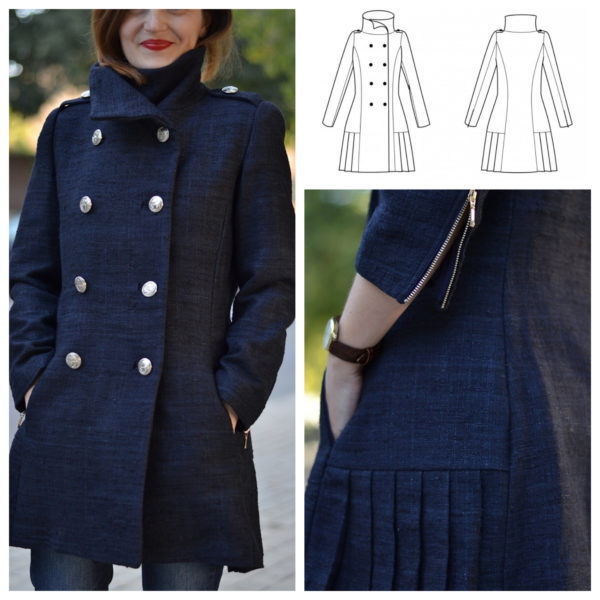
I actually cut this coat out mid last year (hides embarrassed face) and then took a break from it until winter this year. I was hoping to finish in early September when I hit a little snag. You see I bought my zippers early along with the sleeve heads and shoulder pads but the buttons took me much longer to find. I usually like to wait until near the end of a project to find the perfect buttons, that way I get a better idea of size and colour based on the nearly finished garment. This time however I needed them before I could start.
I decided early on that this coat was going to be a good wardrobe staple, hence my unusual choice of a plain black wool. Along with a sensible choice of fabric (balanced with the lining fabric, of course) I wanted bound buttonholes for that next level finish. finally found my buttons at Made Marion Craft here in Wellington. Without a finished coat to lay buttons I took the front pattern in instead. I folded off the seam allowances and just laid out buttons until I found the perfect choice. 28mm antique antique bronze buttons were the winner and I was very excited to get started until I got pulled out my zippers and realised they had silver teeth!
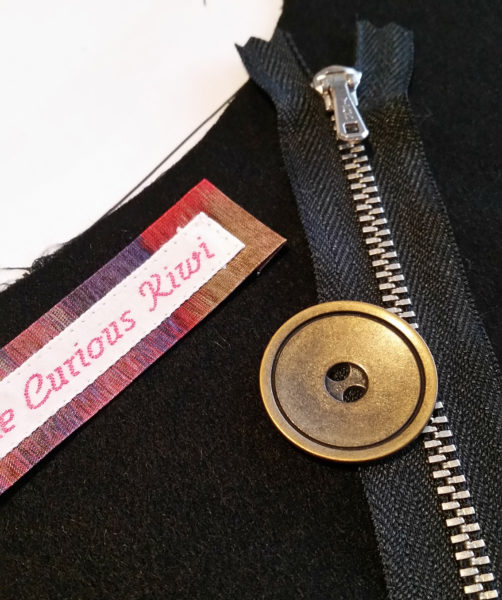
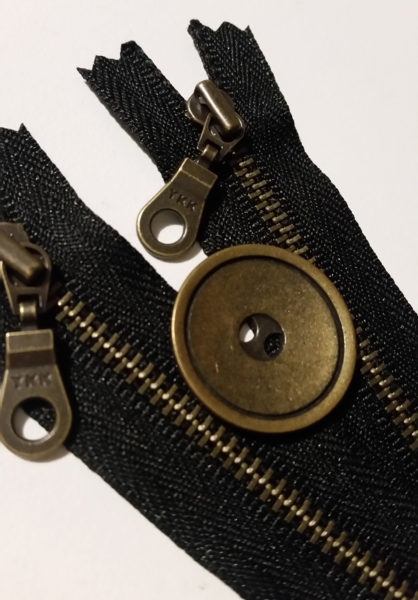
Success!
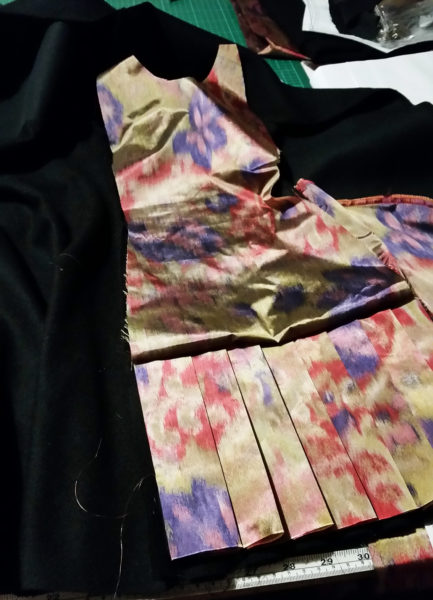
Please excuse the terrible night time photos!
The three most time consuming parts of this make are all at the beginning and it was nice to get them out of the way early on:
- Lots and lots of interfacing to fuse
- Pleated side panels in both the shell and lining
- Bound buttonholes (my own choice)
The interfacing was actually the easiest part but it still took a long time. I have an ironing press that I bought second hand a couple of years ago. I won’t mention the brand but if you ever see one of these (Singer or other brand) at a good price I recommend you get it. A big pressing area obviously lets you fuse a larger area and you don’t have to stand around holding an iron for ages or keep moving it around to avoid the dreaded steam hole bubbles.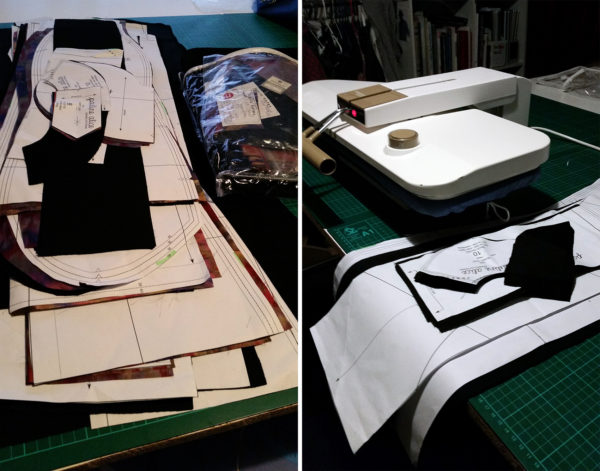
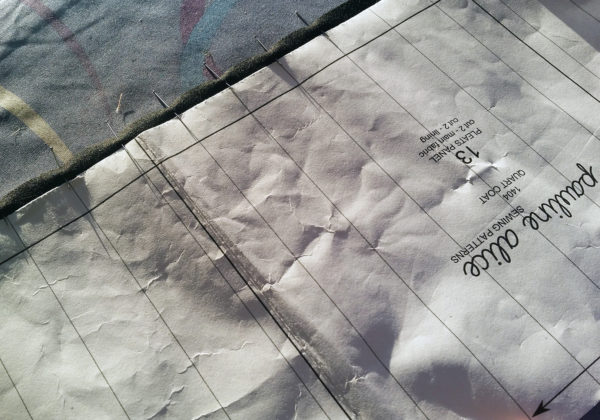
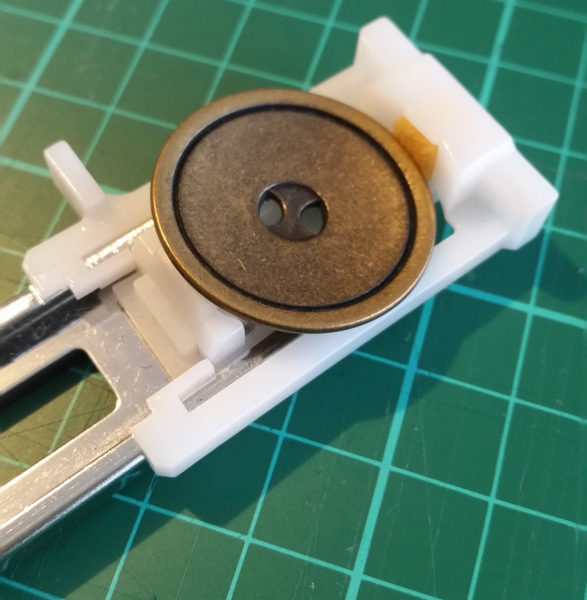
Actually it was a good thing I went for bound buttonholes. The buttons might be the perfect scale for the coat but they are about 2mm too big for my buttonhole foot!
I always put some scraps aside each project when cutting out. You can practice regular button holes, test tension or your needle selection and fine tune your machine settings but to get it right for each project you need to use the actual fabric and number of layers you will be sewing with.
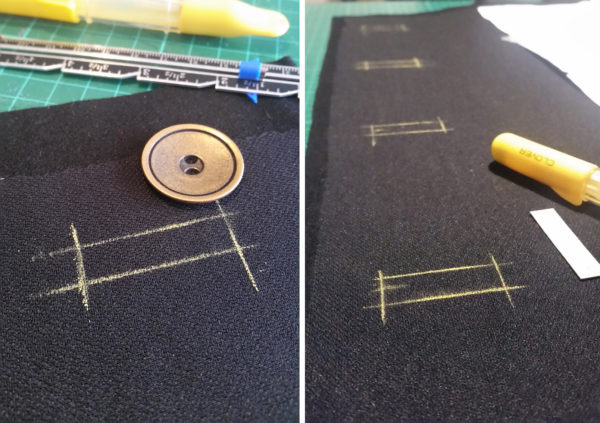
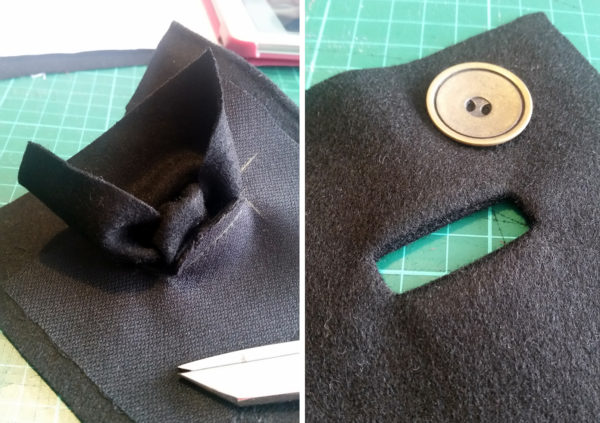
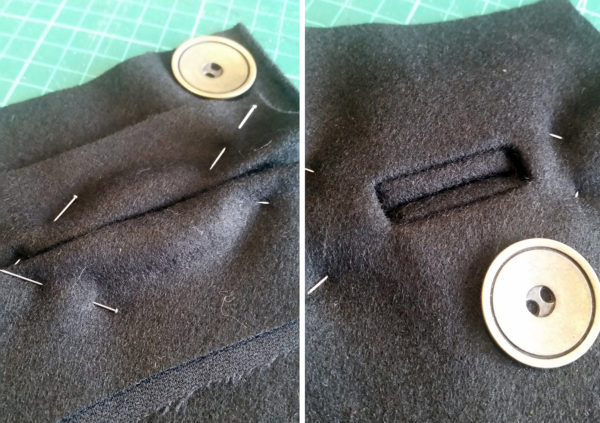
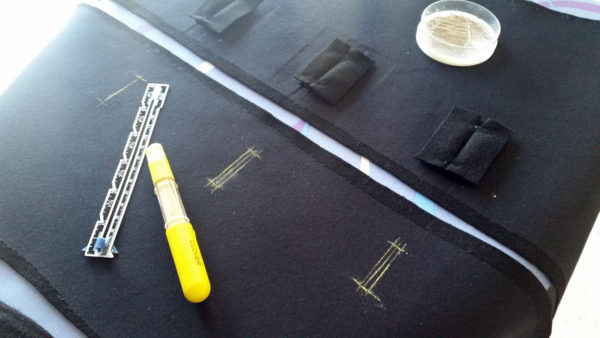
So, where am I up to:
- Bound buttonholes done!
- The shell and lining are both complete but still separate and sleeveless.
- I have to insert my new zippers into the sleeves then attach them to both the shell and the lining.
- The shell needs a few fit tweaks that will be repeated on the lining…
- Join both halves together (exciting!)
- Probably some hand stitching (boo!)
Happy sewing xx

