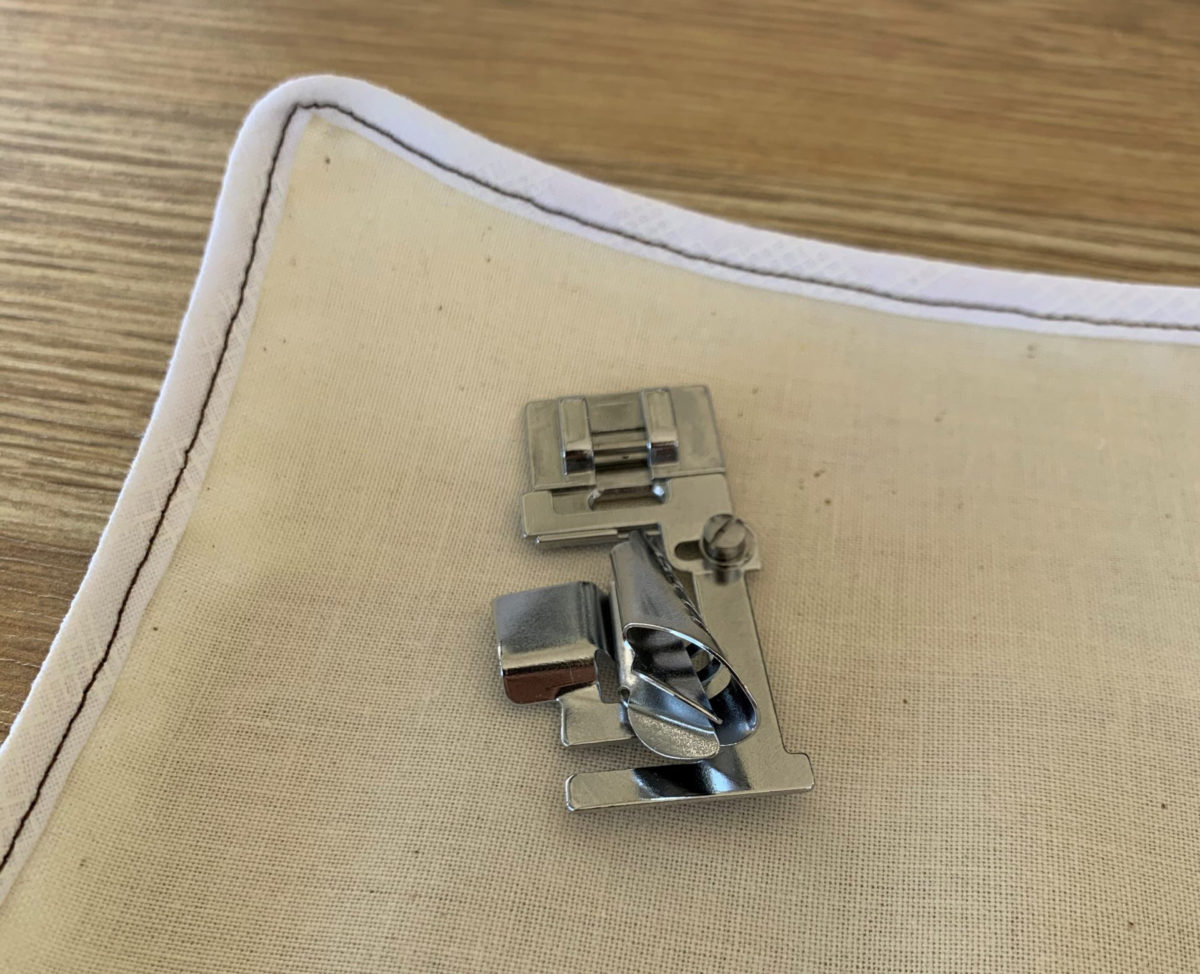
Self Folding:
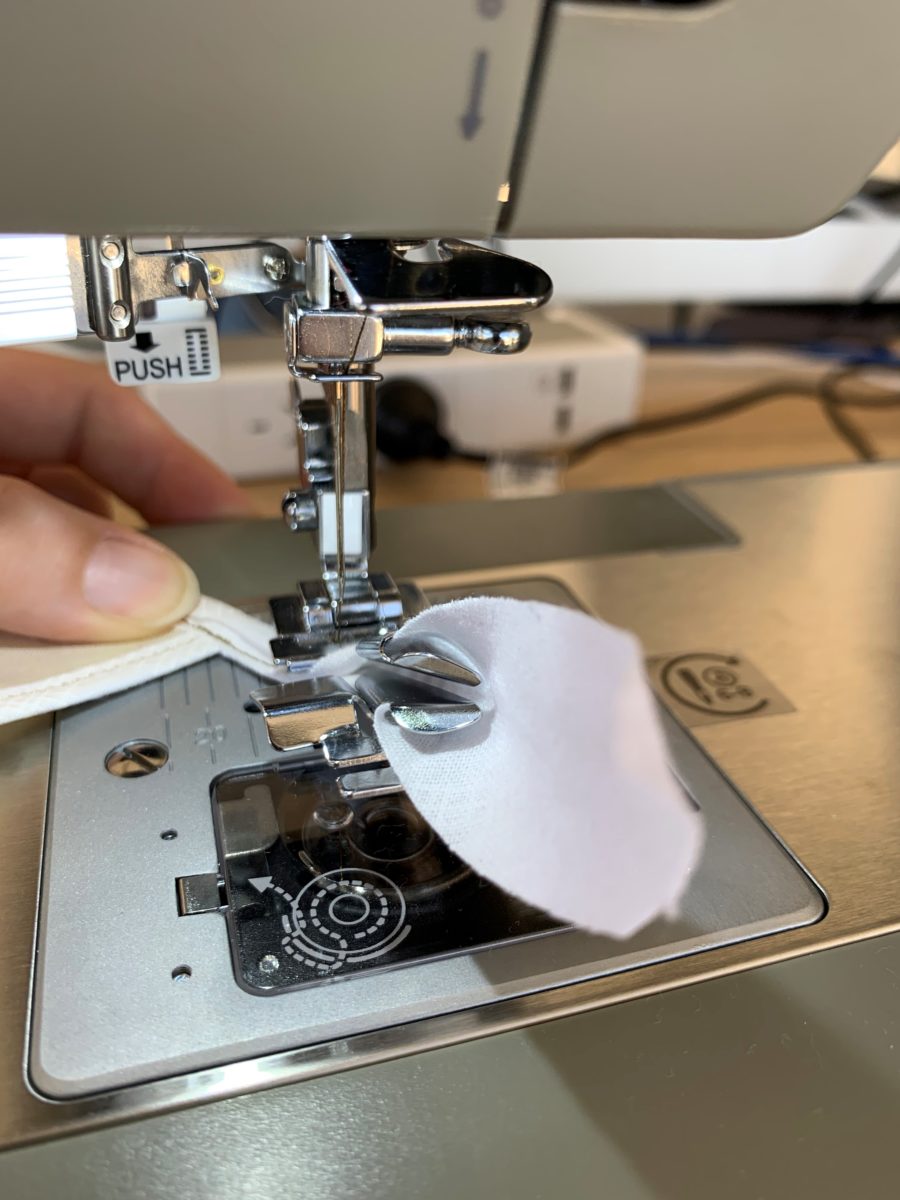
- Follow steps 1 & 2 in How to Make Bias Binding
- Leave the Bias unfolded and cut the beginning on an angle.
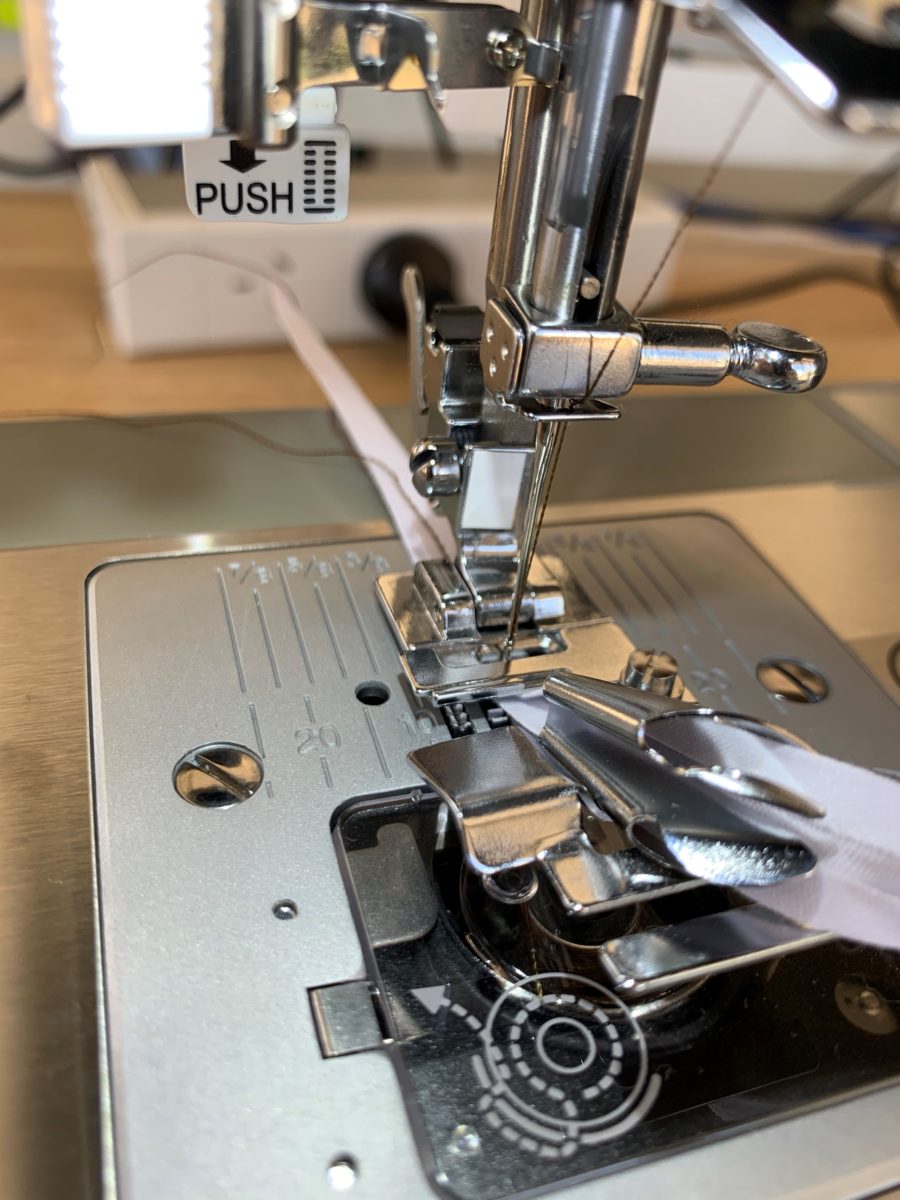
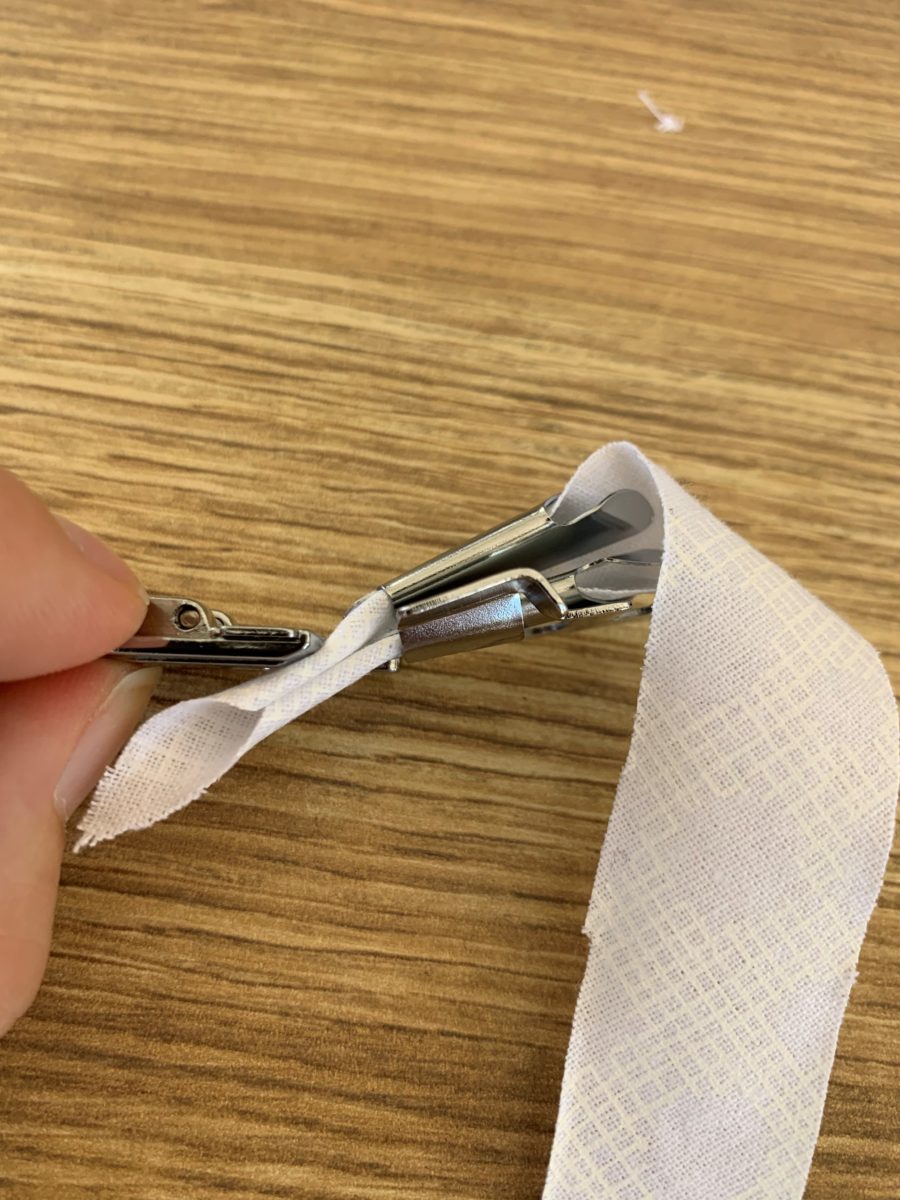
- With the Presser foot not attached, thread the bias through the folding implement on the bias foot.
- Pull the remaining fabric through, using a pin or awl to assist. Fabric will start to curl to create a bias fold
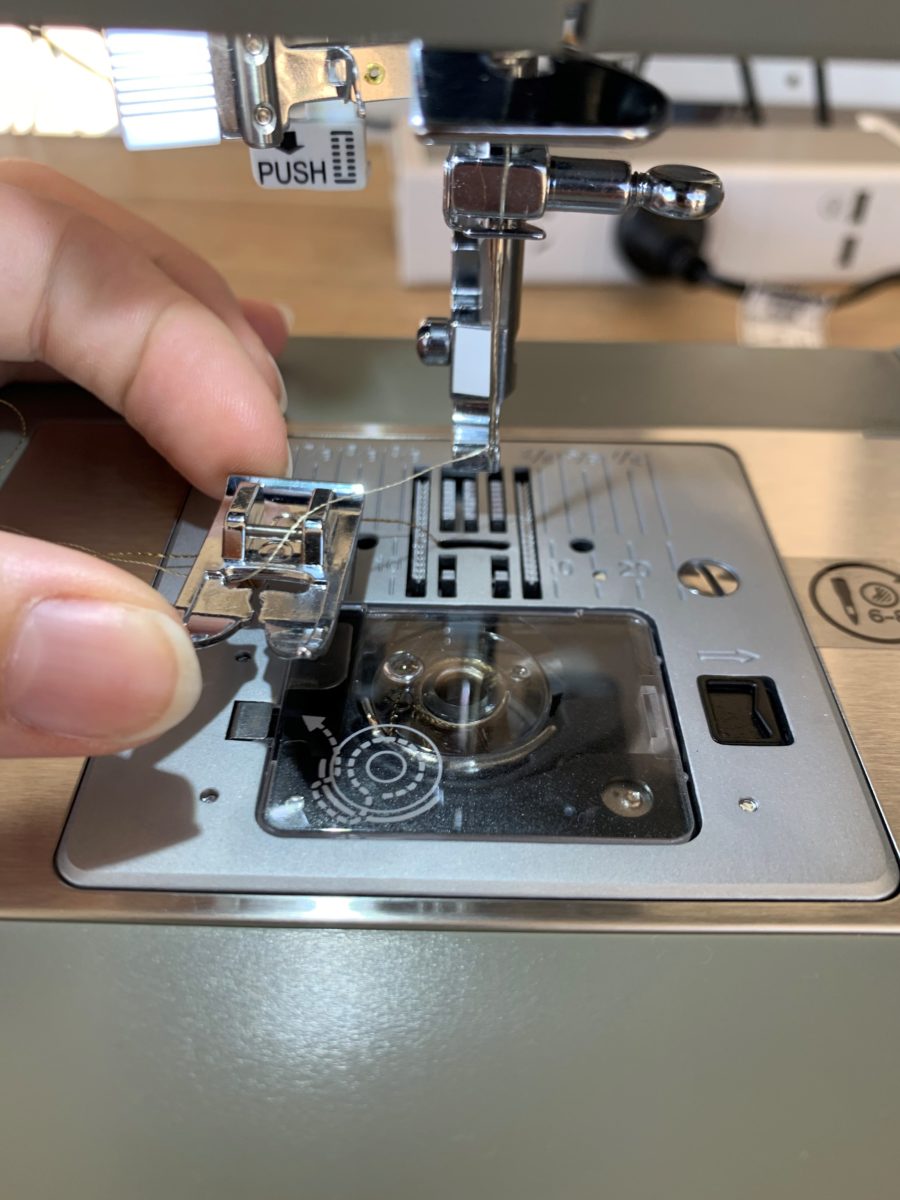
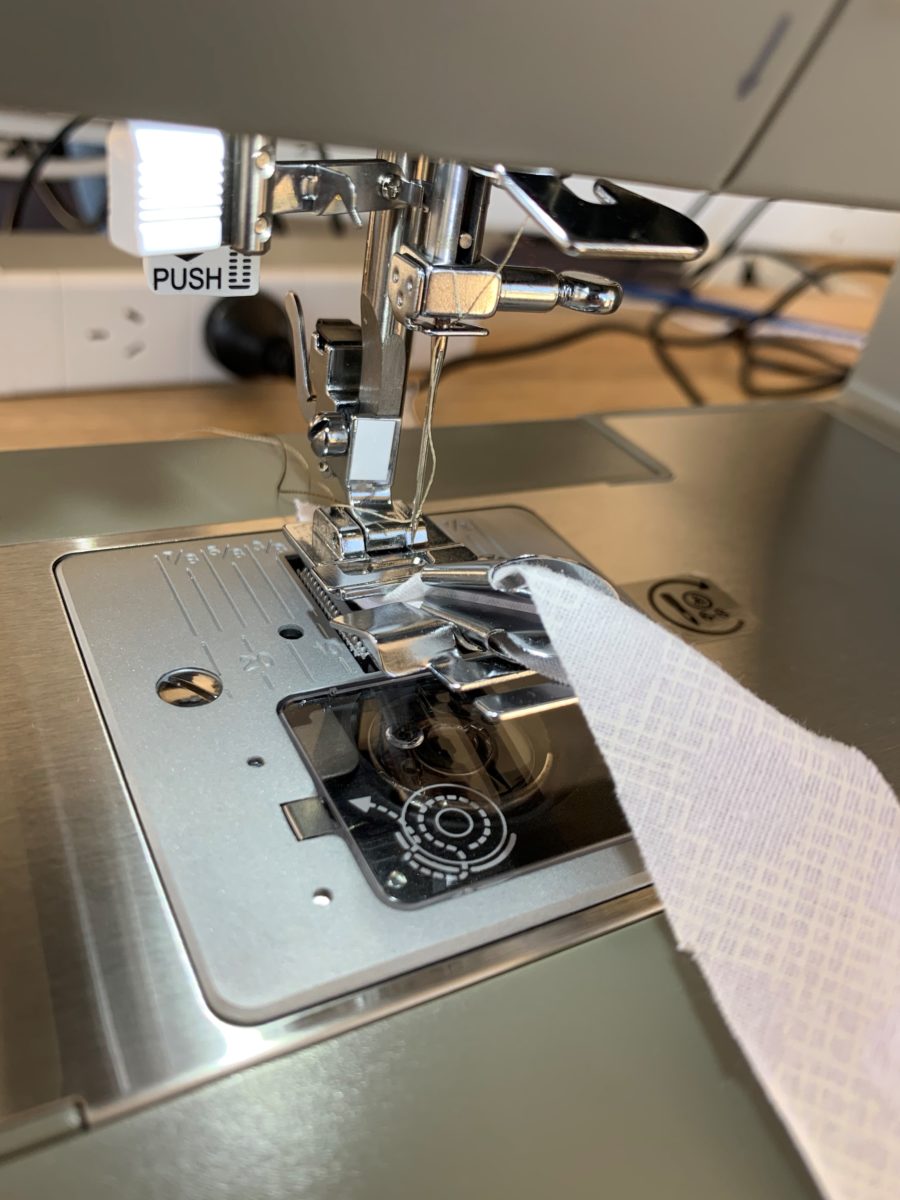
- Remove the current presser foot from the machine and attach the bias binding foot along with the threaded bias.
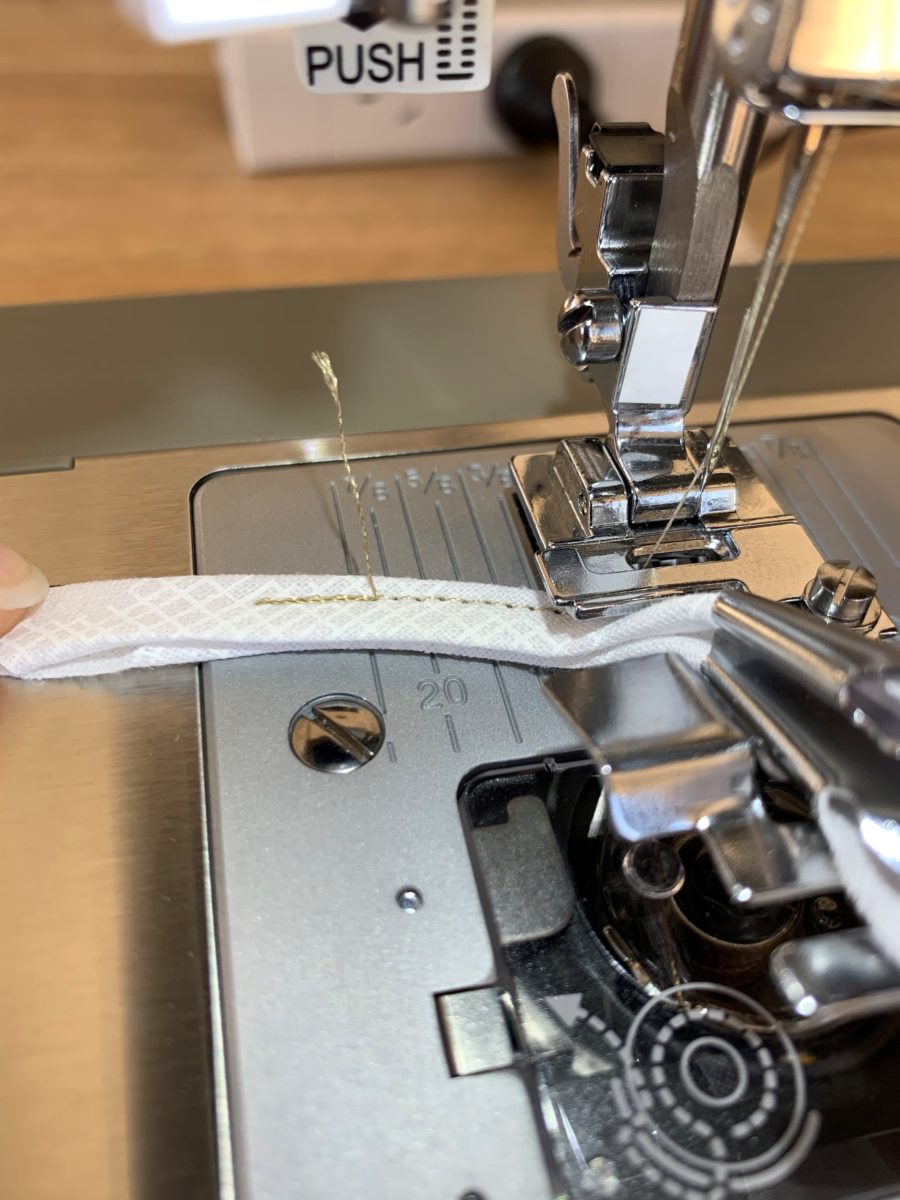
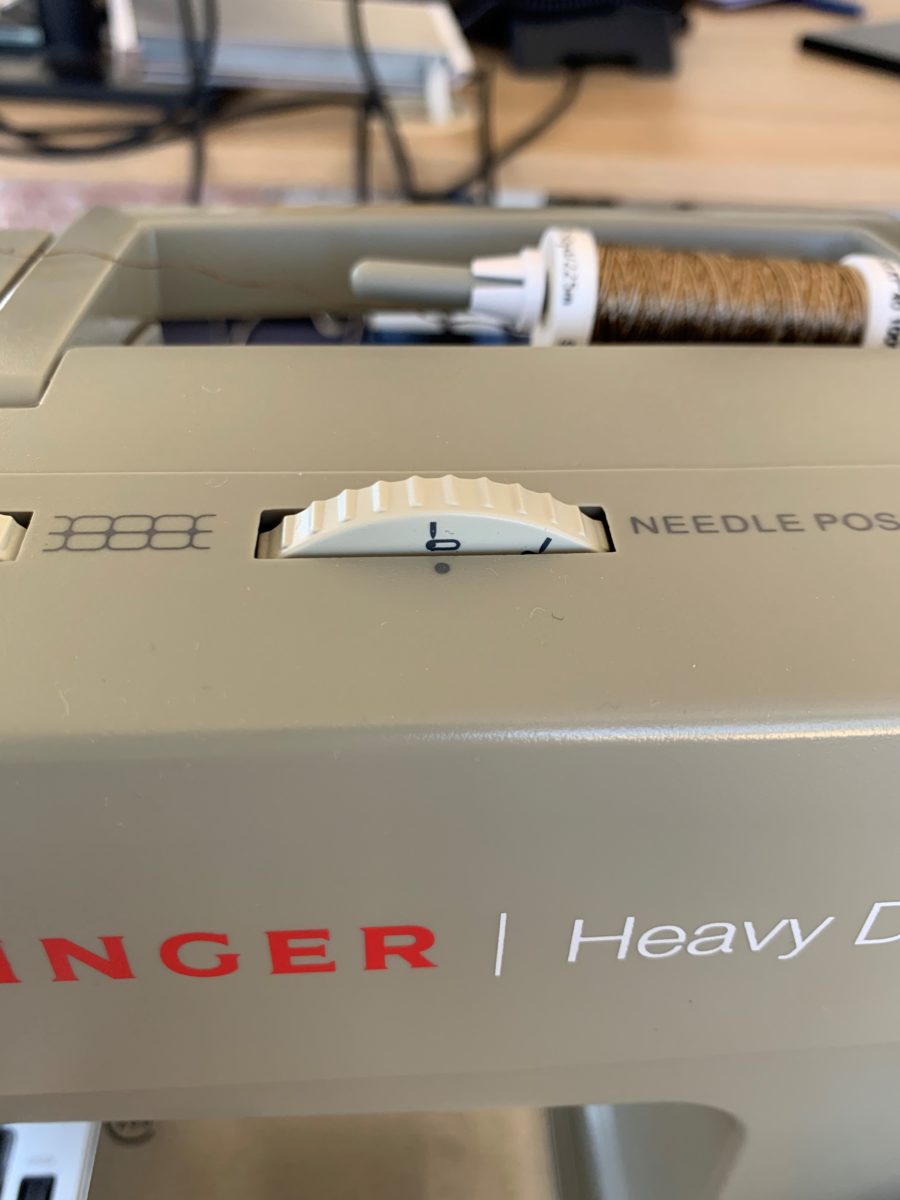
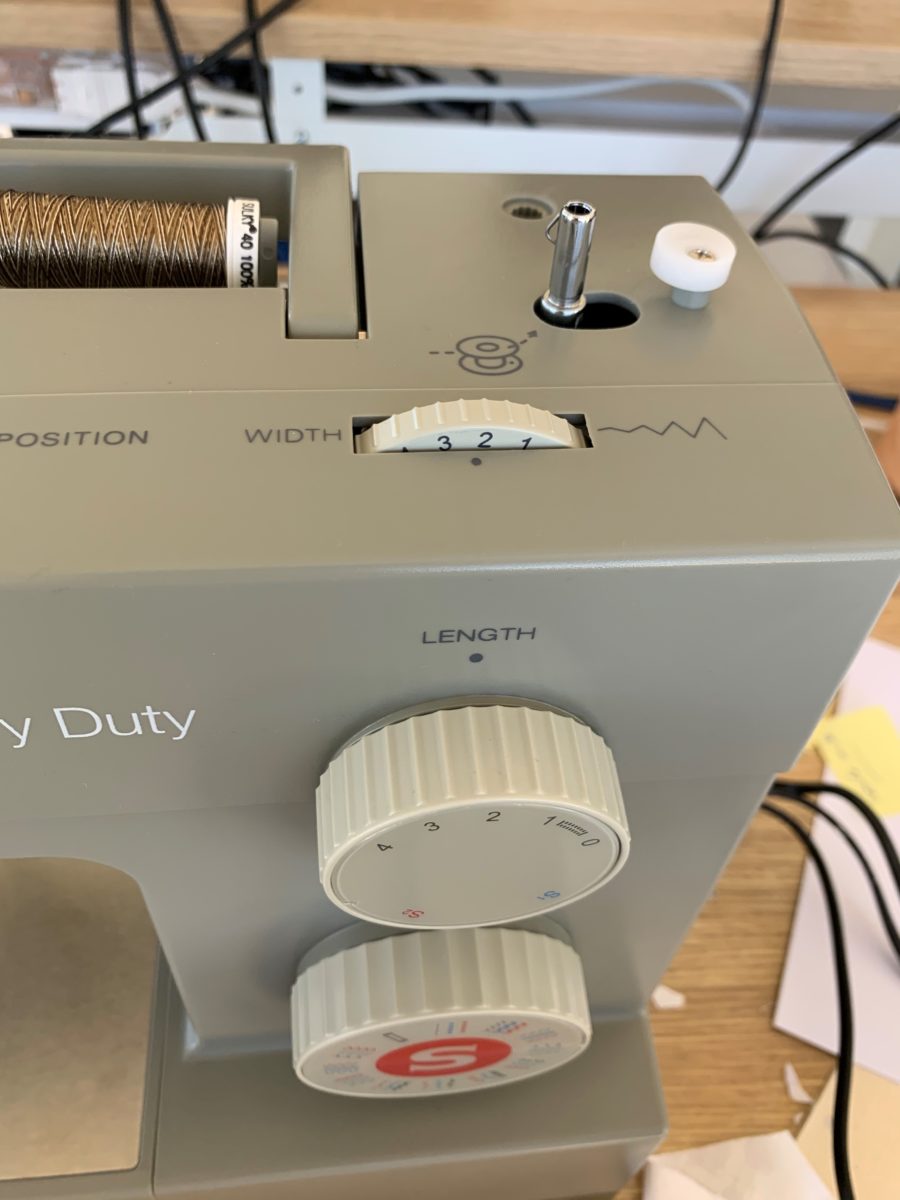
- Sew a few stitches along the bias to examine stitch position, adjust where needed. This can be done by adjusting the needle position to the left or adjusting the stitch width.
- Once desired stitch position has been set, select the fabric required for binding.
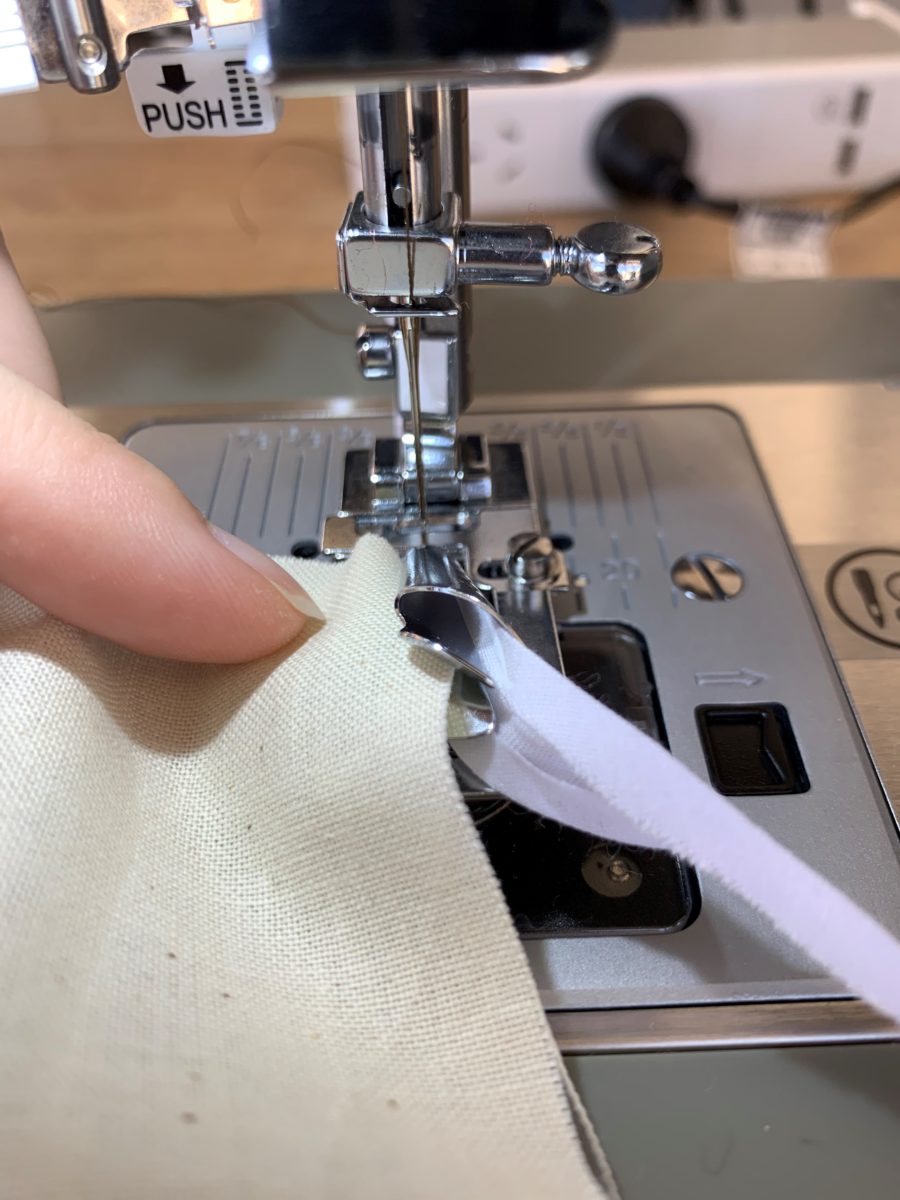
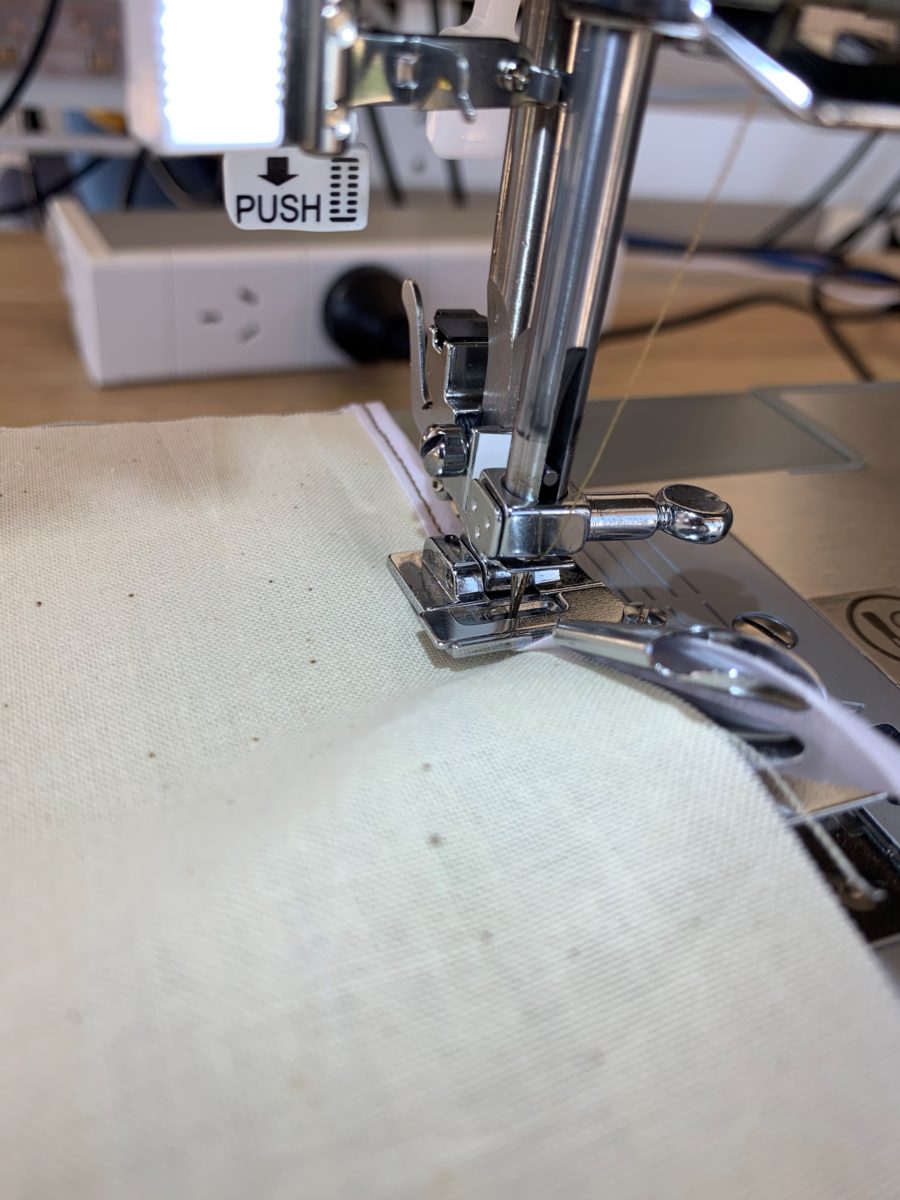
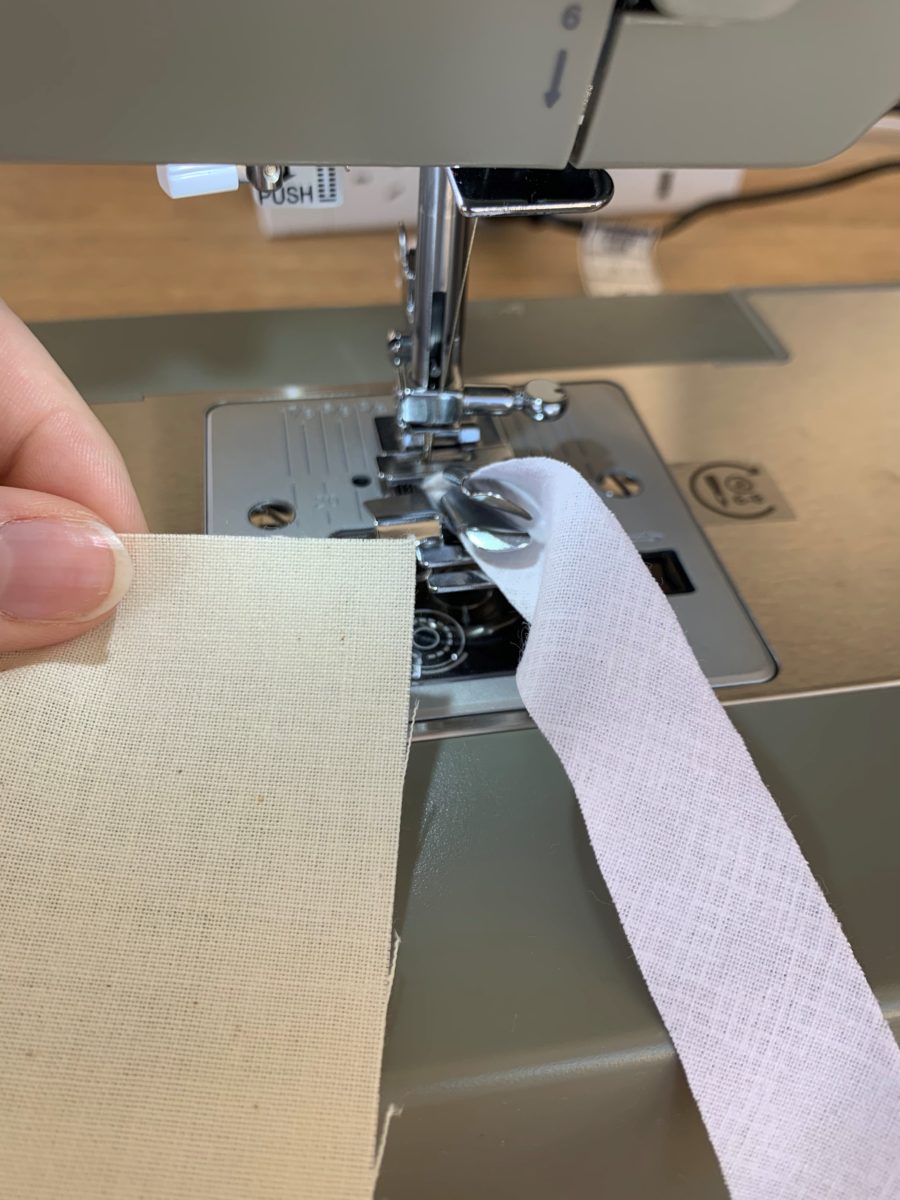
- Place the fabric between the top and bottom fold implement on the bias binding foot.
- Stitch until you reach the end of the fabric.
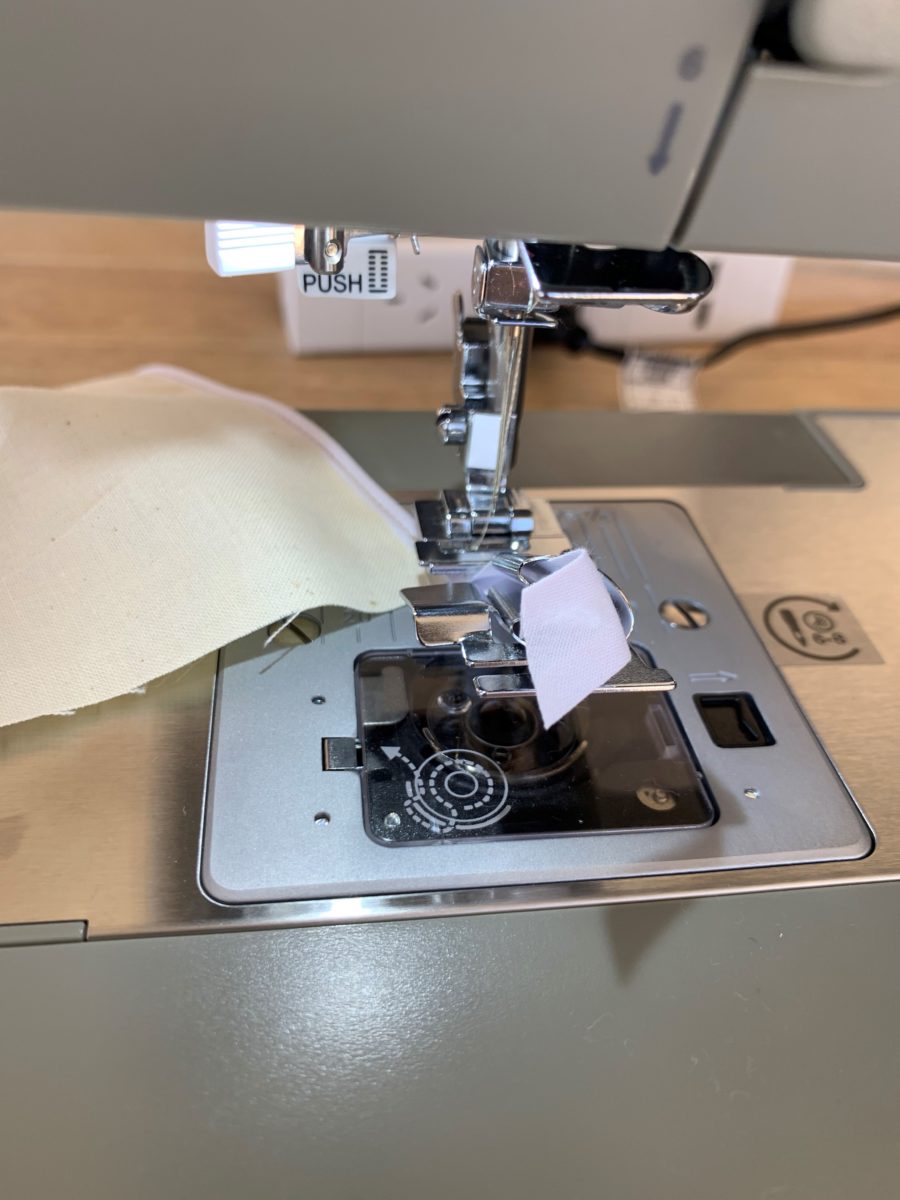
- To remove the project, cut off the bias binding just before the fold implement. Lift the presser foot and needle, gently pull the fabric, thread and remaining bias through.
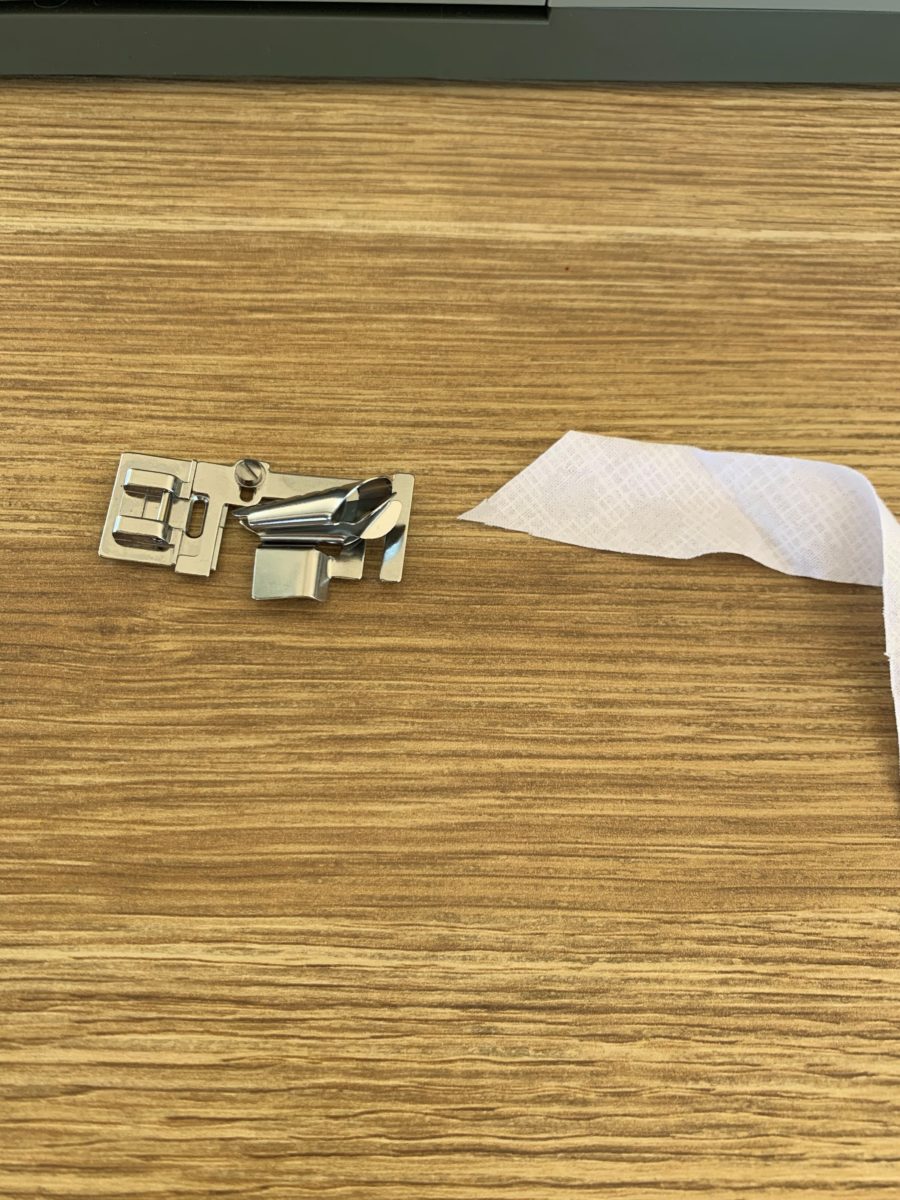
Note: If working with patterned fabric, the pattern (right side) will need to face the right hand side when threading.
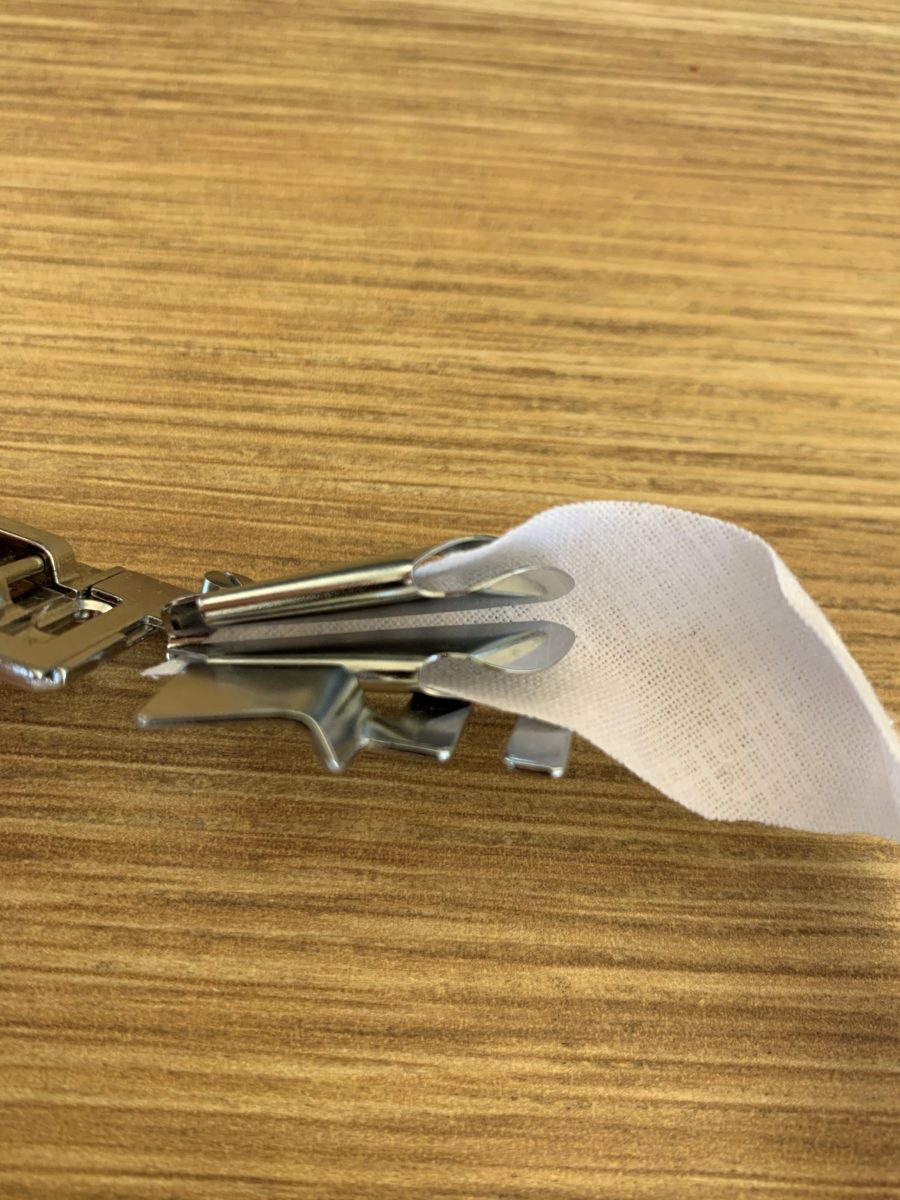
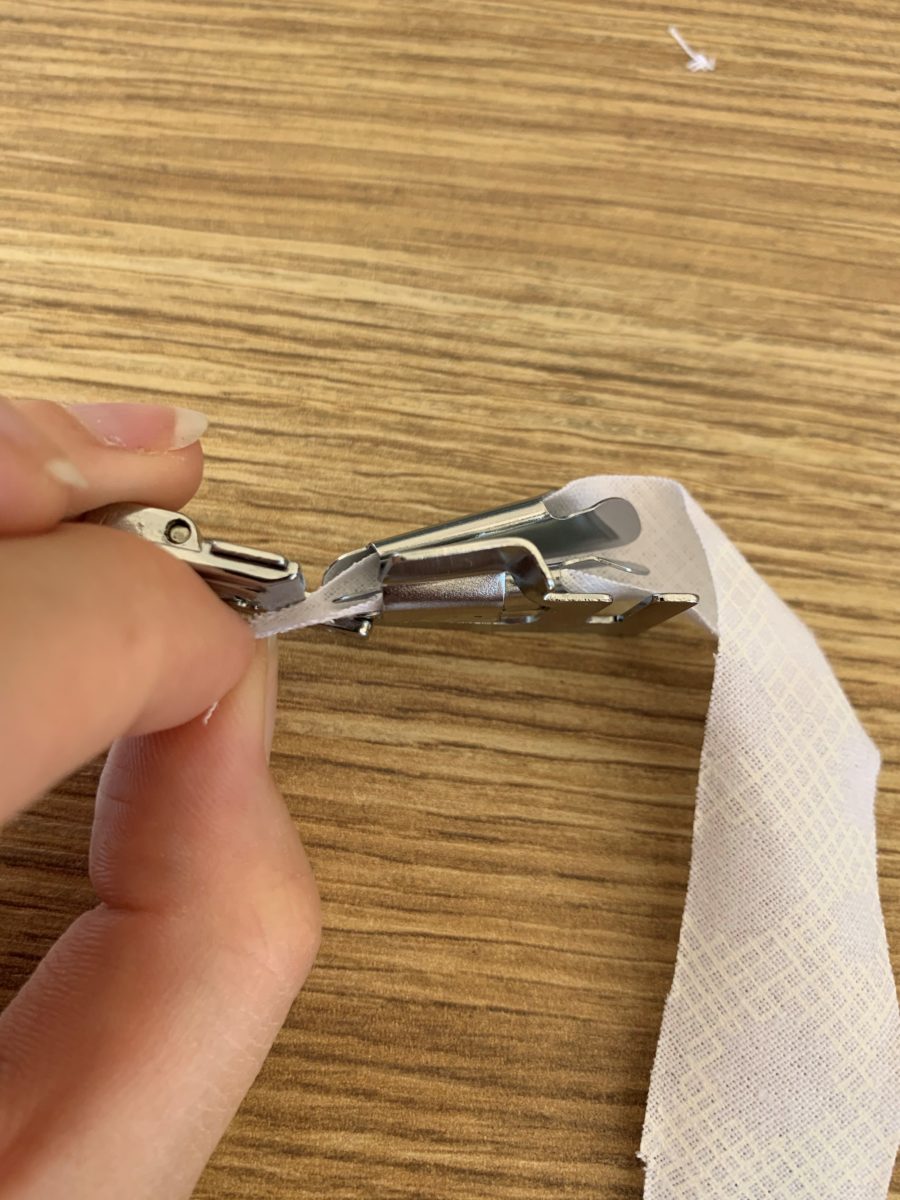
Note: The needle should only be set to straight stitch when working with bias binding.
Pre-folded bias:
Bias should be 6mm finish or smaller, otherwise an Adjustable Bias Binding Foot may be required.
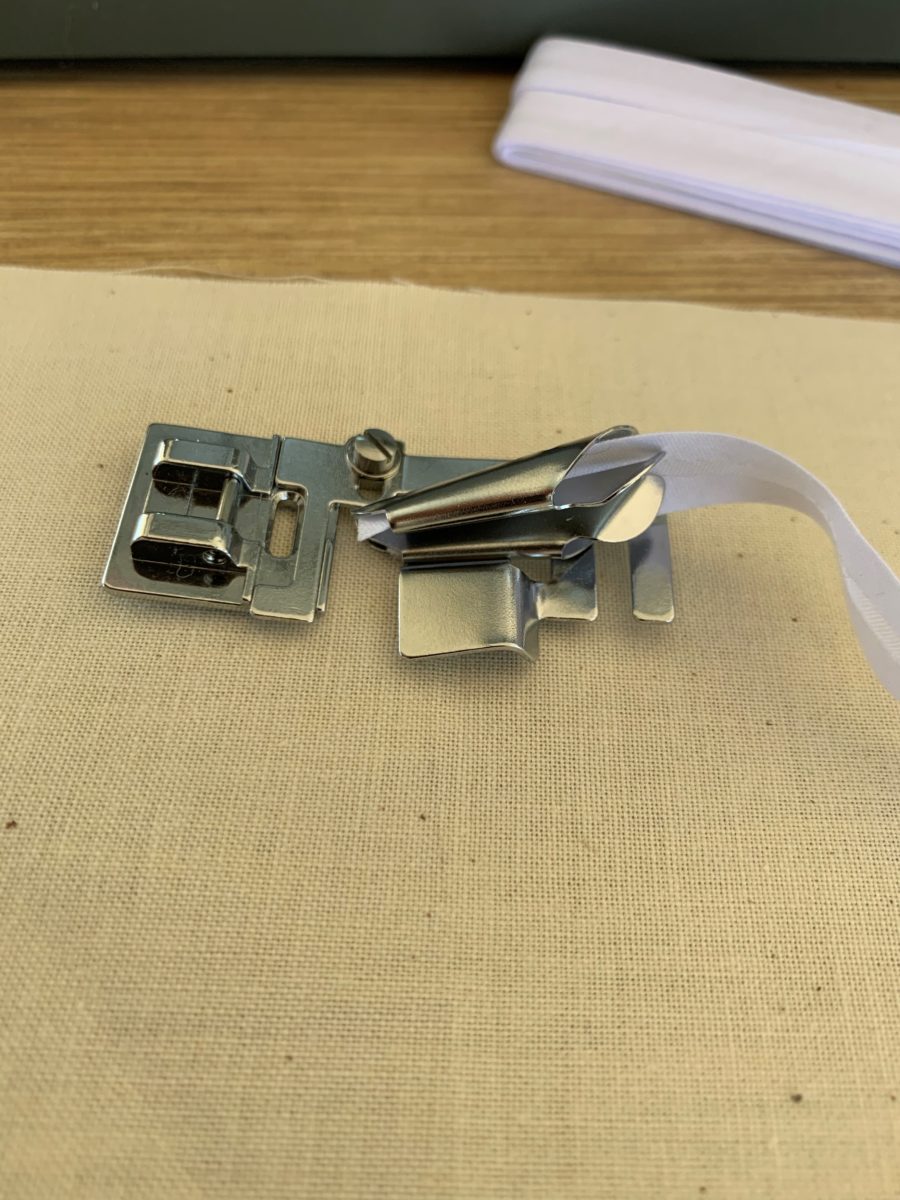
- Leave the bias folded and cut the beginning on an angle.
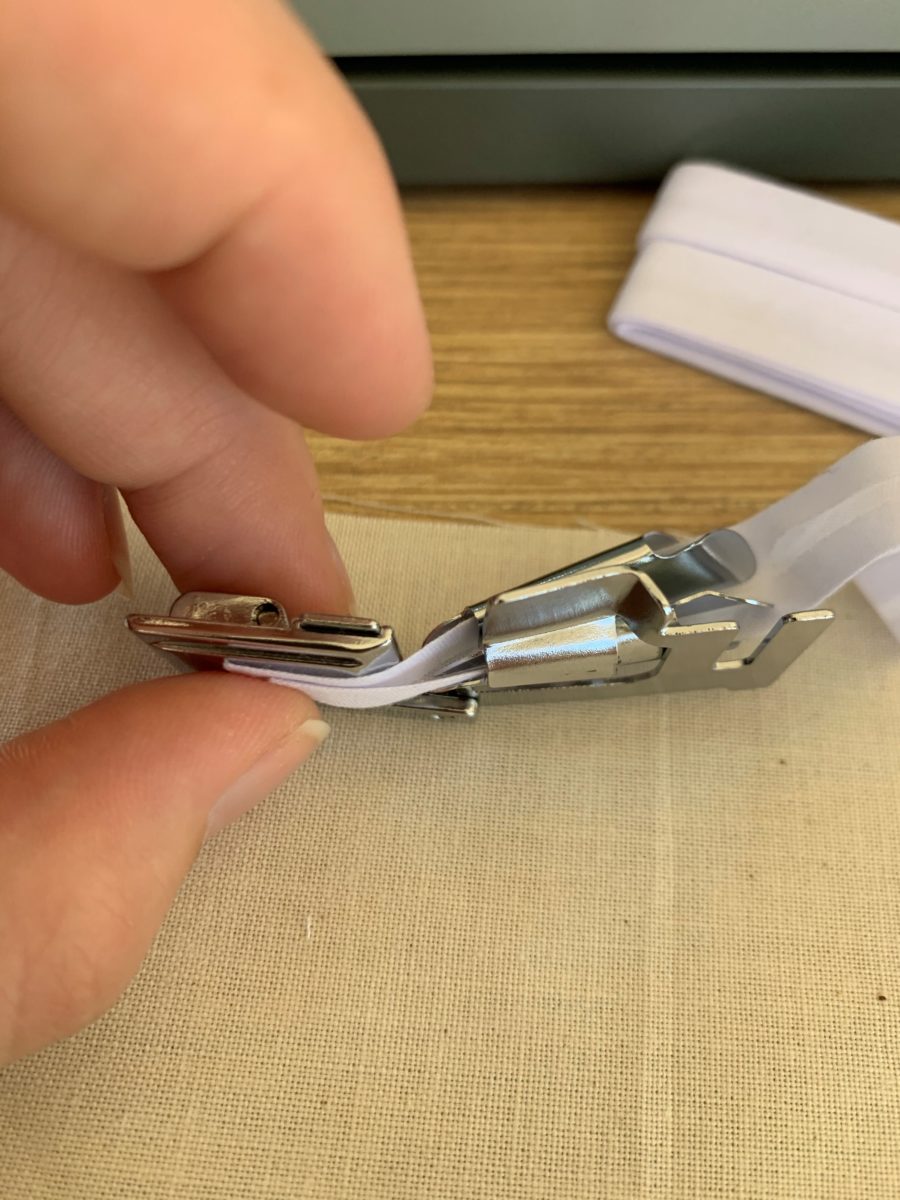
- With the presser foot not attached, thread the bias through the folding implement on the bias foot.
- Pull the remaining bias through, using a pin or awl to assist.
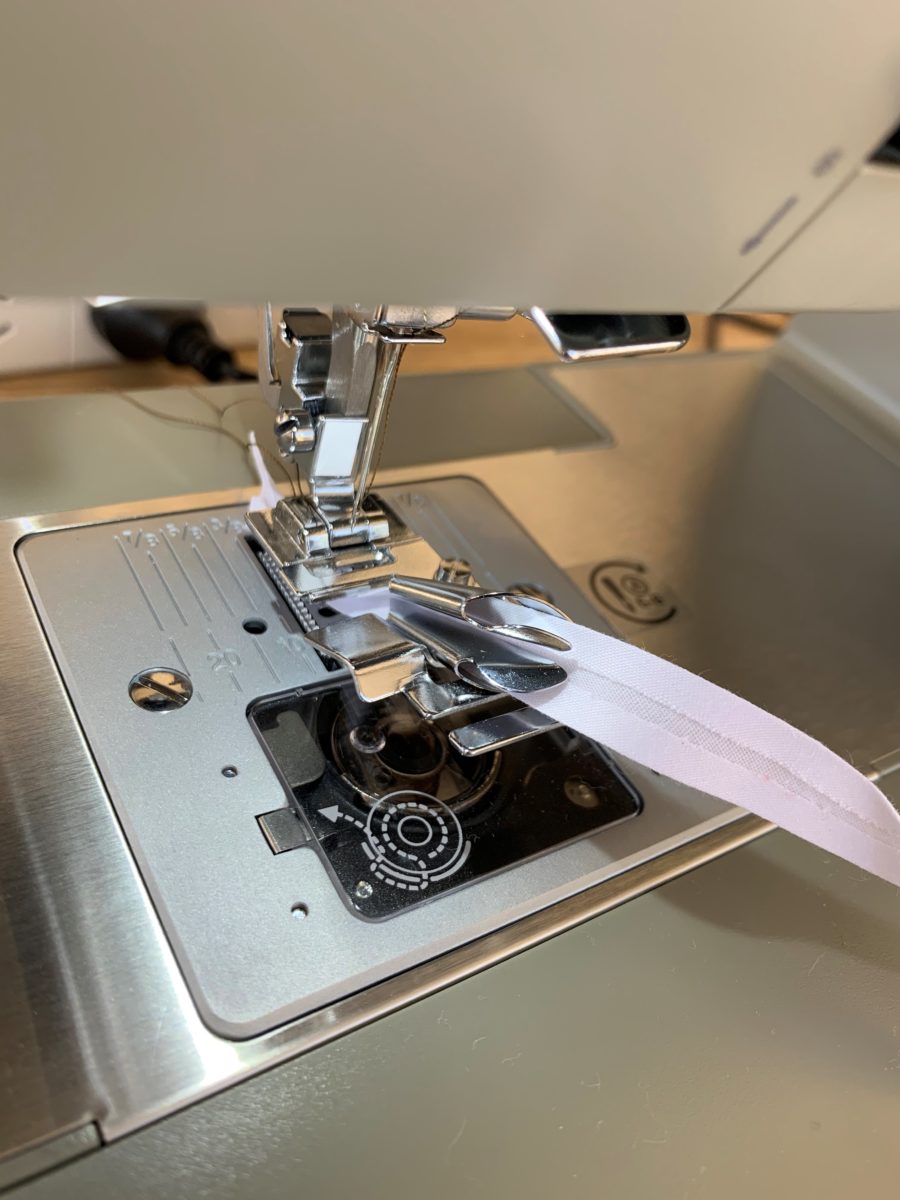
- Remove the current Presser foot from the machine and attach the bias binding foot along with the threaded bias.
- Sew a few stitches along the bias to examine stitch position, adjust where needed. This can be done by adjusting the needle position to the left or adjusting the stitch width.
- Once desired stitch position has been set, select the fabric required for binding.
- Place the fabric between the top and bottom fold implement on the bias binding foot.
- Stitch until you reach the end of the fabric.
- To remove the project, cut off bias binding just before the fold implement. Lift the presser foot and needle, gently pull the fabric, thread and remaining bias through.
Note: The needle should only be adjusted for straight stitch when working with bias binding.
