

Make a mug rug or two as a gift or even to brighten up your living room. This pattern has two options for finishing. You can either “bag it out” or try your hand at “Bias Binding”.
Skill Level: Confident Beginner
Skills Learned Straight Stitch, Bagging out or Bias Binding, Trimming Seam allowances
Shopping List:
- 2 x 20cm x 17cm fabric
- 1 x 20cm x 17cm Wadding
- Optional: Bias Binding Complimenting colour (approx. 1 metre in length)
- Scissors
- Pins
- co-ordinating threads

Bagging it out:
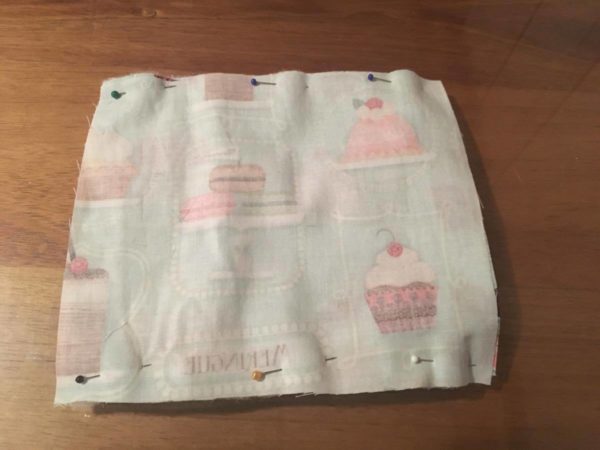
- Assemble the sandwich with the right sides of the fabric together with the piece of wadding underneath one side.

- Stitch a ¼” (6mm) seam around the mug rug, leave an opening to bag out the mug rug.
- Bag out the mug rug, a ruler or pen can help to push out the corners.

- For some extra decoration you can choose a stitch you like on your machine and stitch around edge about ¼” (6mm) in from the side.

Bias Binding
- Assemble the sandwich with the right sides facing out and the wadding in the center of the 2 pieces.
- Sew ¼” (6mm) seam around the whole mug rug.
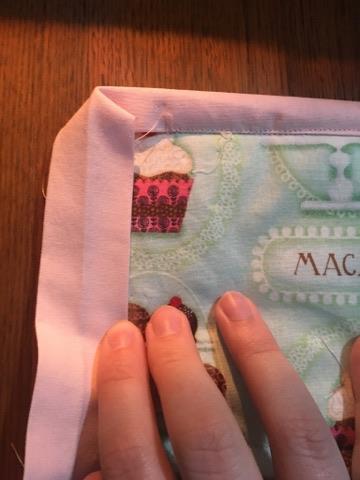
- Now attach the bias binding.
- Pick a straight raw edge, and fold the edge of the bias tape down towards your raw edge and make a triangle and pin.
- Pin the Bias tape in place and then begin sewing your bias tape onto your fabric by stitching in the bias tape fold that is closest to the raw edge.
- When you are approaching the corner, slow down. Stop a little bit short of the corner. Back stitch at the end and cut your thread.
- Fold the bias tape to the right, lining up the lower raw edge of the bias tape with the raw edge of your fabric. It will make a triangle on the corner. The top edge of your triangle should be perpendicular to the stitched edge that you just sewed. Make sure the triangle is nice and straight. Press it in place with your fingers.

- Fold the bias tape to the left, fold it so the bias tape edge lines up with the fabric edge. Make sure to keep the bias tape triangle intact underneath. Line up the bias tape with the raw edge of your unsewn raw fabric edge and pin.
- Start sewing the bias tape edge to your fabric again along the bias tape fold.
- Repeat steps 5-9 to attach the bias tape to the rest of the Mug Rug edge. When you come back to the beginning, overlap your bias tape by a couple of inches (6cm) and then back stitch.
- Cut the excess bias tape.
- Turn the folded bias tape over your raw edge to the back. Pull the bias tape tightly so that the bias tape on the back will catch when you sew it from the front. Use a Pin to hold it in place. The corner should be making a little folded triangle on the end.
- Turn the left side of the bias tape over the fabric. Make sure to keep the triangle tucked inside. This will make a corner, iron in place.
- Sew close to the edge to secure the bias tape on the backside, making sure to catch the bias tape on the back as you sew. Here you can choose to Stitch in the Ditch, which is stitching in the seam between the bias tape and your fabric. Or you can choose not to stitch in the ditch which will give you a topstitched finish.